
Create an RSVP Form Using Google Forms - 7 Steps
Fast navigation
Planning an event and need a hassle-free way to manage RSVPs? Google Forms is your go-to solution.
In just seven simple steps, you can create a professional RSVP form that streamlines your guest management process.
Whether it's a wedding, conference, or birthday party, our guide will show you how to efficiently gather and track responses, ensuring your event planning is as smooth as possible.
Let's dive into creating an RSVP form that makes both organizing and responding a breeze!
Steps:
- Access Google Forms and Select RSVP Template
- Customize the RSVP Form Template
- Add or Edit Questions
- Adjust Form Appearance
- Adjust Form Settings
- Share Your Form
- Manage and Track Responses
Step 1: Access Google Forms and Select RSVP Template
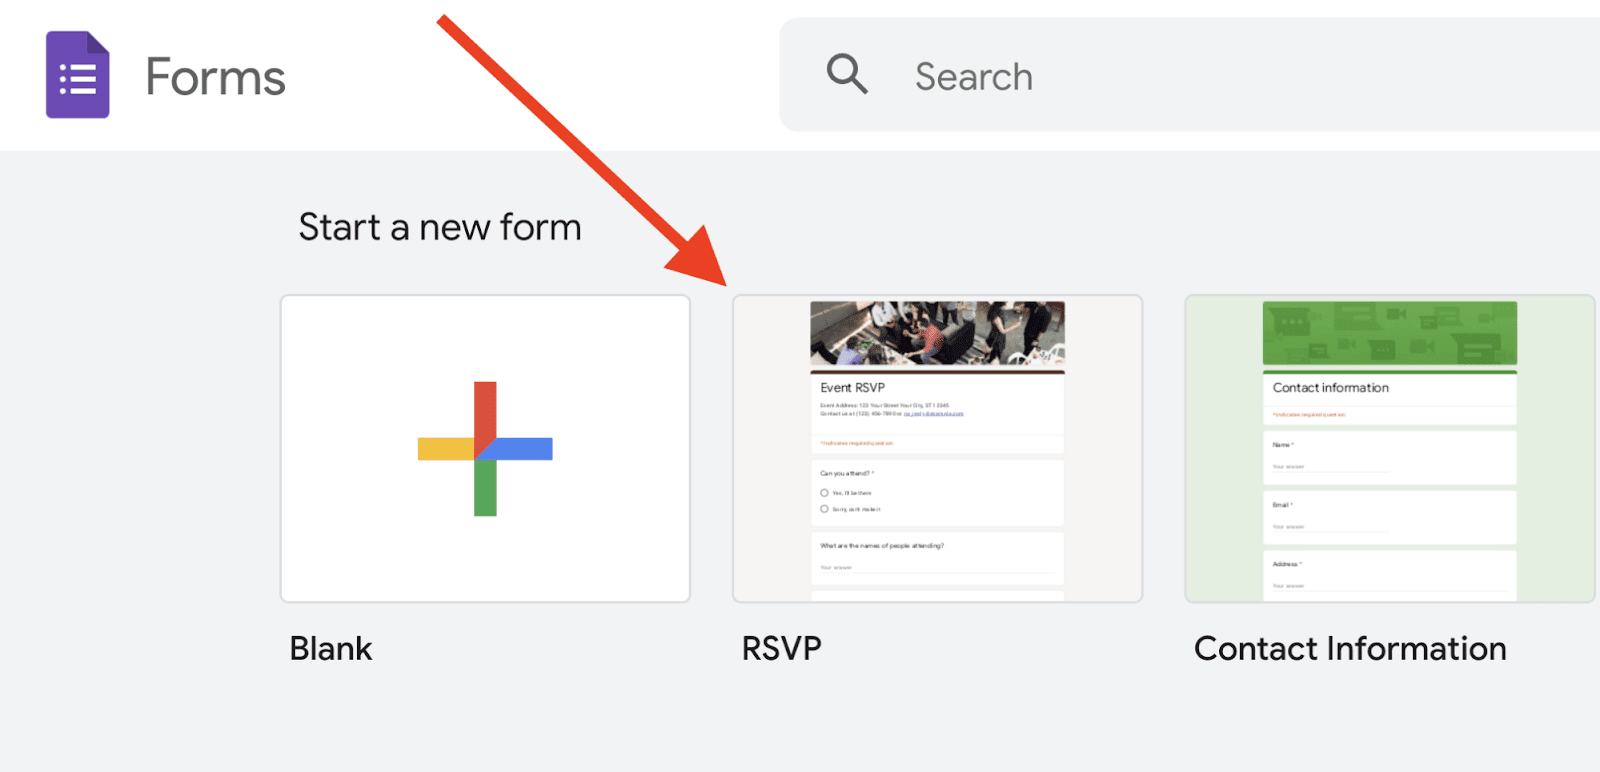
1. Open Google Forms: Launch your web browser and navigate to forms.google.com. This is the direct link to Google Forms.
2. Locate the RSVP Template: On the Google Forms homepage, you'll find a variety of templates. Look for the RSVP template, which is specifically designed for event responses. Select it:
Step 2: Customize the RSVP Form Template
Deep Dive
For more complex question types, like gathering detailed feedback, see how to create a multiple choice grid in Google Forms
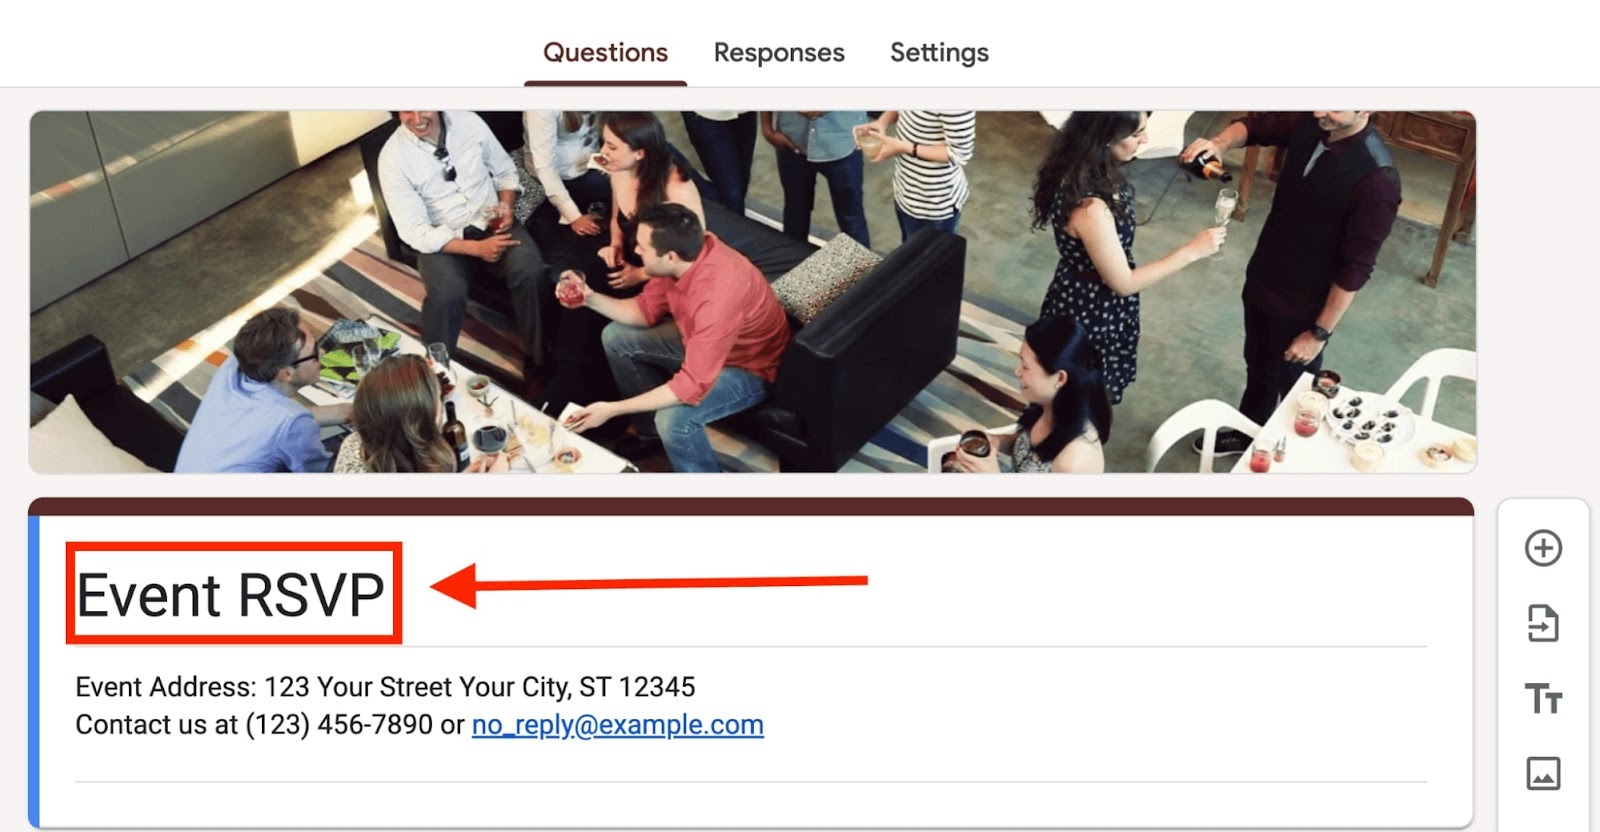
1. Rename the Form: Click on ‘Event RSVP’ to rename your form. Use a clear and descriptive title, such as the name of your event followed by 'RSVP'. For example, '10th Anniversary RSVP' or 'Scott’s Birtdday RSVP':
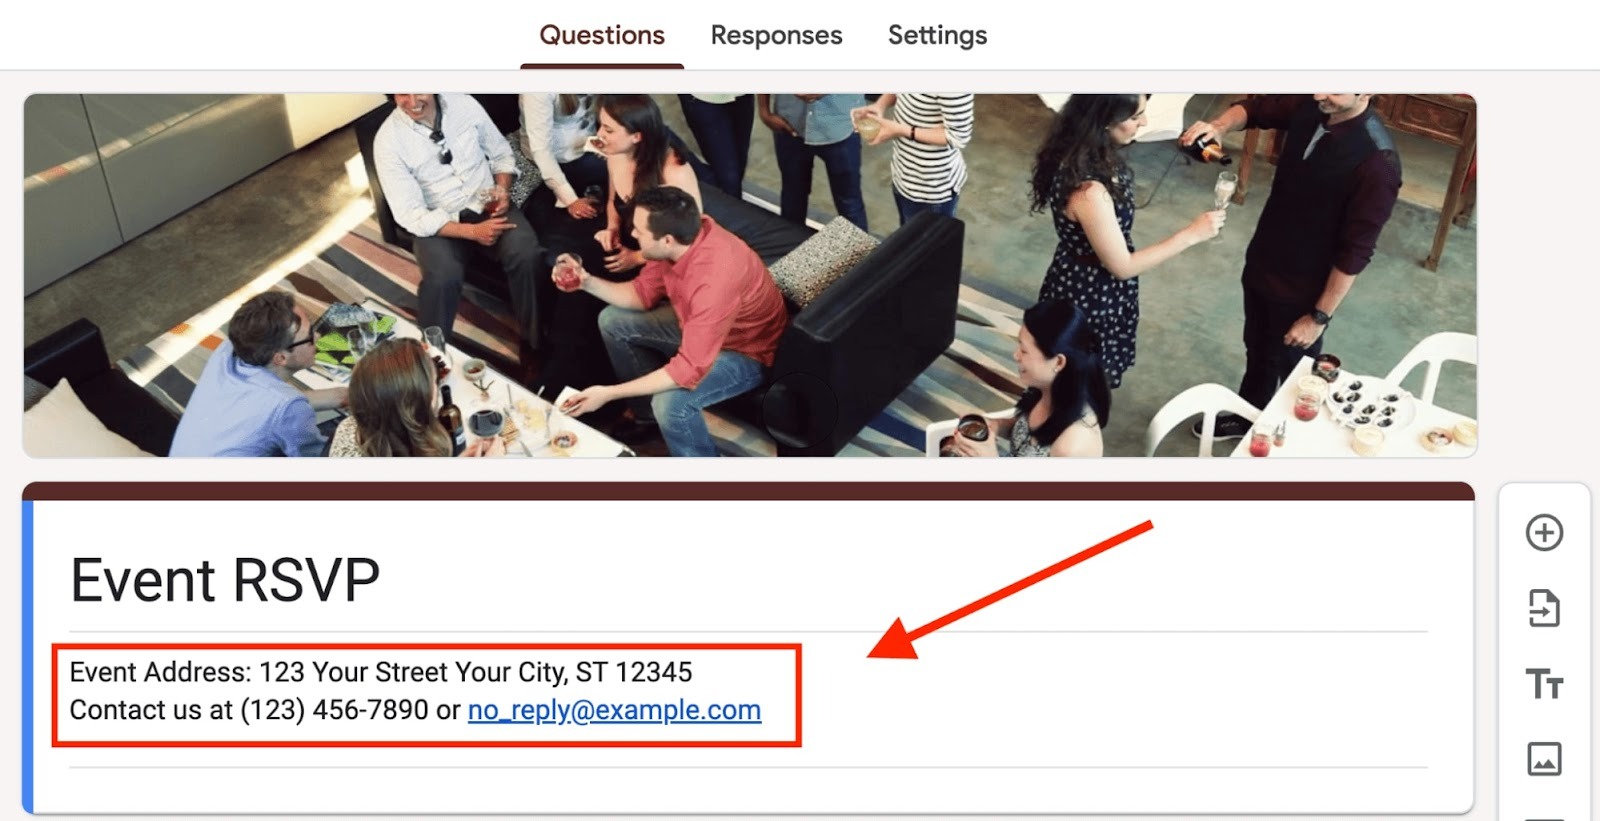
2. Update Event Details: In the section below the title, add or edit important details like the event address, contact information (phone number, email), and social media handles if relevant:
Step 3: Add or Edit Questions
Deep Dive
Looking for a fun way to engage guests? Consider creating a personality quiz on Google Forms for your event.
1. Review Pre-Set Questions: The RSVP template comes with a standard set of questions. Review these to see if they align with your event's requirements:
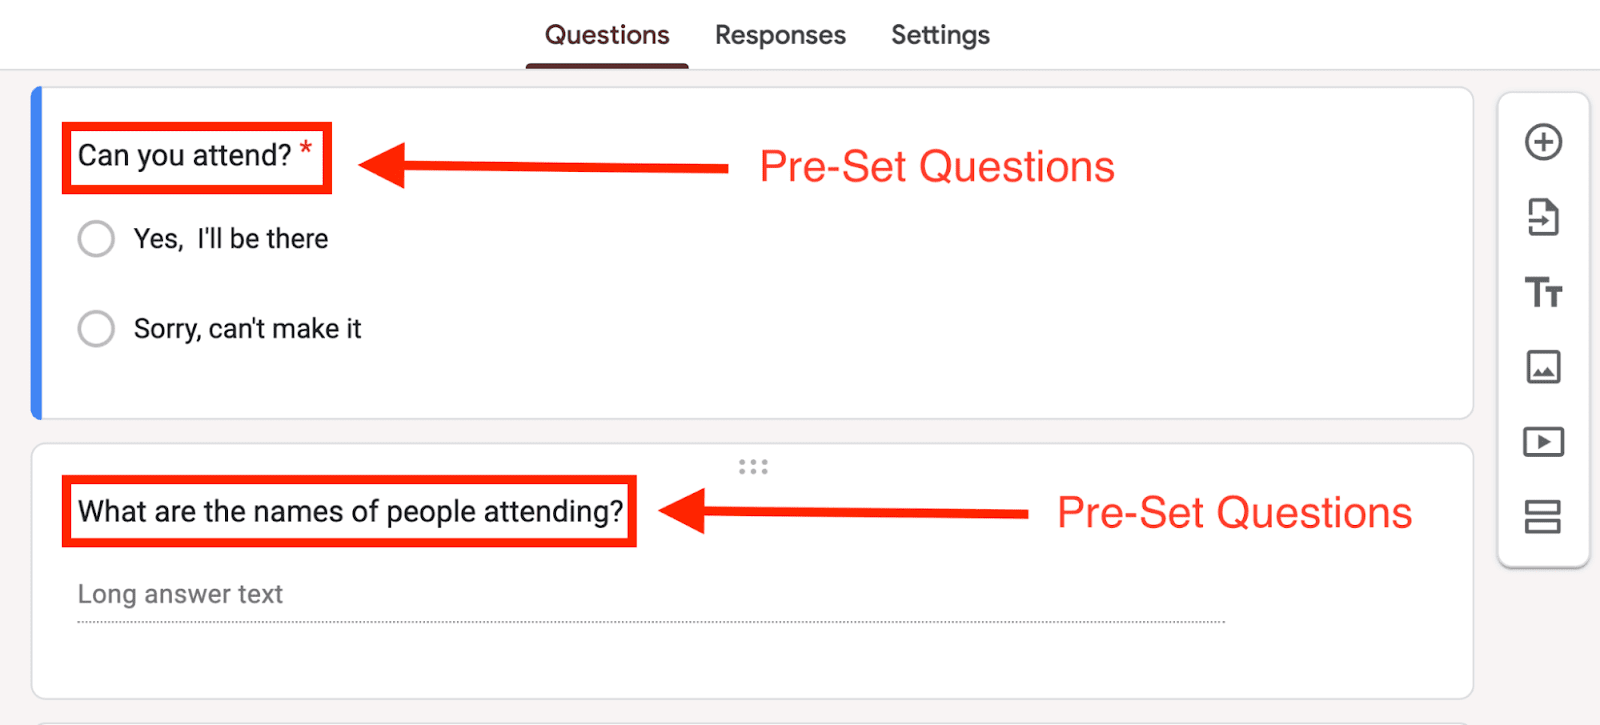
If a pre-set question is not applicable, click on the question and then the ‘Bin’ icon to delete it:

2. Edit Existing Questions: Click on any question you wish to modify. You can change the wording, question type (like multiple choice, short answer, date, time), and answer options.
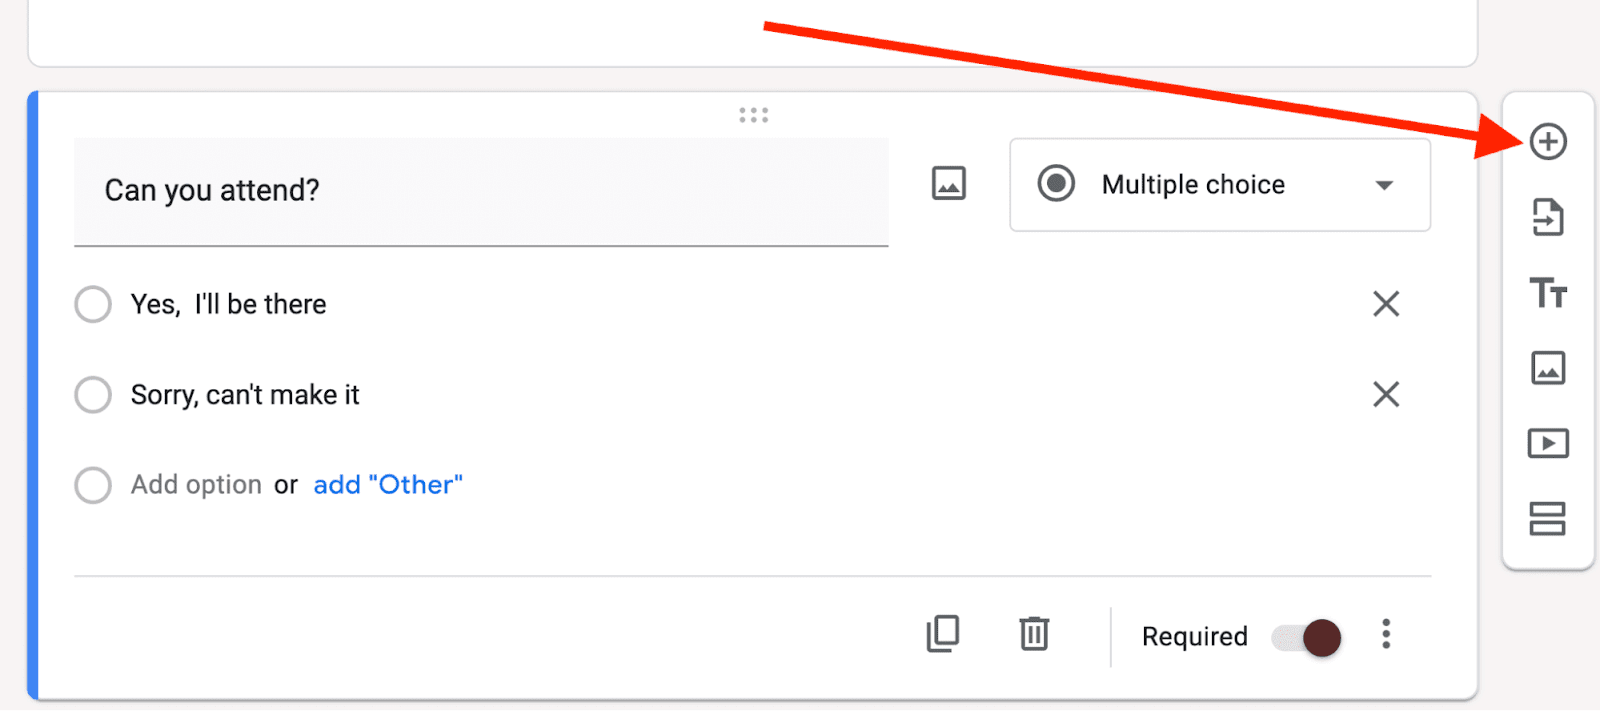
3. Add New Questions: Click on the + icon to insert additional questions:
Consider including queries about:
- Guest attendance confirmation
- Names of guests and any plus-ones
- Meal preferences and dietary restrictions
- Accommodation and travel arrangements
- Song requests or other event-specific inquiries
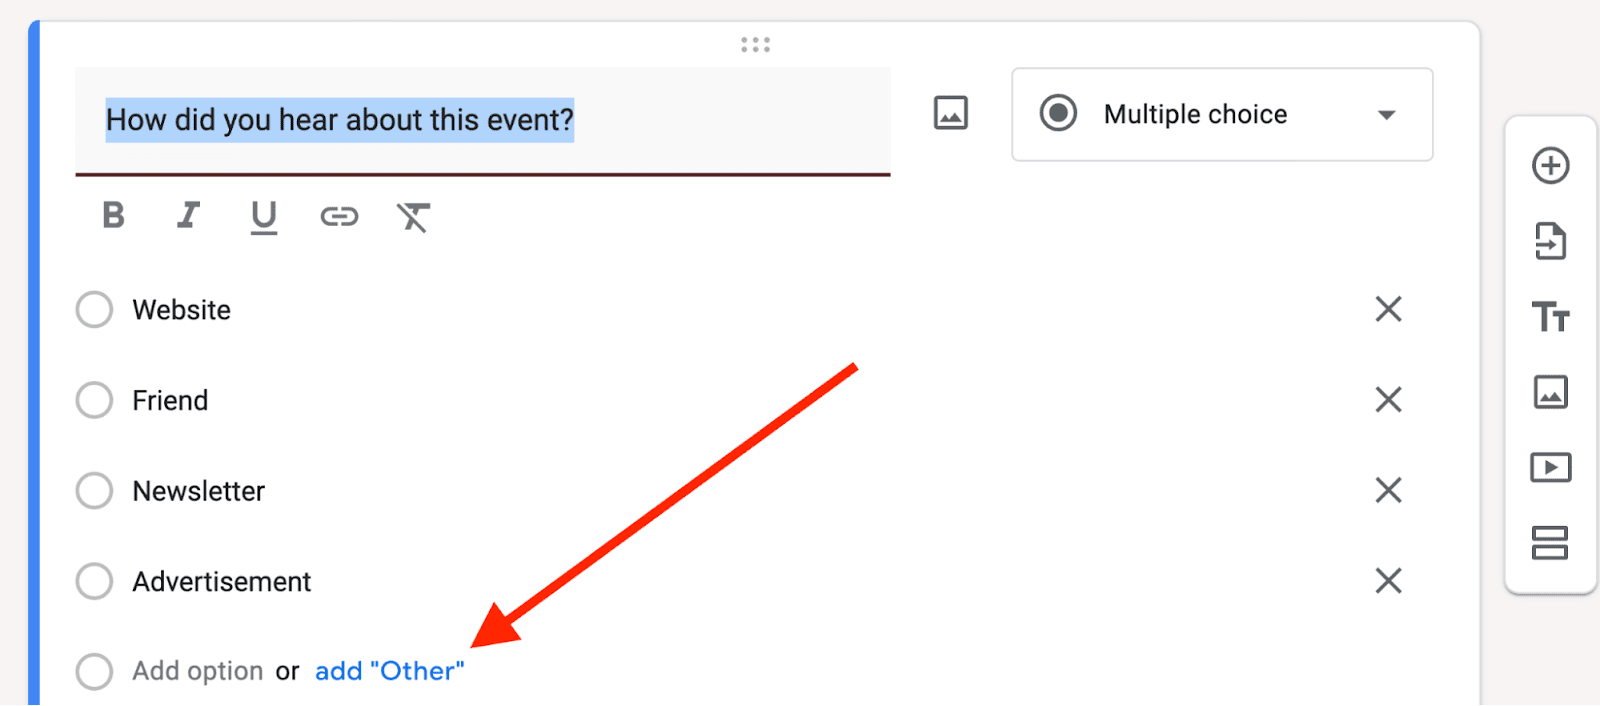
- Provide Flexible Answer Options: For each question, click on “add Other” to include an ‘Other’ option to allow guests to provide custom responses:
Step 4: Adjust Form Appearance
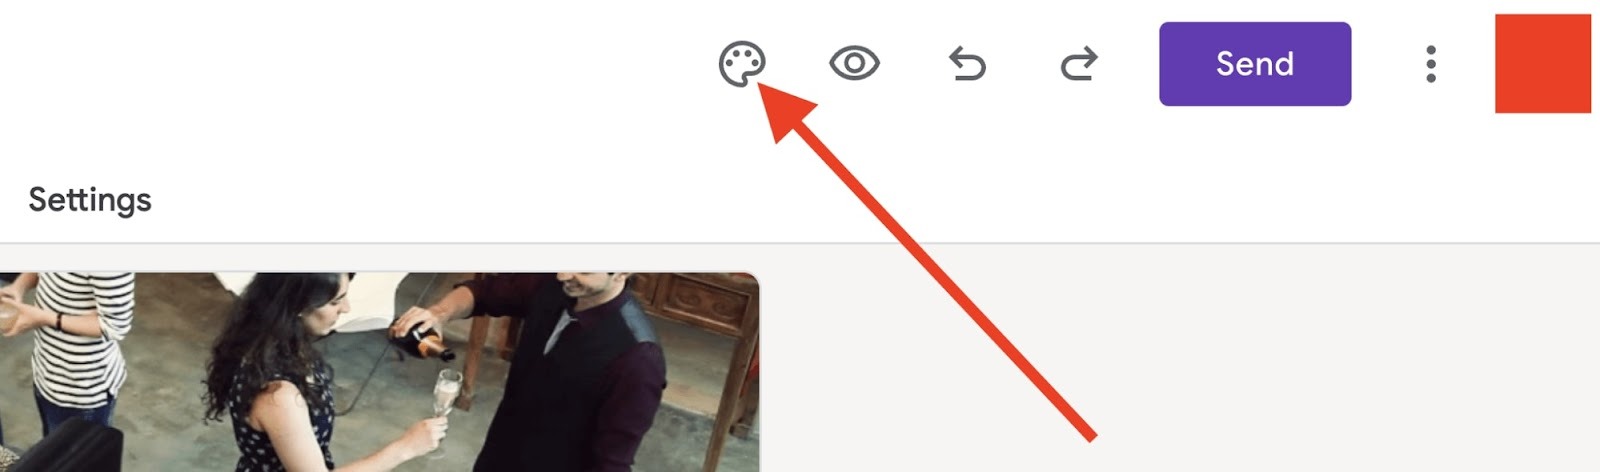
Click on the "Customize Theme" button (paint palette icon) in the top-right corner.
Here, you can modify the text style, color scheme, font, and background images.
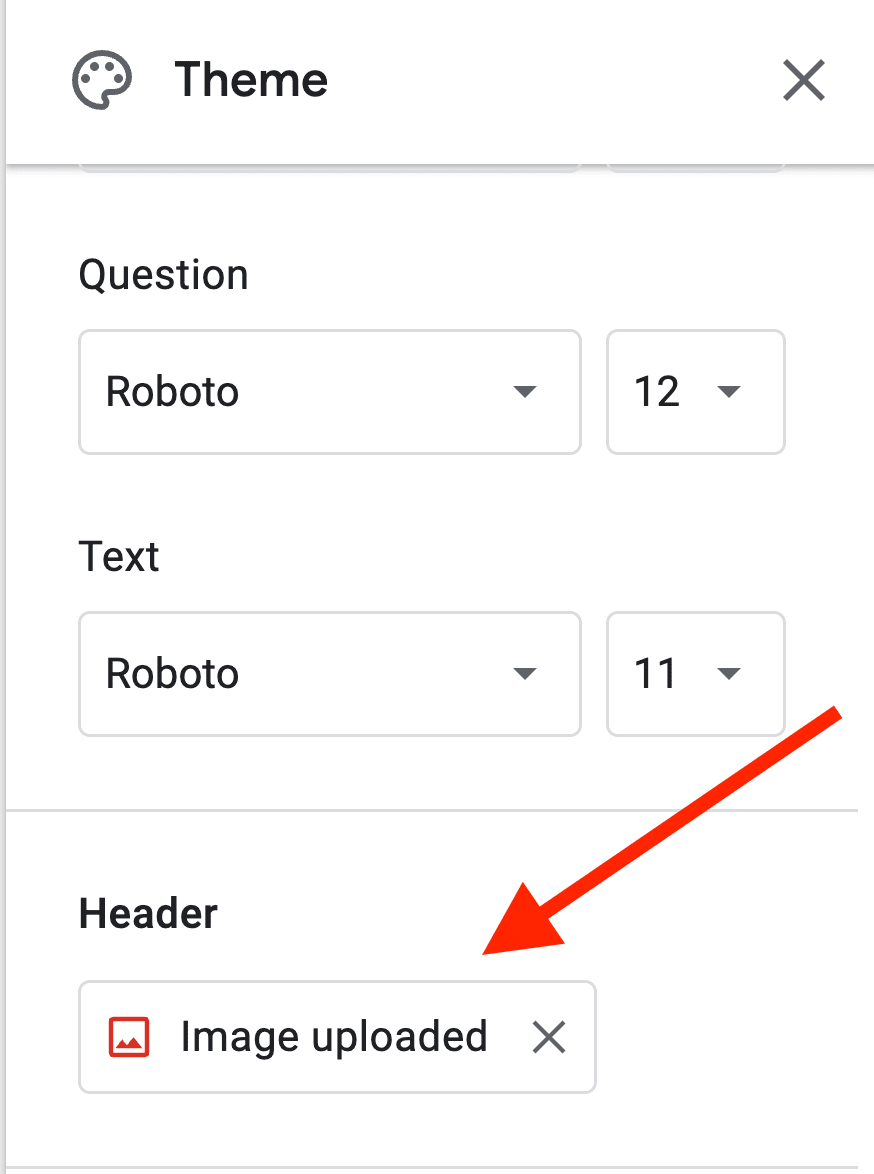
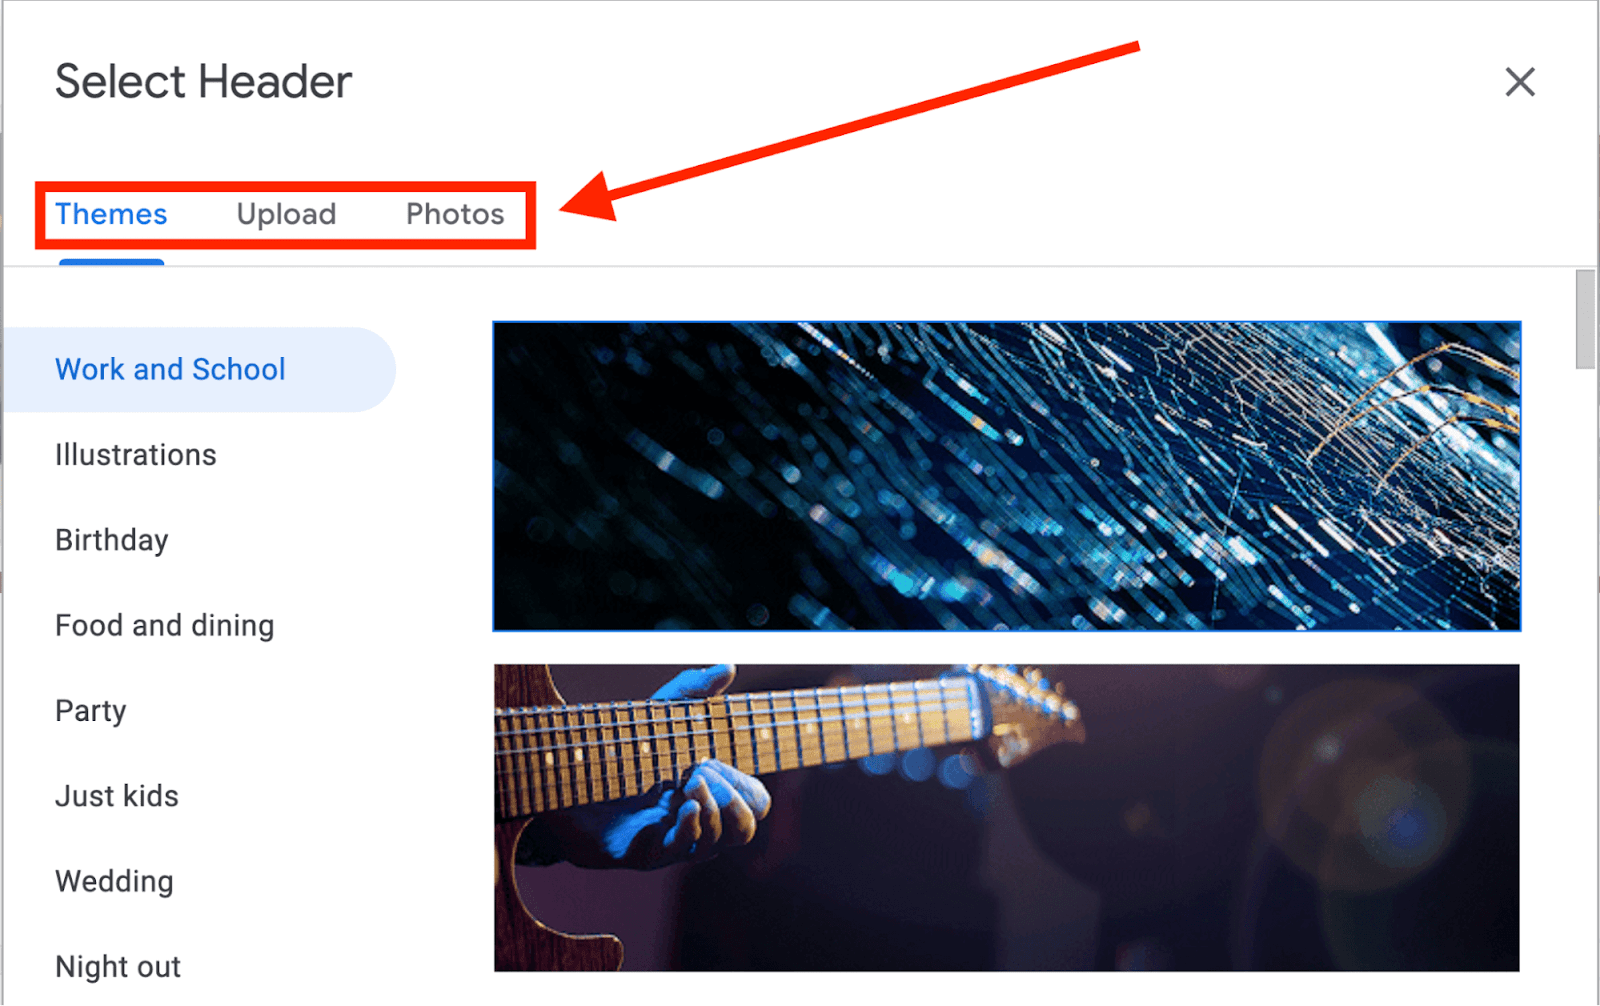
1. Add a Header Image: From the "Customize Theme" menu, click “image uploaded”:
Here you’ll have a template of themes you can choose from. You can also upload your own picture or select from your Google Photos:
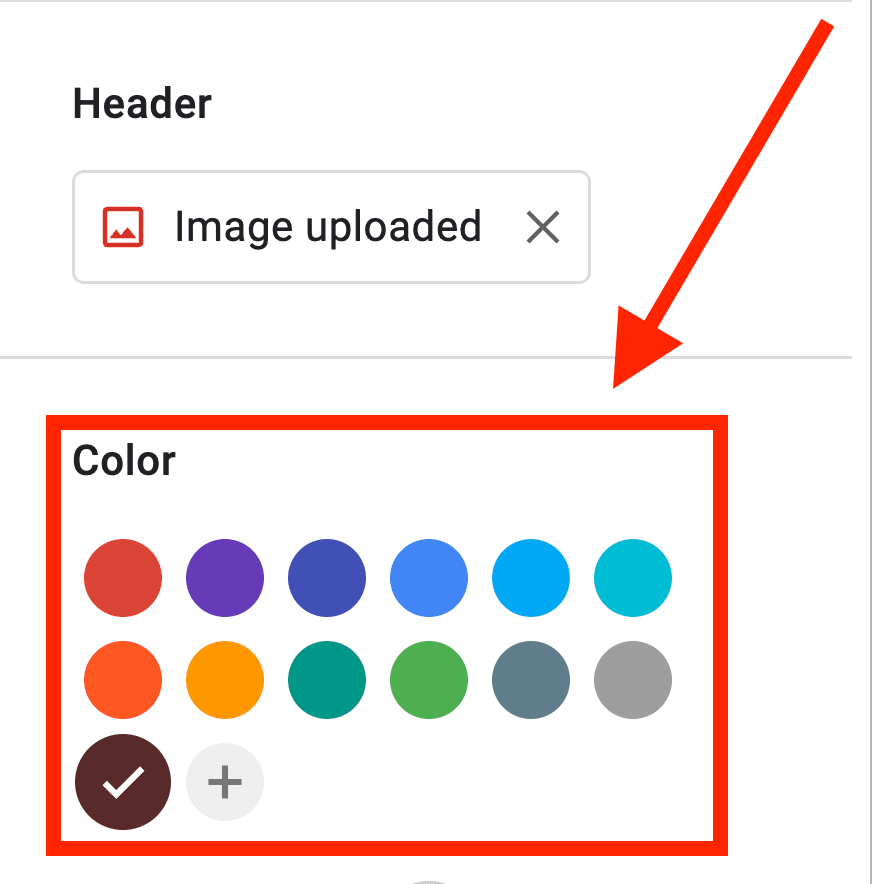
2. Select Color Scheme: Choose from the available color options or create a custom color scheme (by clicking the plus ‘+’ sign) that matches your event's theme:
3. Adjust Font Style and Size: Customize the font style and size for the header, questions, and answers to make your form more engaging:

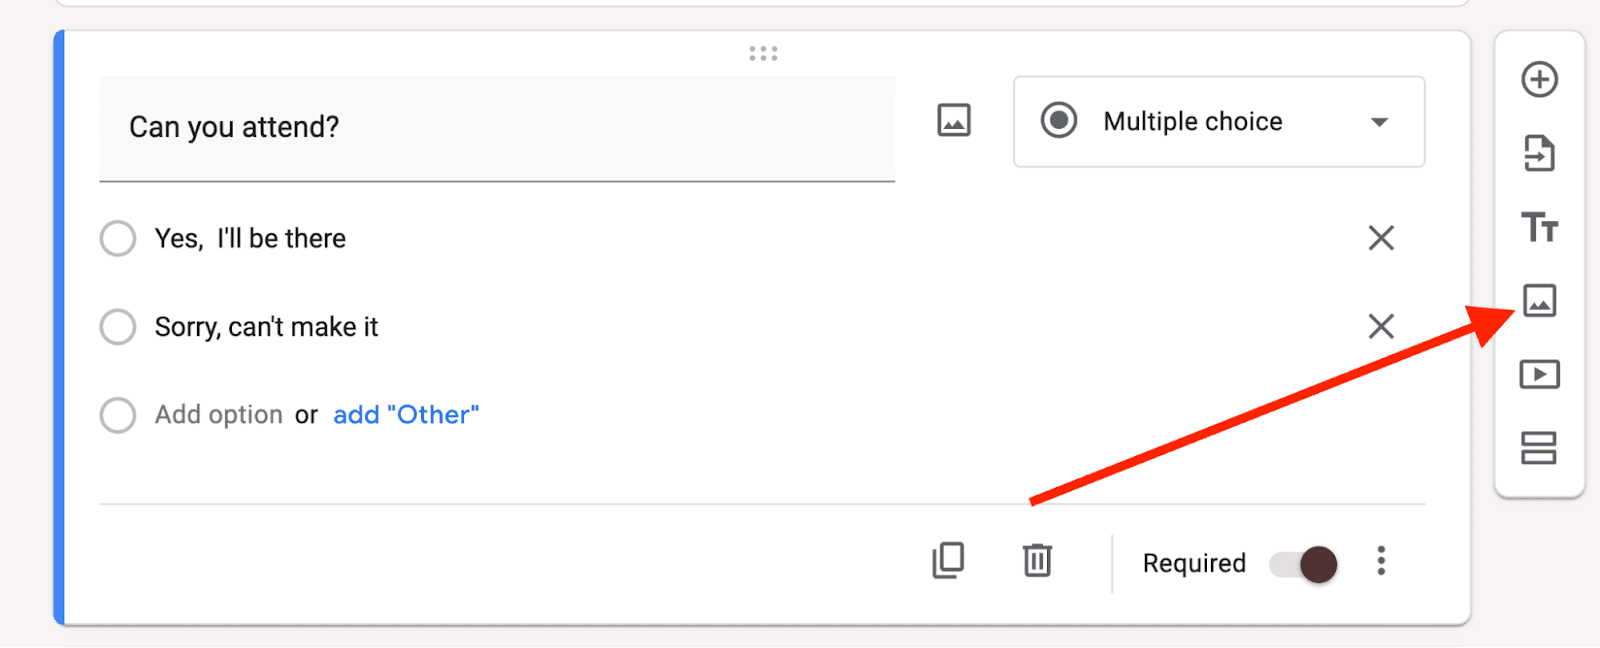
4. Insert Images: To add images to specific questions (like for a menu), click the image icon next to the question and choose or upload a picture:
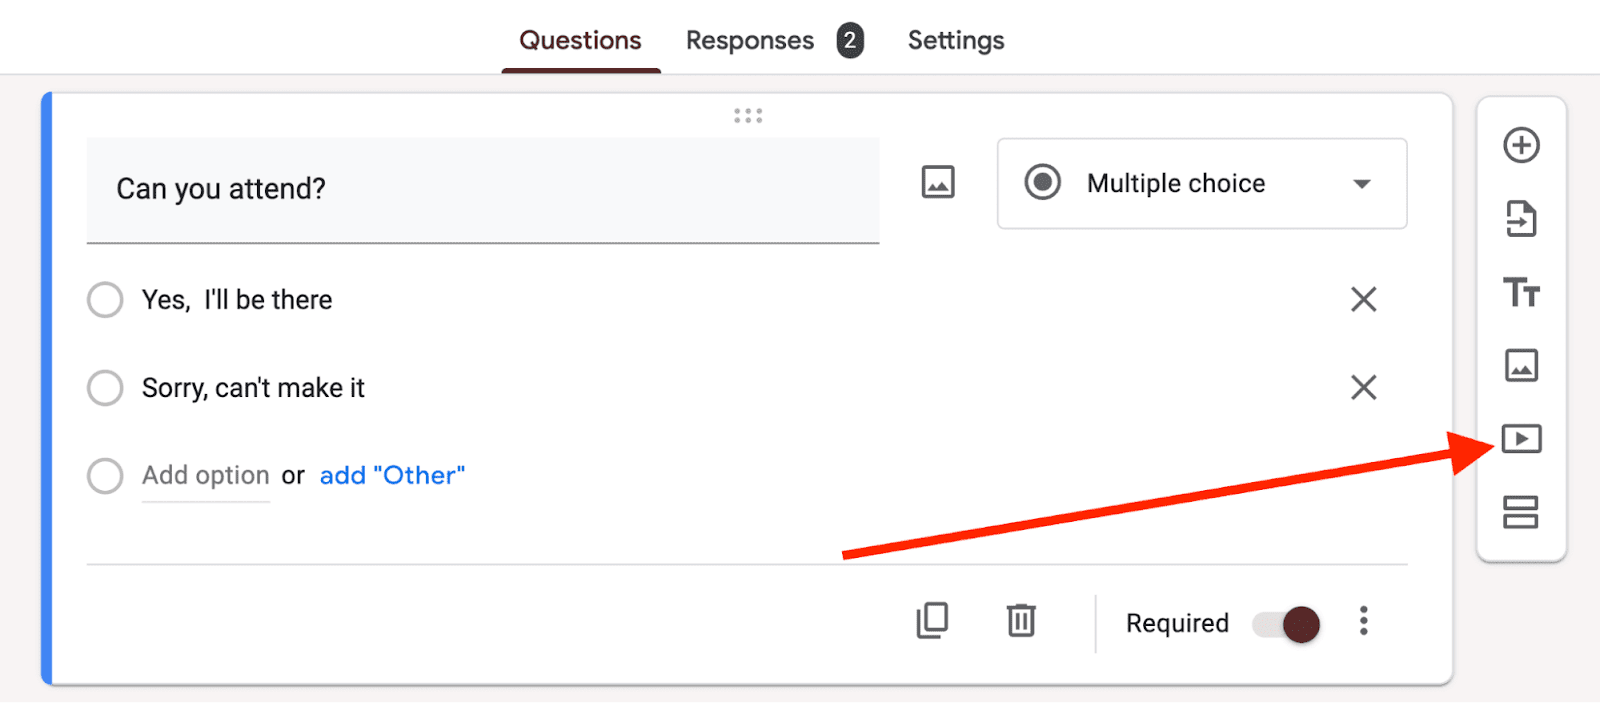
5. Embed Videos: Click on the "Video" button to add a video by pasting the URL or uploading from your computer.
Step 5: Adjust Form Settings
Further Info
To prevent overbooking or duplicate responses, explore 3 ways to limit responses in Google Forms.
Go to the "Settings" tab to manage 'Responses', 'Presentation', and 'Defaults'.
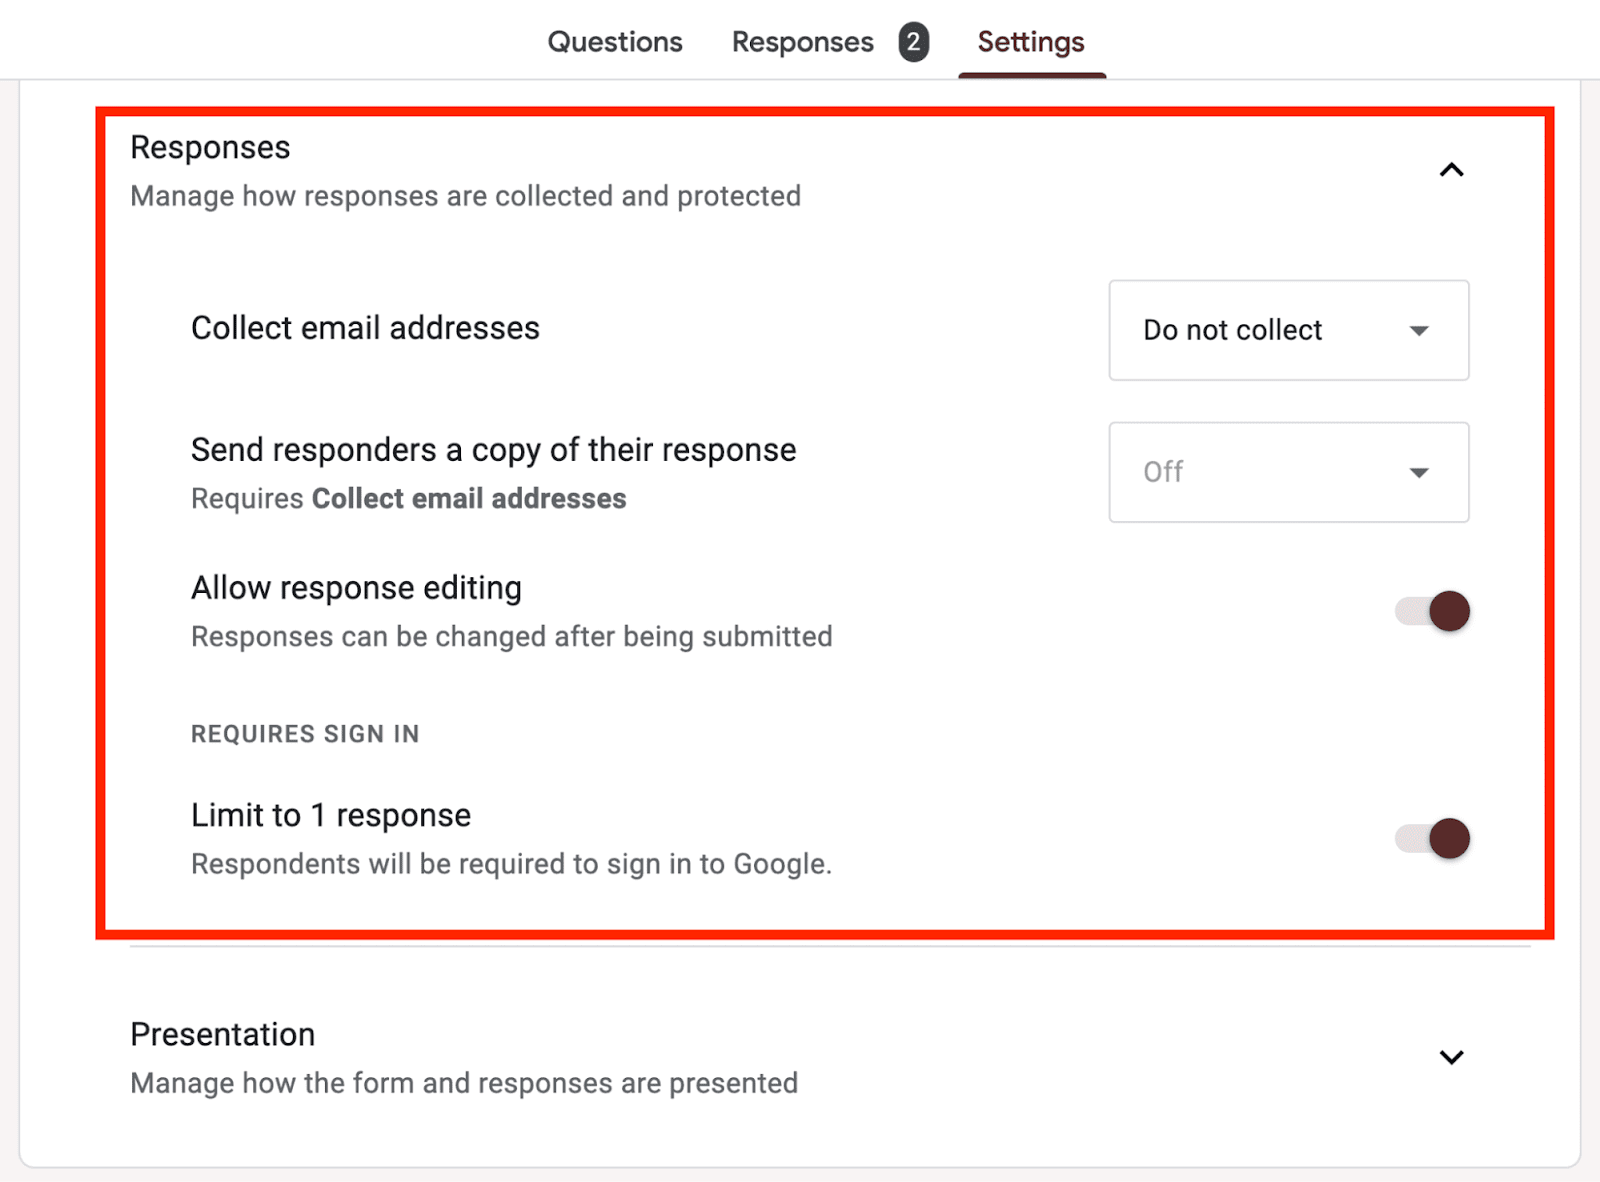
1. Manage Responses: In the 'Responses' section, choose how to receive and protect responses, including options for response editing and limiting the number of responses:
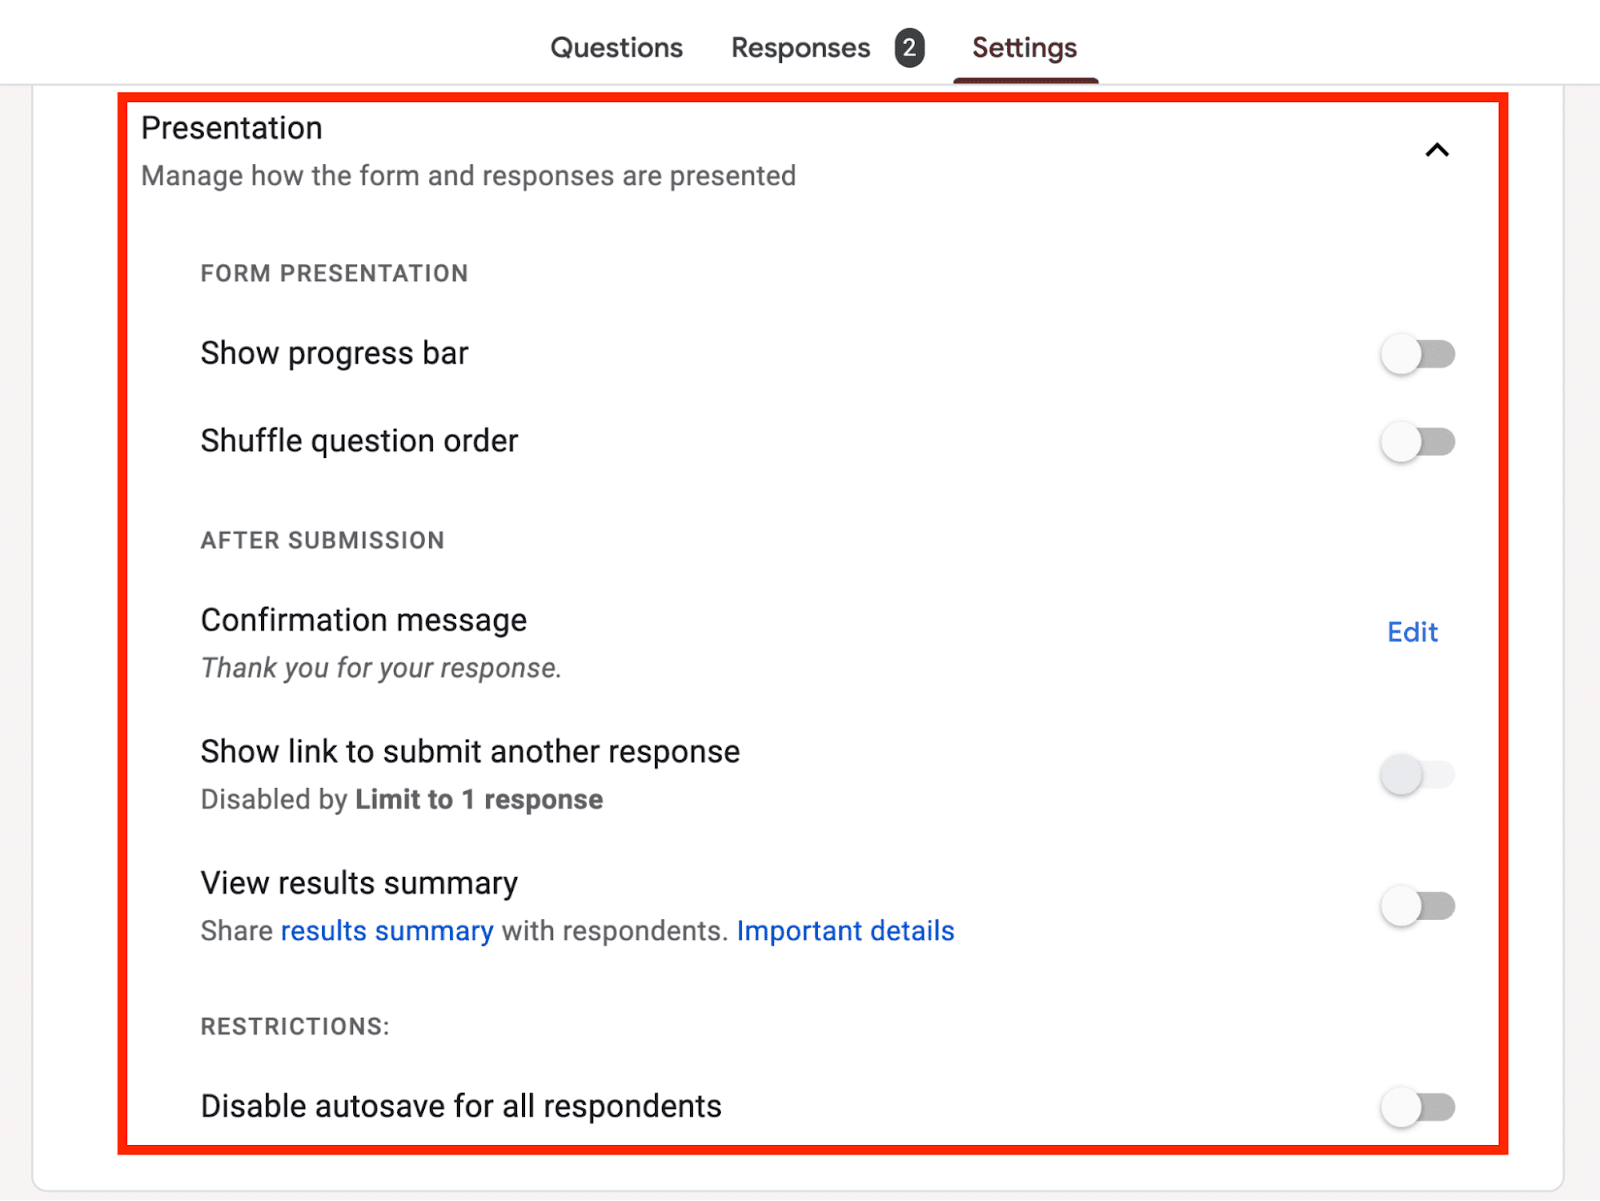
2. Presentation Options: In the 'Presentation' section, you can add a progress bar, customize the confirmation message, and decide on the form's display style:
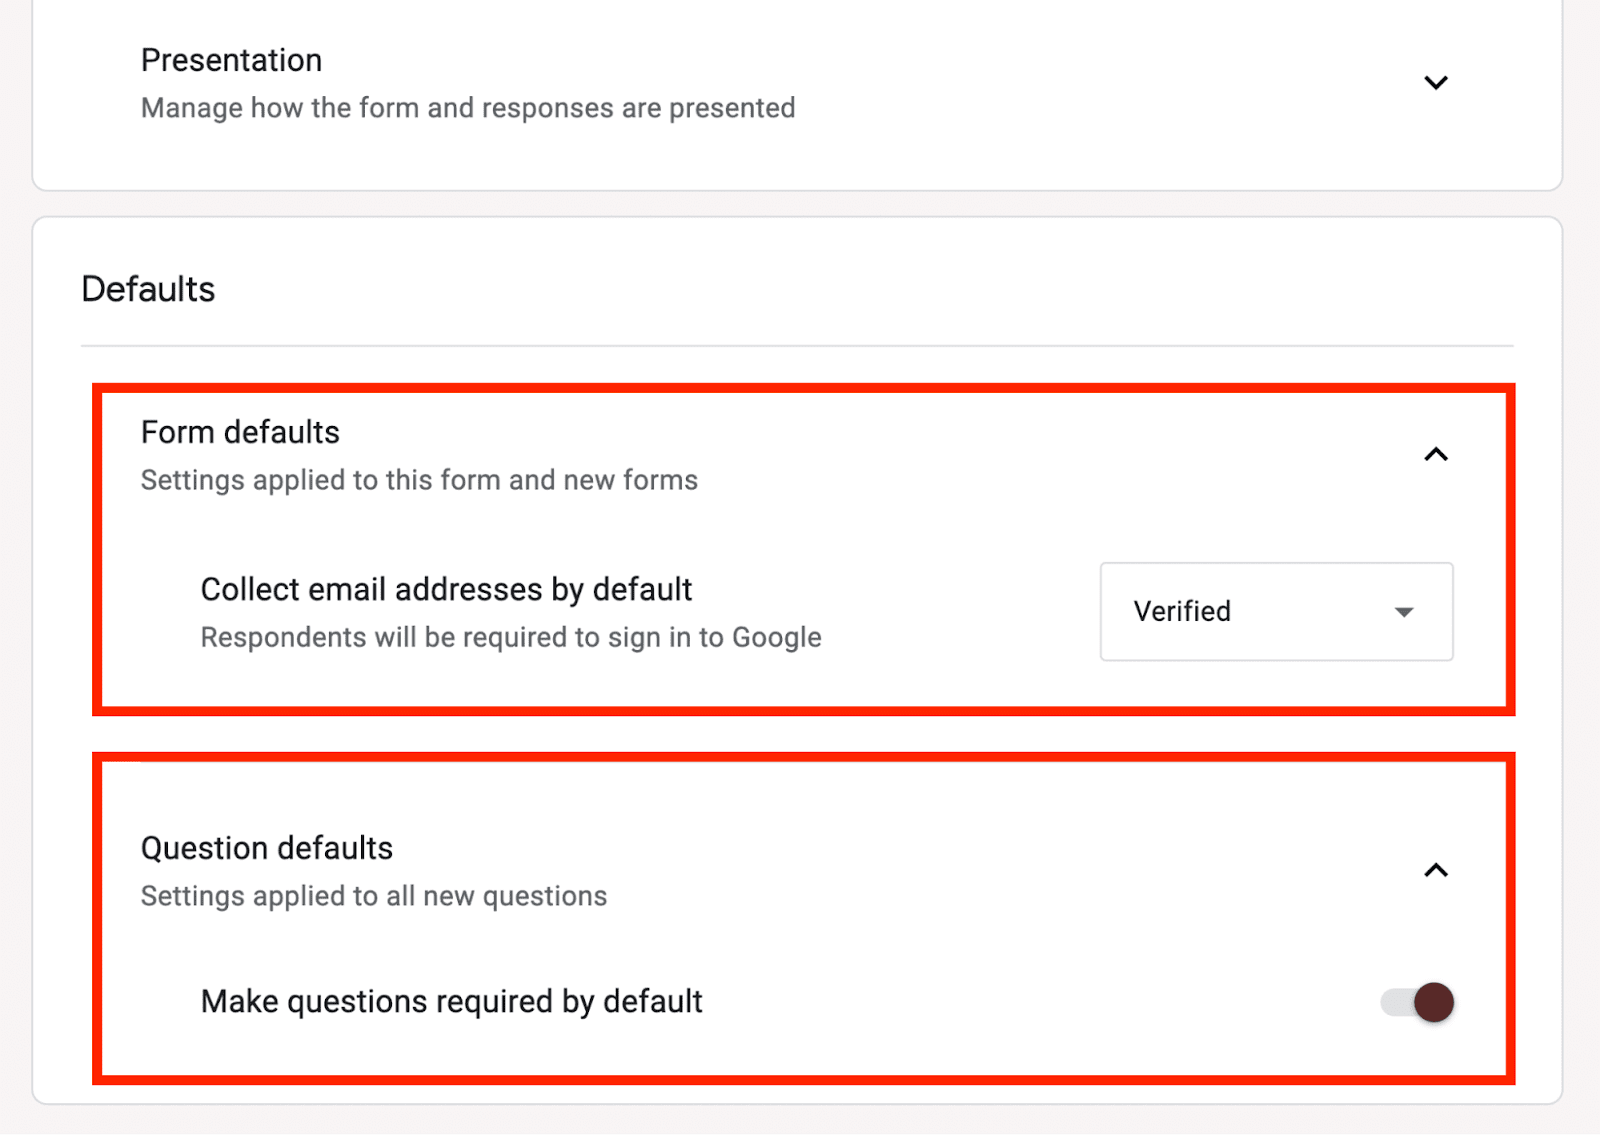
3. Set Defaults: Under 'Form defaults', set options like collecting email addresses by default. In 'Question defaults', you can make questions required by default:
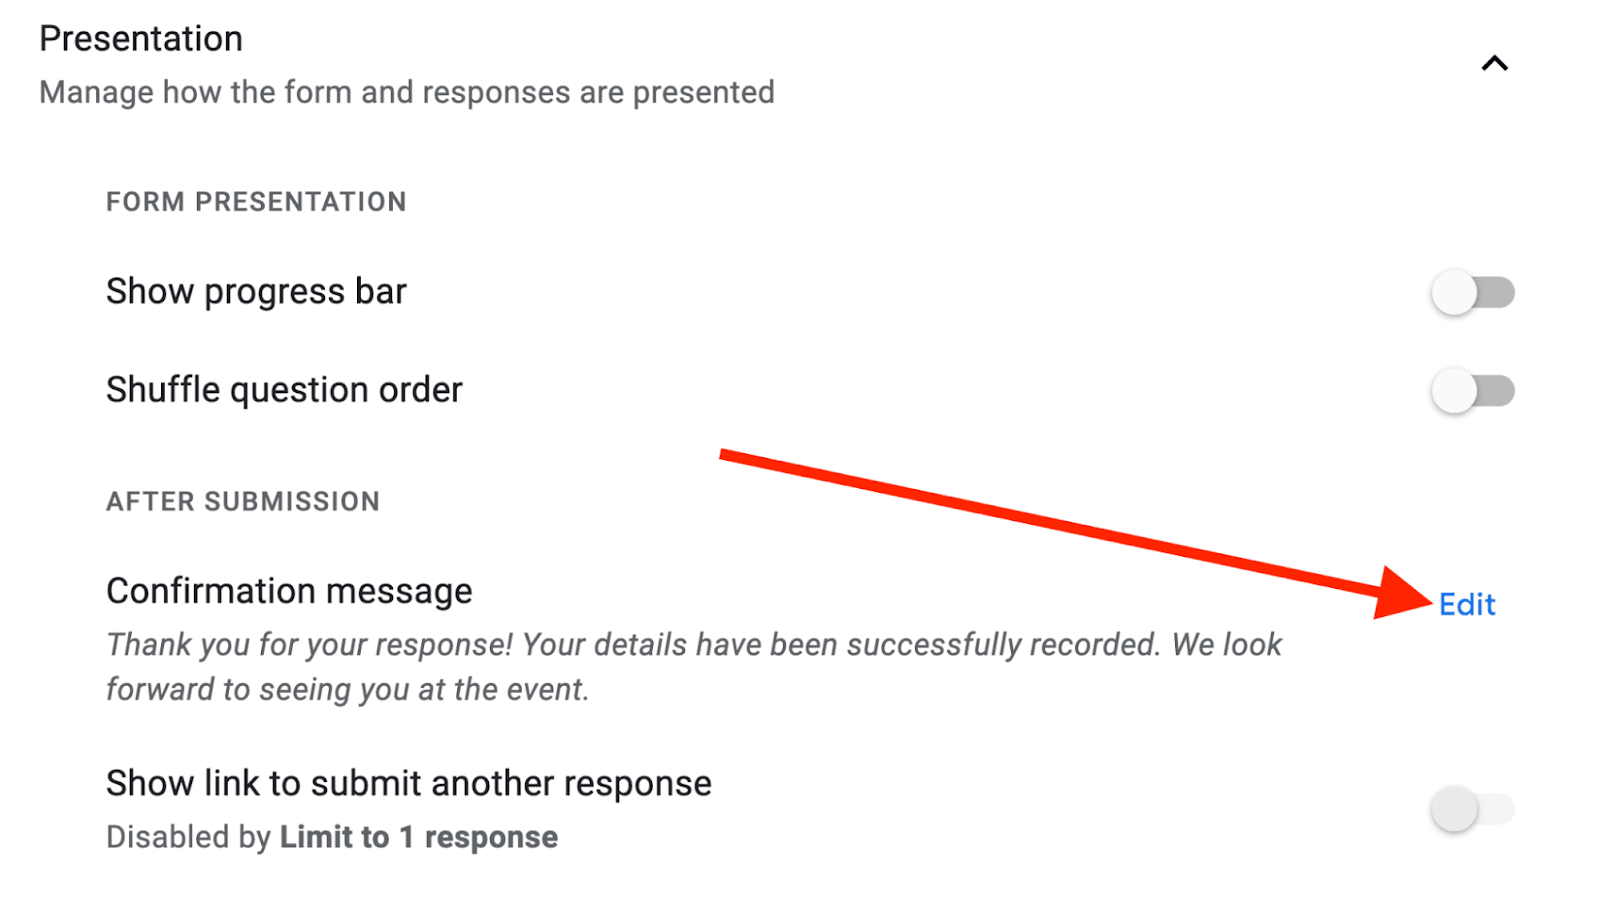
4. Custom Confirmation Message: Edit the confirmation message to thank respondents or redirect them to another form or website.
In the Settings tab, go to the ‘Presentation’ section. Click on the ‘Edit’ button and say something nice to the respondents:
5. Custom confirmation messages you can use:
i. Thank you for your response! Your details have been successfully recorded. We look forward to seeing you at the event.
ii. Your RSVP is now in the stars! We're thrilled to count you in. Prepare for an unforgettable experience where joy, laughter, and memories await. See you there!
iii. Brace yourself, an epic adventure awaits! Thanks for hitting that 'Yes' button – your RSVP has been captured by party elves. Get ready for a day/night of legendary fun. P.S. Dancing shoes recommended, party hats optional!
Step 6: Share Your Form
Once your RSVP form is ready, the next step is to share it with your invitees. Google Forms offers several convenient ways to distribute your form:
Via Email
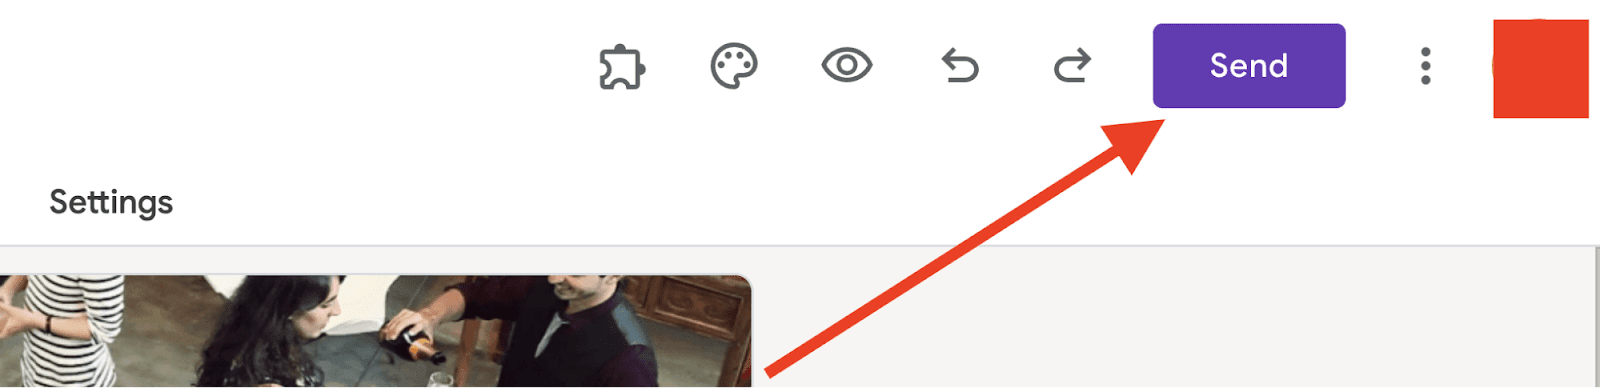
You can Send RSVPs Directly Through Email. Click on the 'Send' button at the top-right corner of your form:
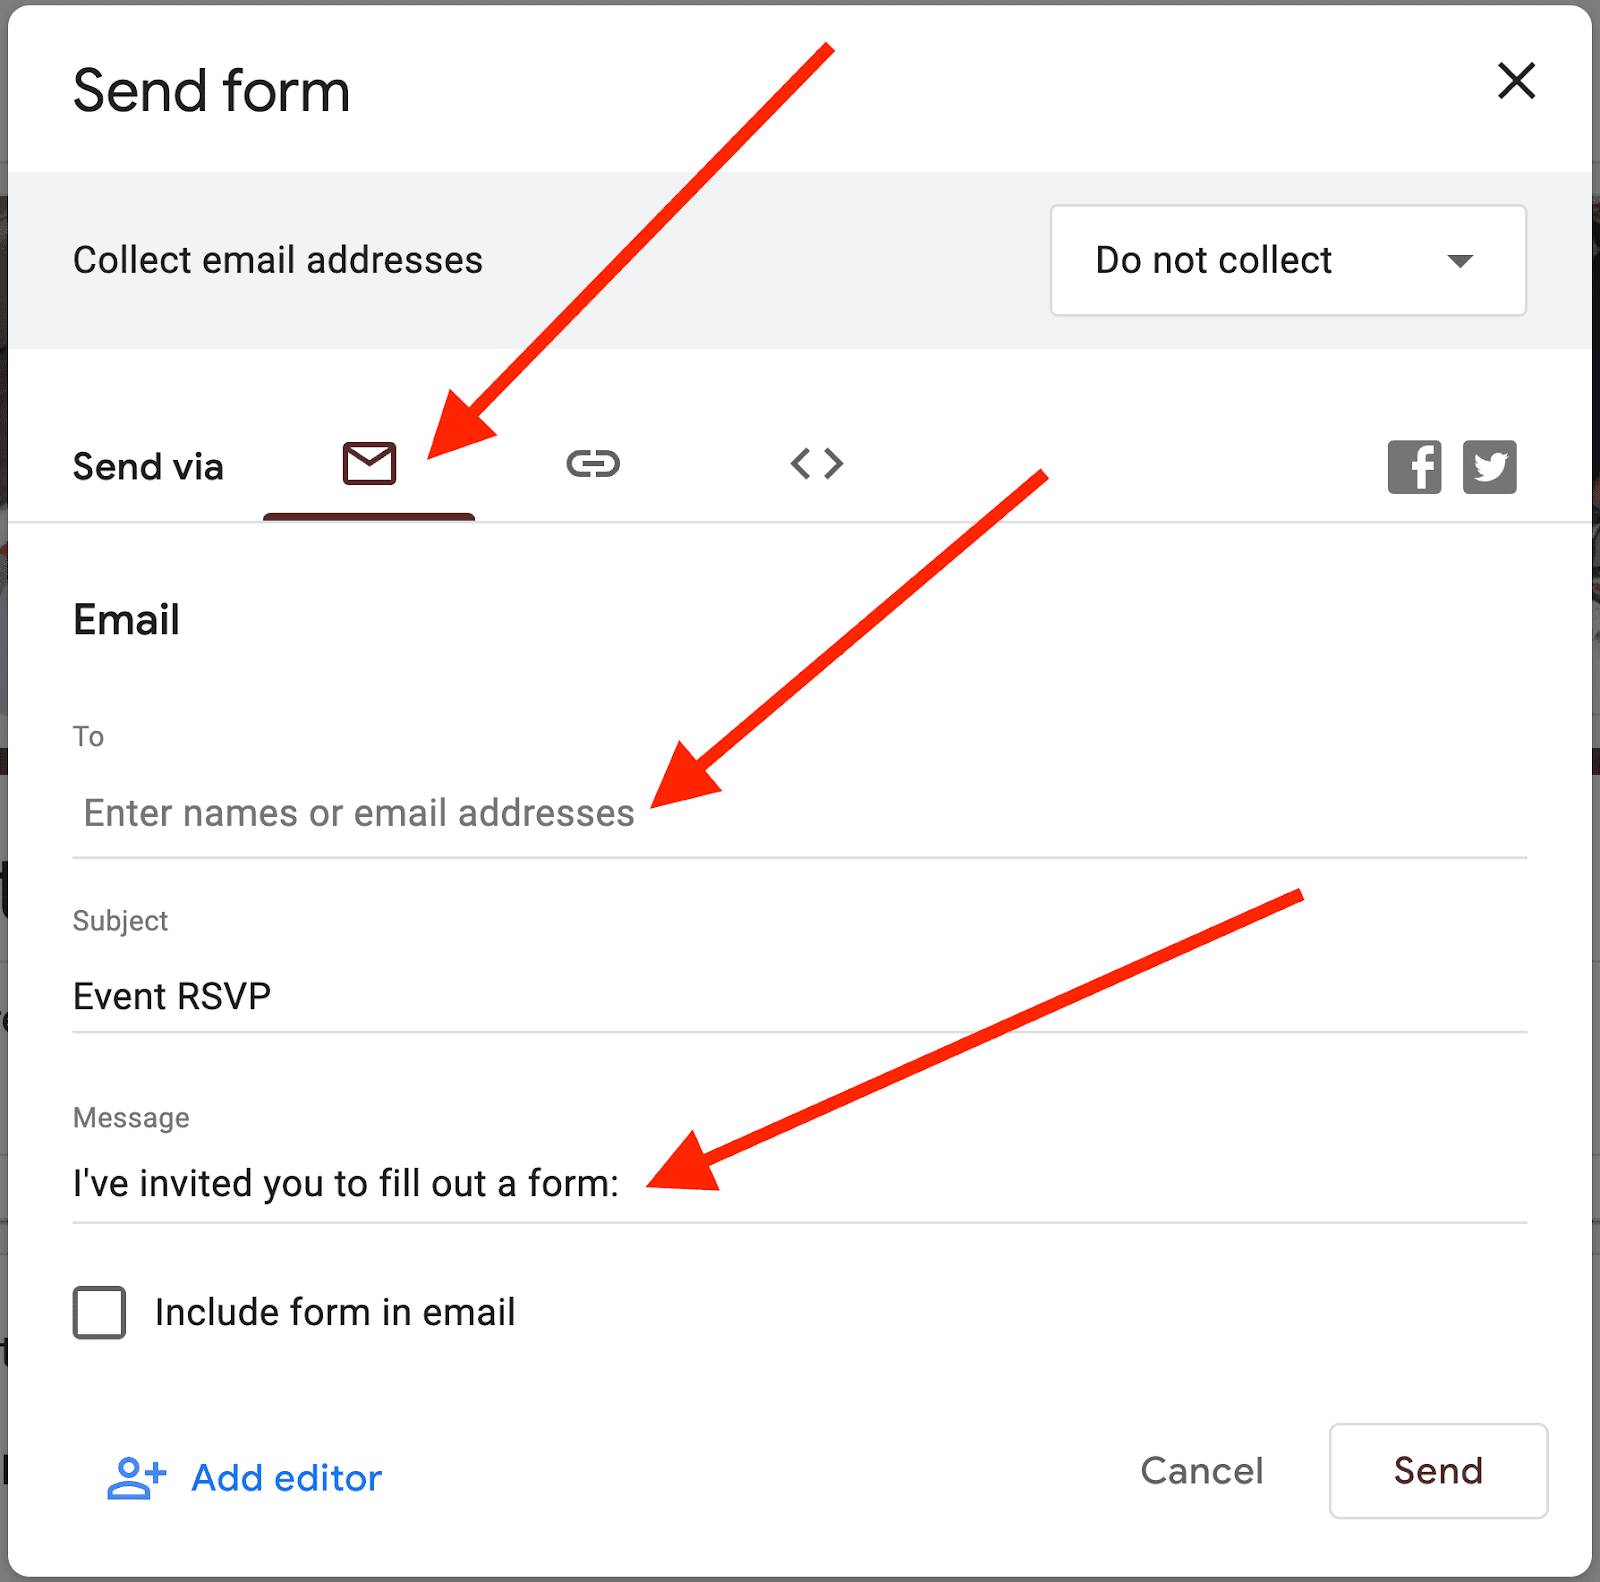
Enter the email addresses of your guests in the pop-up window. You can add a personalized message for a more personal touch:
Via URL
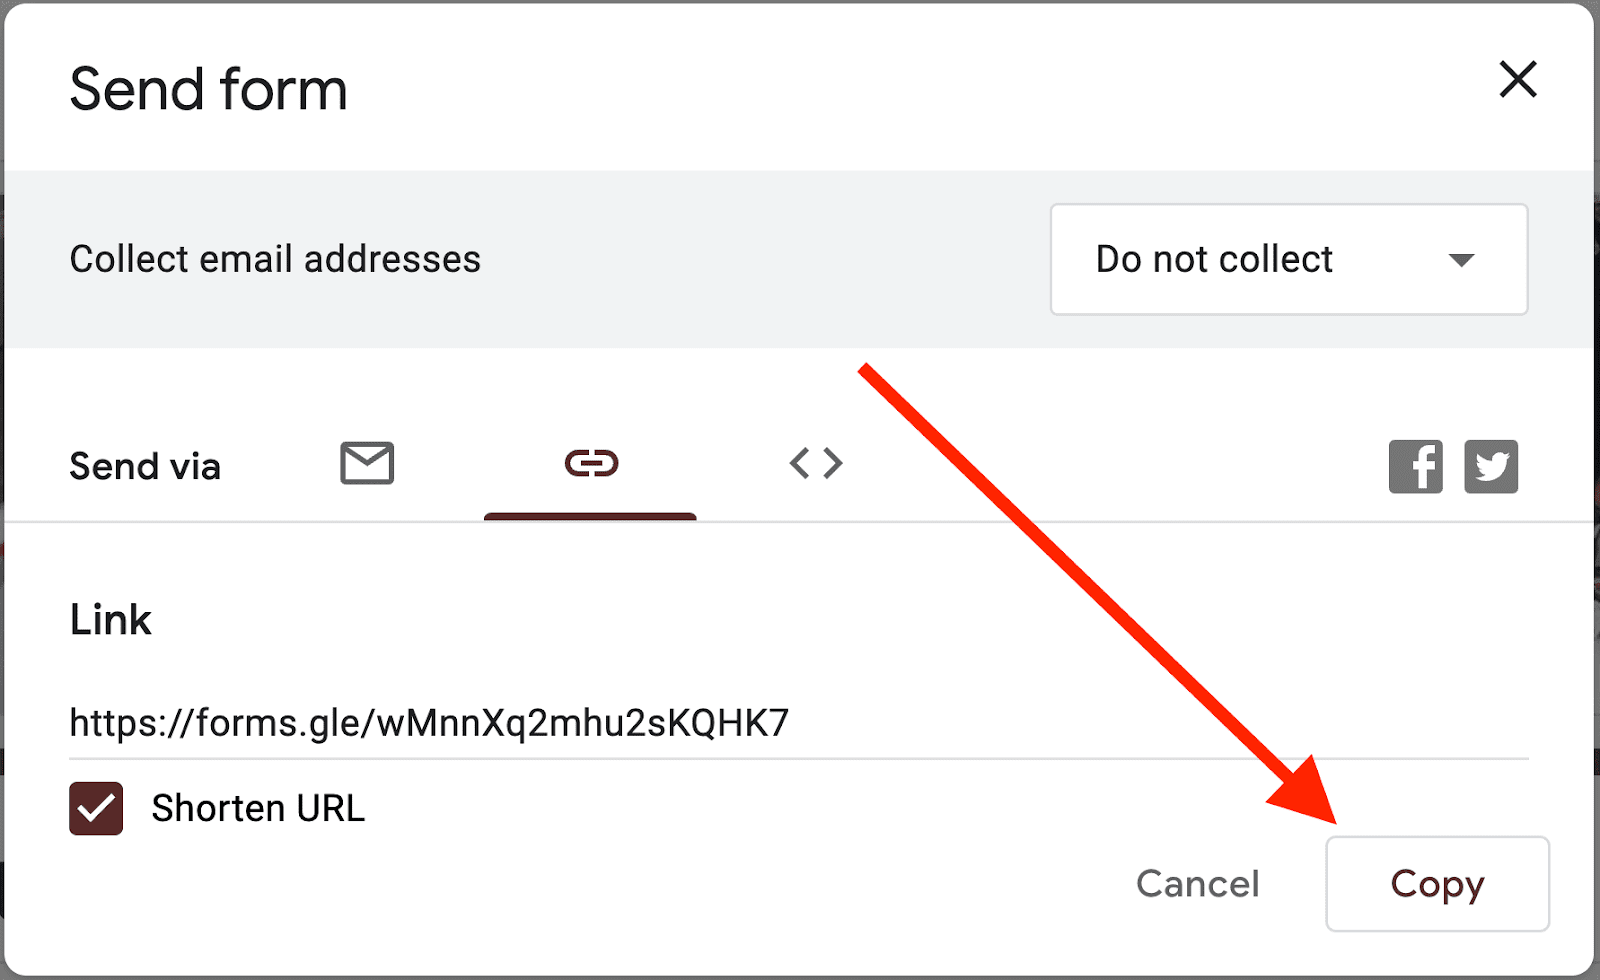
1. Create a Shareable Link: Click on the 'Send' button at the top-right corner of your form, navigate to the 'Link' section. Check the 'Shorten URL' box to create a more manageable link.
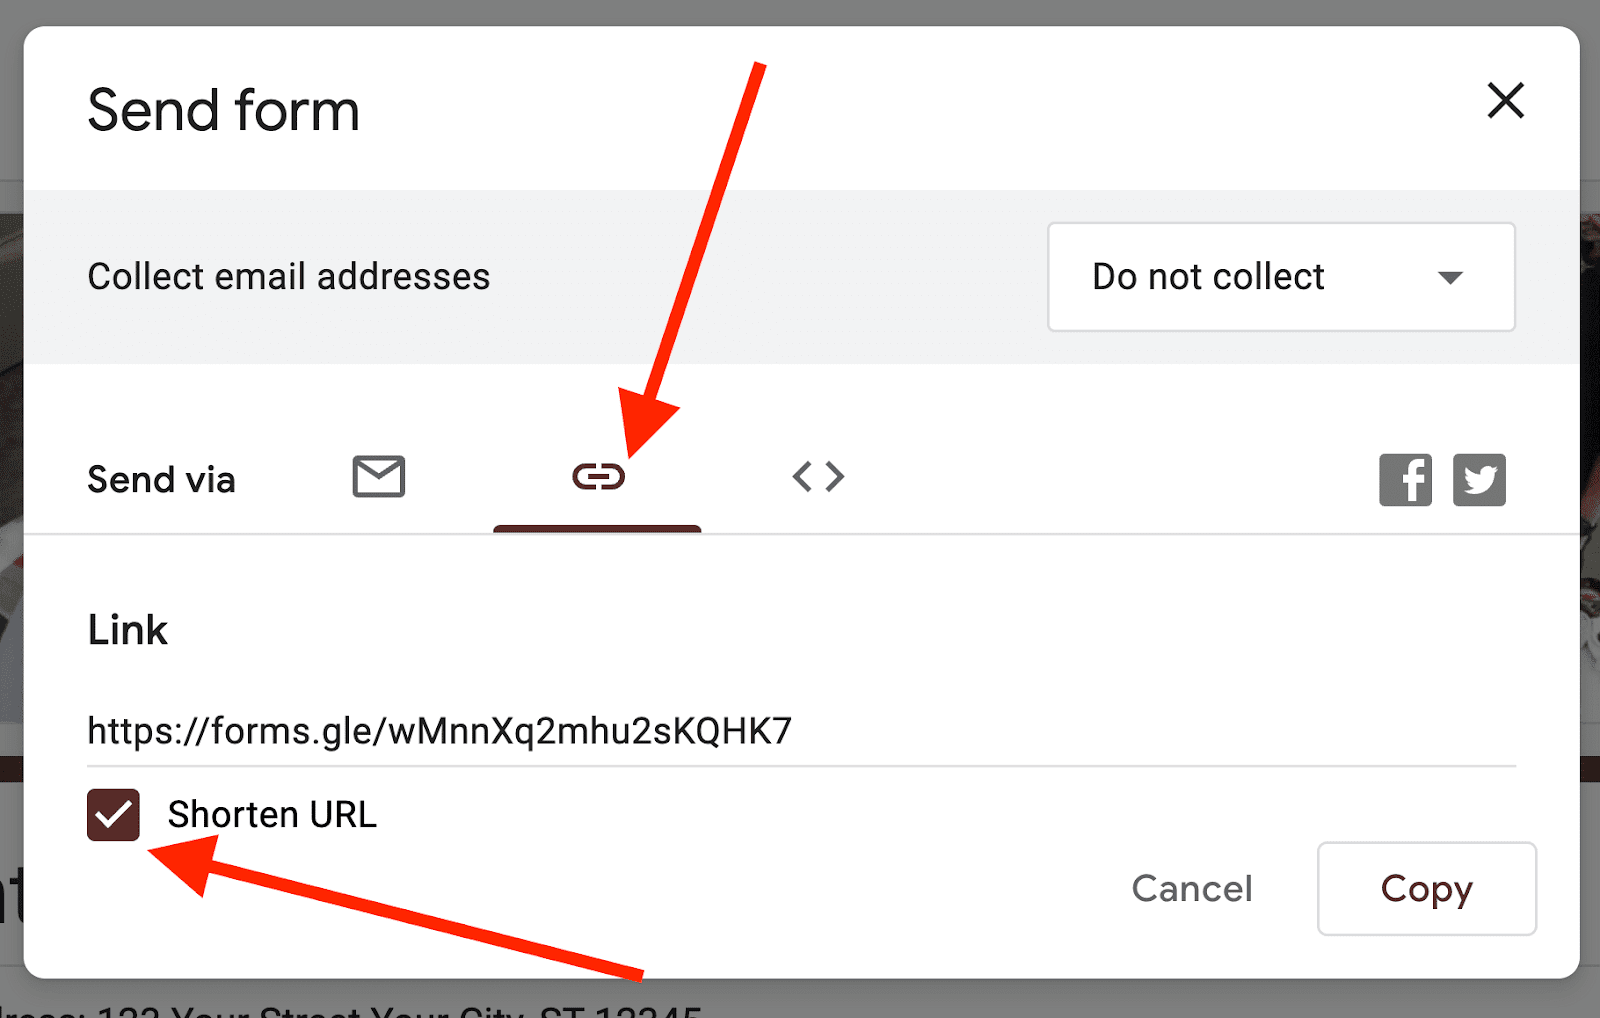
2. Copy and Share the Link: Copy the shortened link and share it via text, SMS, messaging apps like WhatsApp, iMessage, Telegram, or even through a QR code:

3. Generate a QR Code (Optional): Use a reliable QR code generator to create a QR code for your form link, making it easy for guests to access the form by scanning the code.
Via Social Media
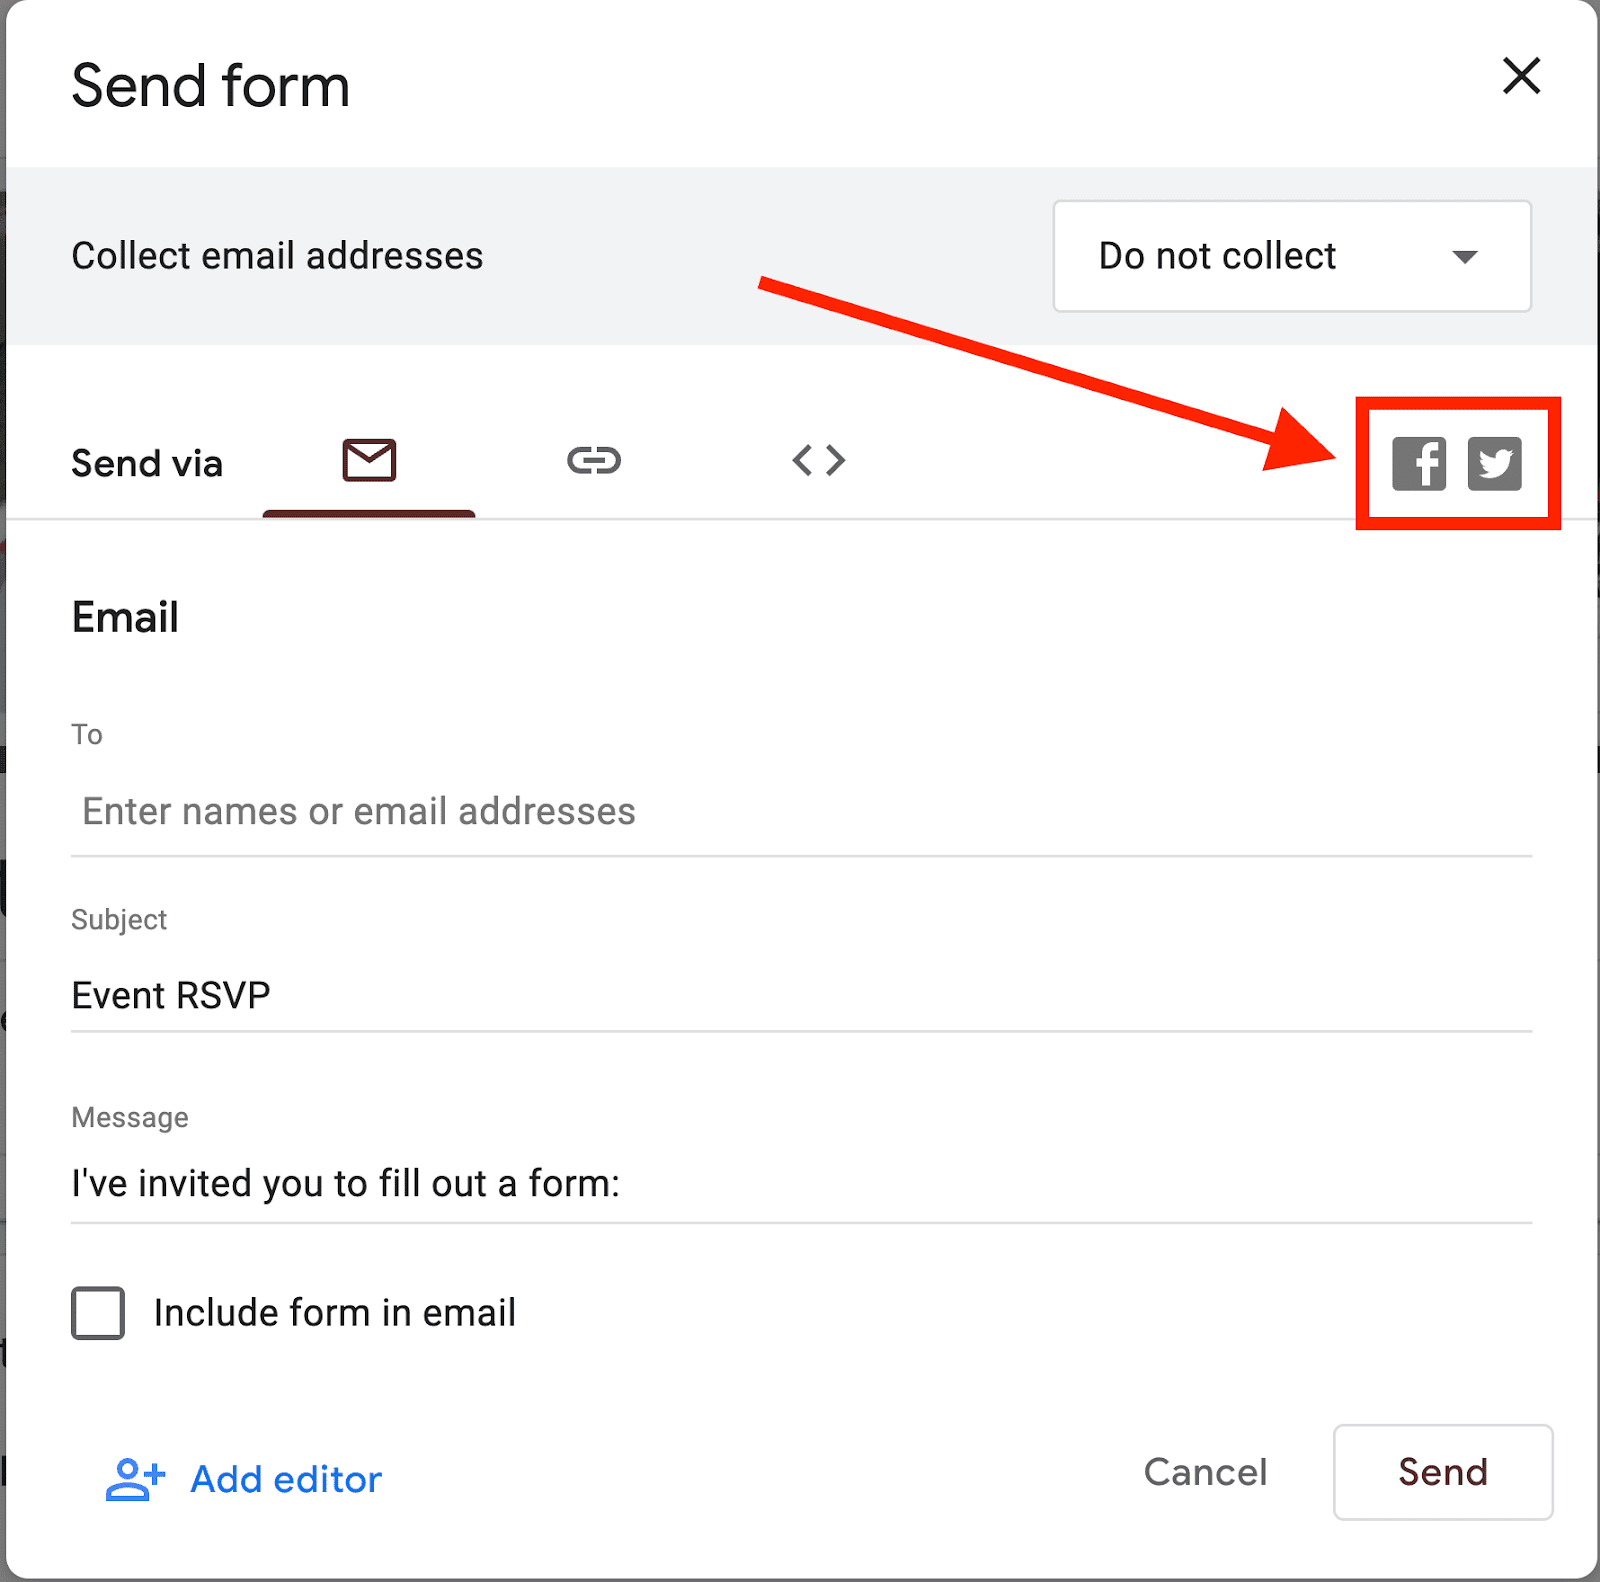
For public events, sharing your RSVP form on social media platforms like Facebook and Twitter can be effective.
In the 'Send' window, click on the respective icons to share your form directly on these platforms:
Embed on Your Website
Embed the Form: If you have a website or blog, you can embed the RSVP form directly onto your site.
As always, open the ‘Send’ window and click on the HTML icon:
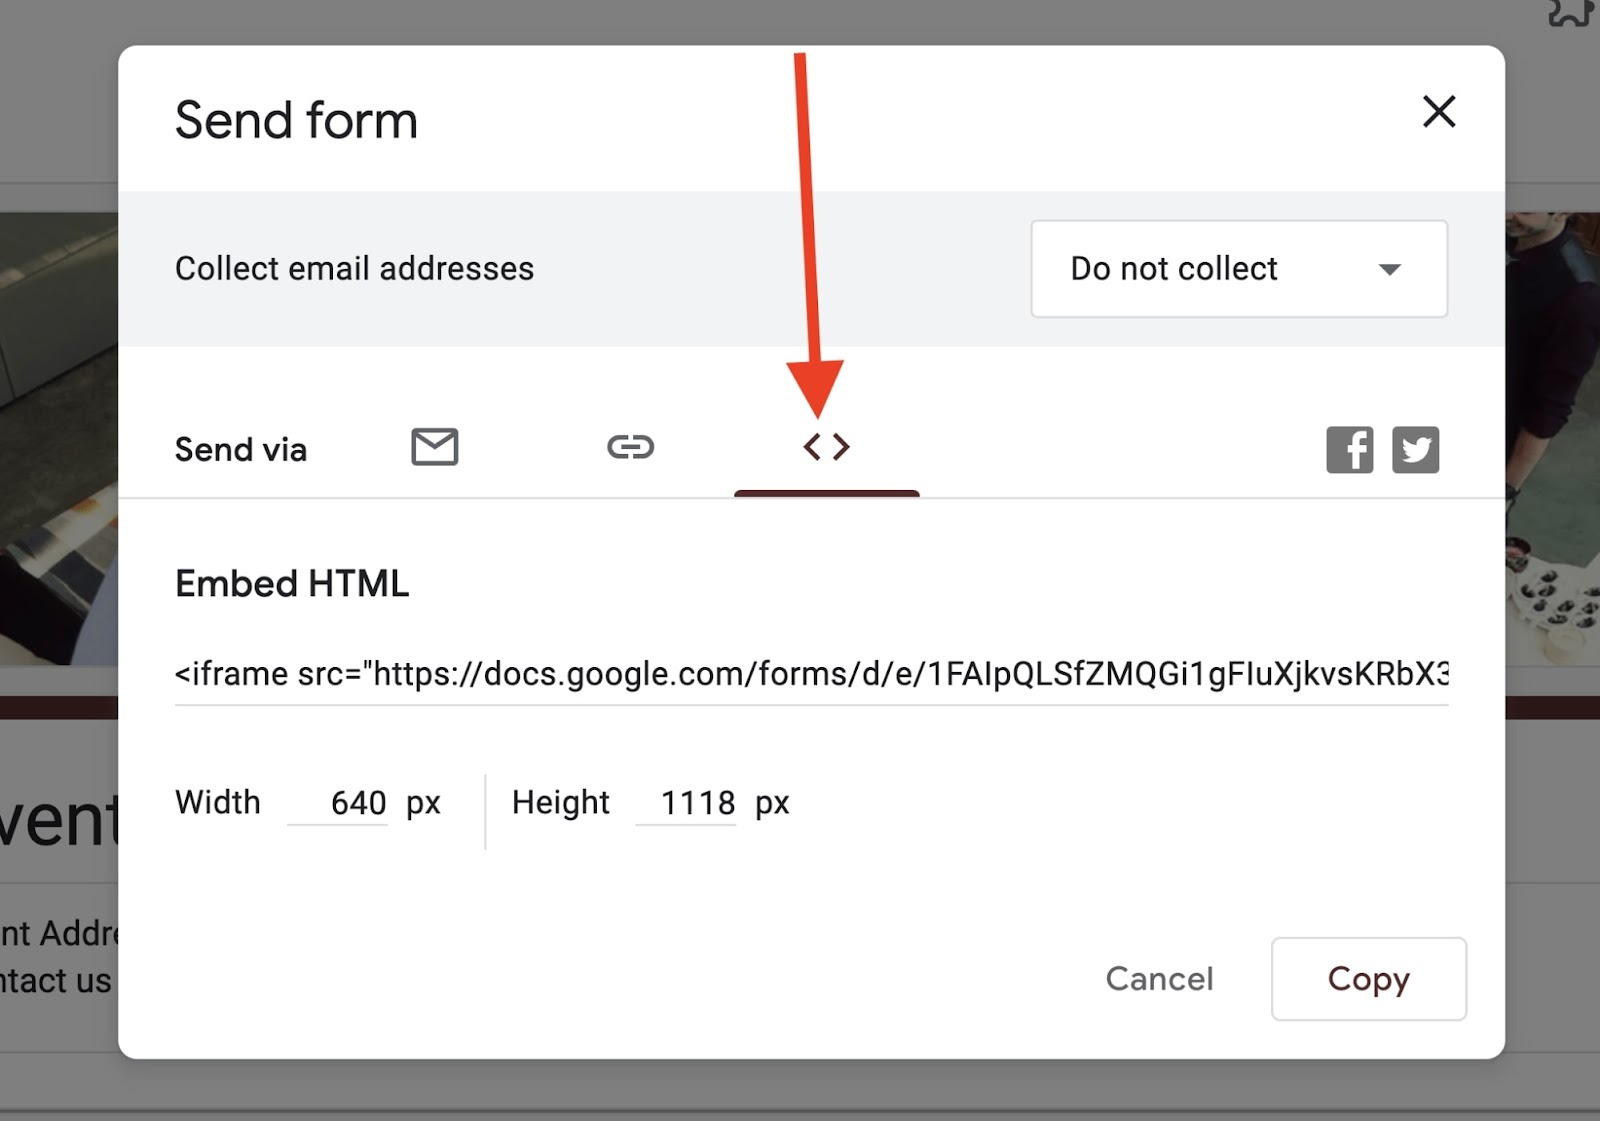
Now copy the code to paste it on your site HTML code:
You should see this form on your site set up correctly.
Step 7: Manage and Track Responses
Read More
To further analyze your event's data, learn how to easily view analytics in Google Forms.
Viewing Responses
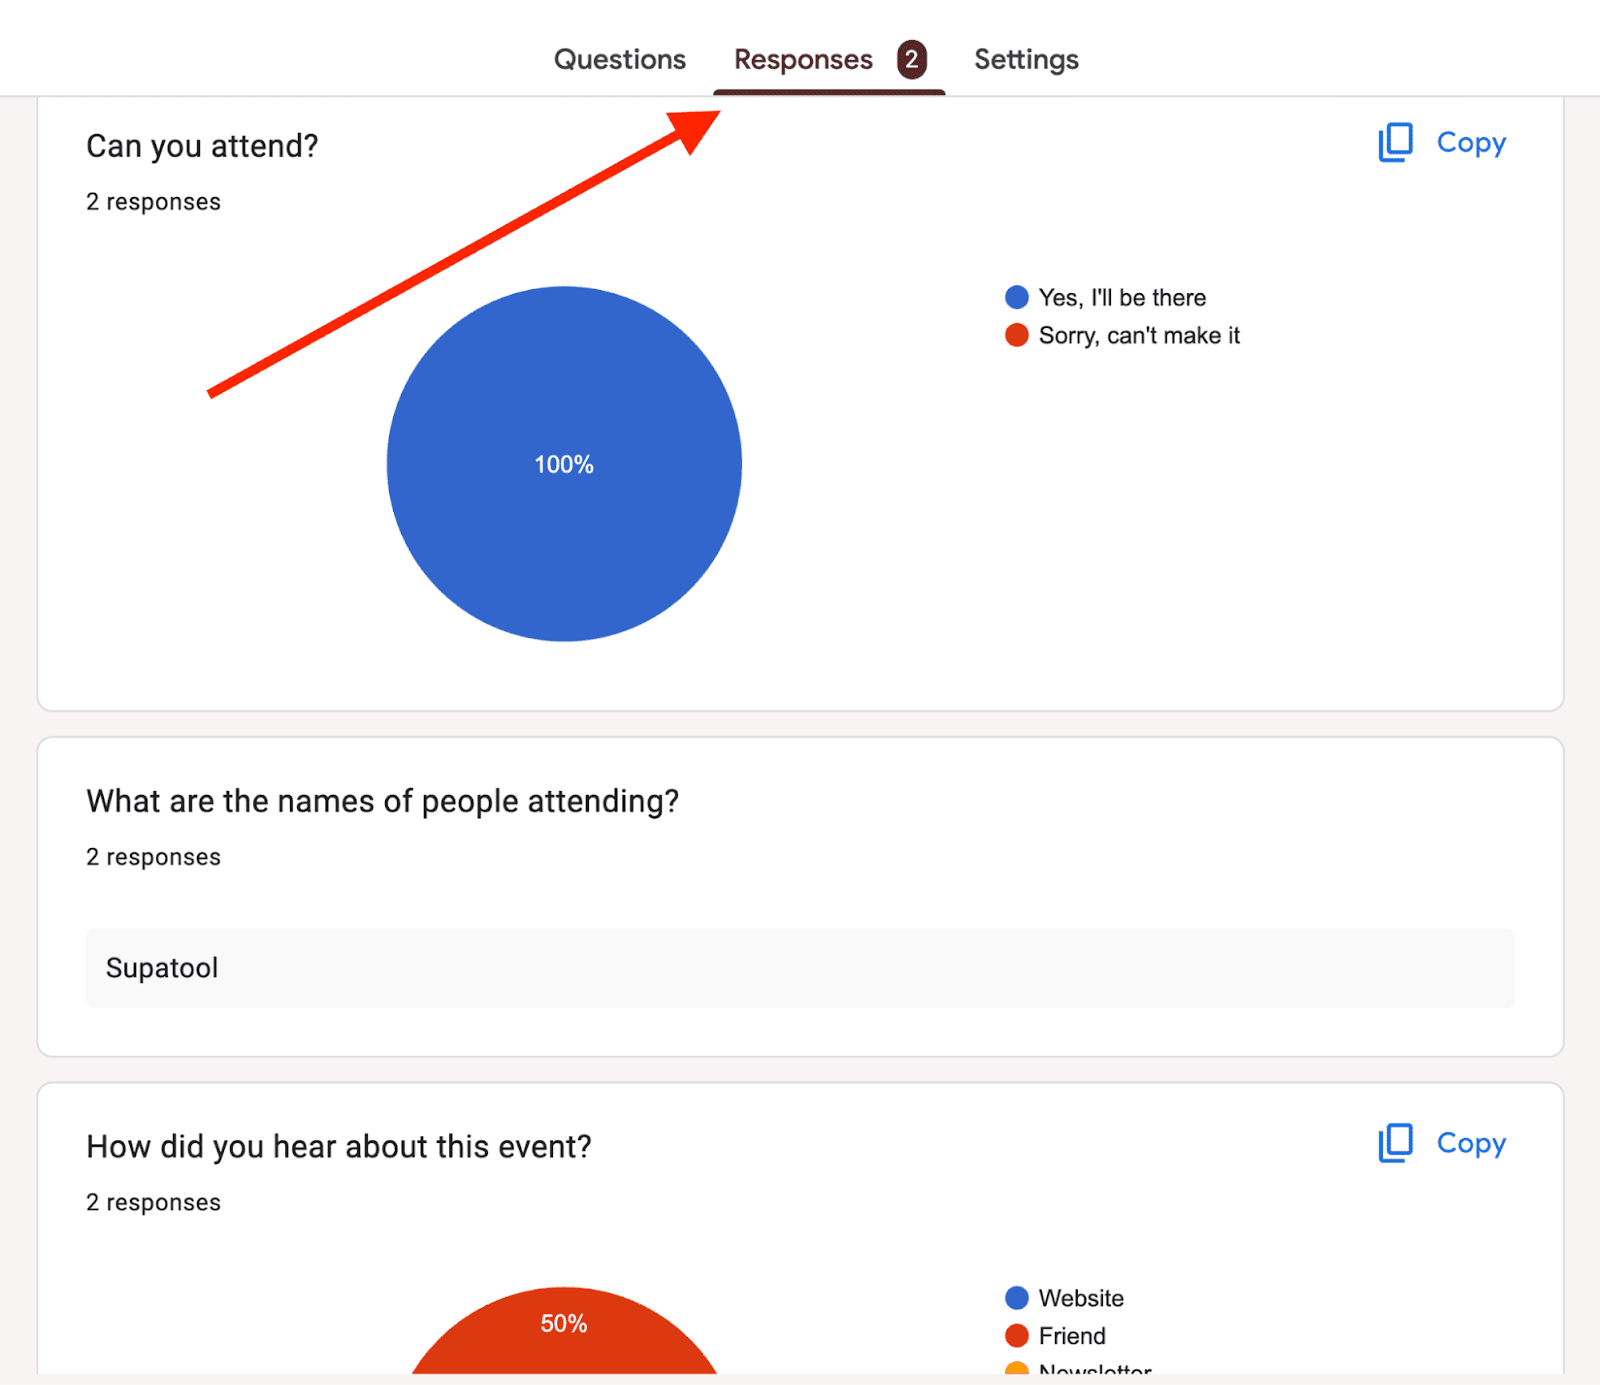
1. Access the Responses Tab: Click on the 'Responses' tab at the top of your form page to view a summary of all the responses:
2. Review Individual Responses: In the 'Responses' tab, head over to ‘Individual’:
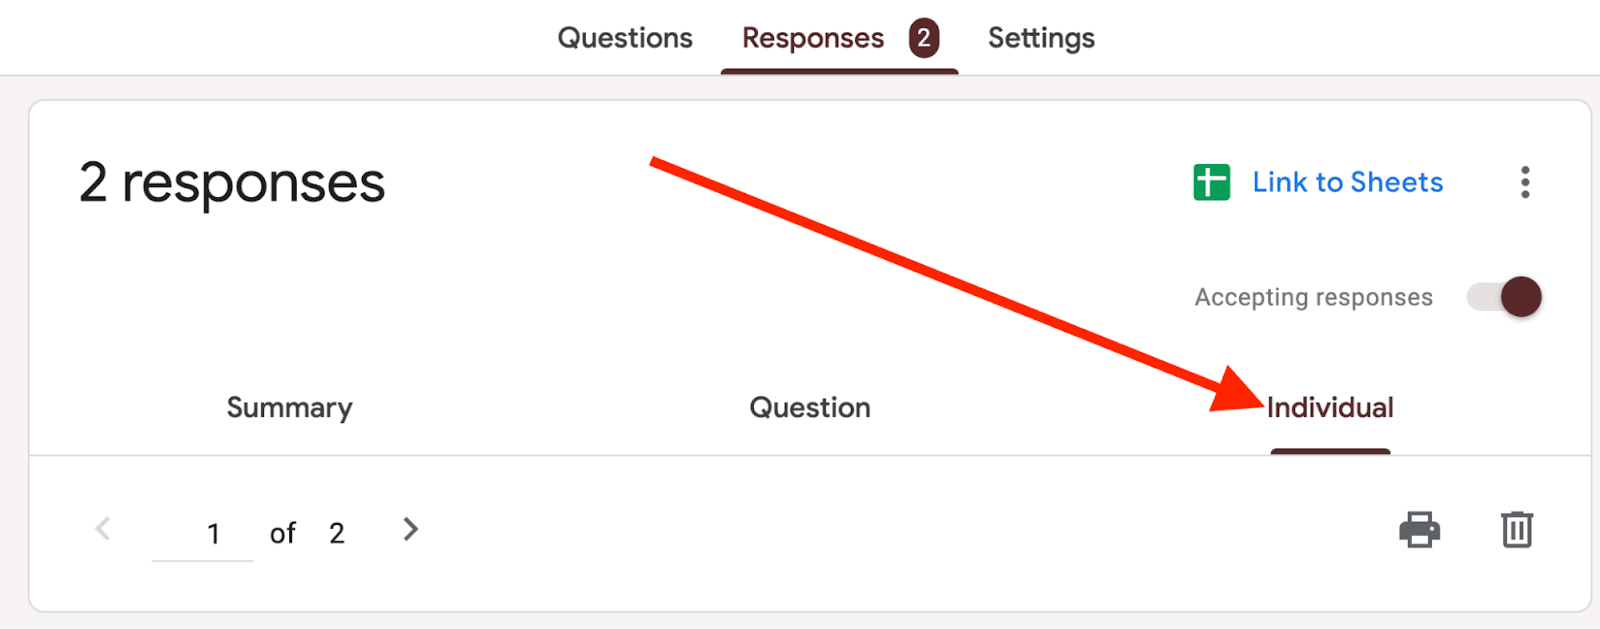
You can see each guest's response in detail, helping you track who will be attending and their specific requirements.
Setting Up Notifications
To stay updated with new responses, click on the three-dot icon (right beside the Google sheet link option) in the 'Responses' tab:
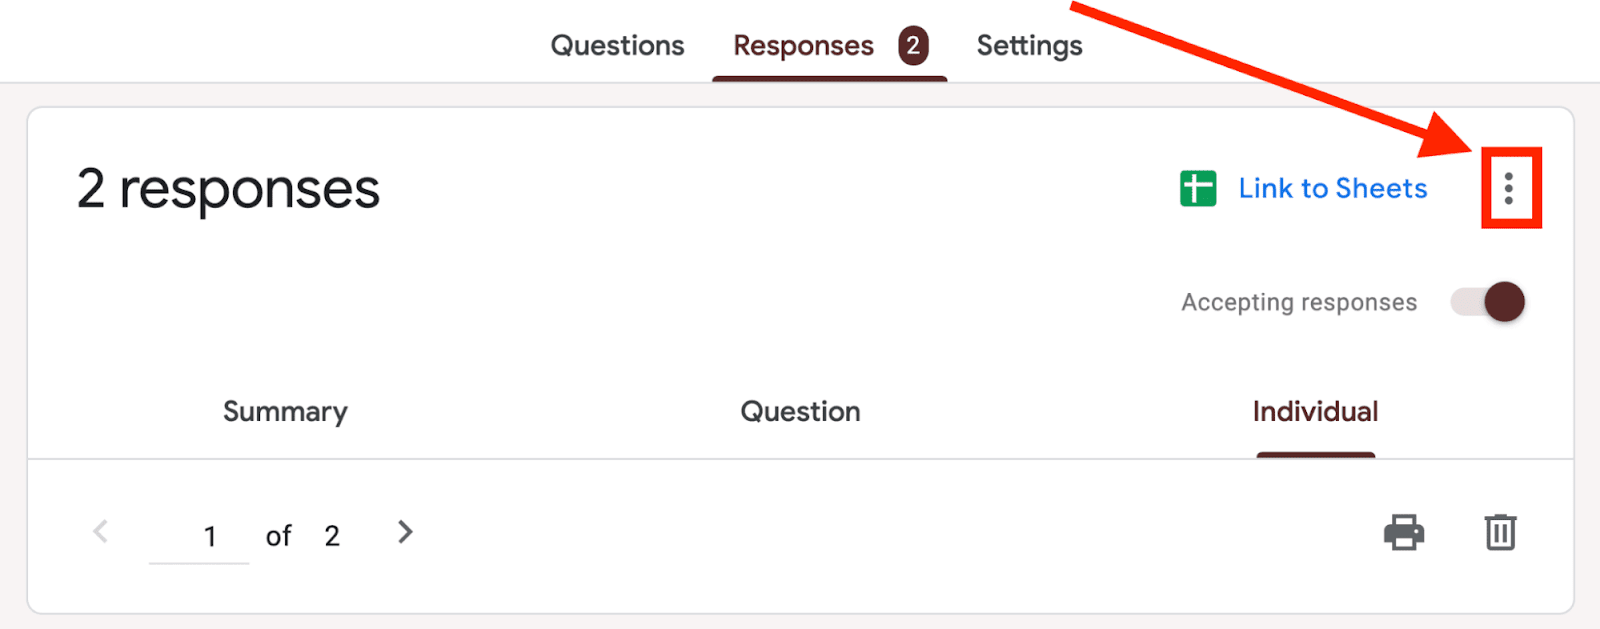
And select ‘Get email notifications for new responses’:

This ensures you're promptly notified whenever someone submits a response.
Organizing Responses
Deep Dive
Managing form ownership is also crucial, especially for team events. Discover how to change ownership of a Google Form.
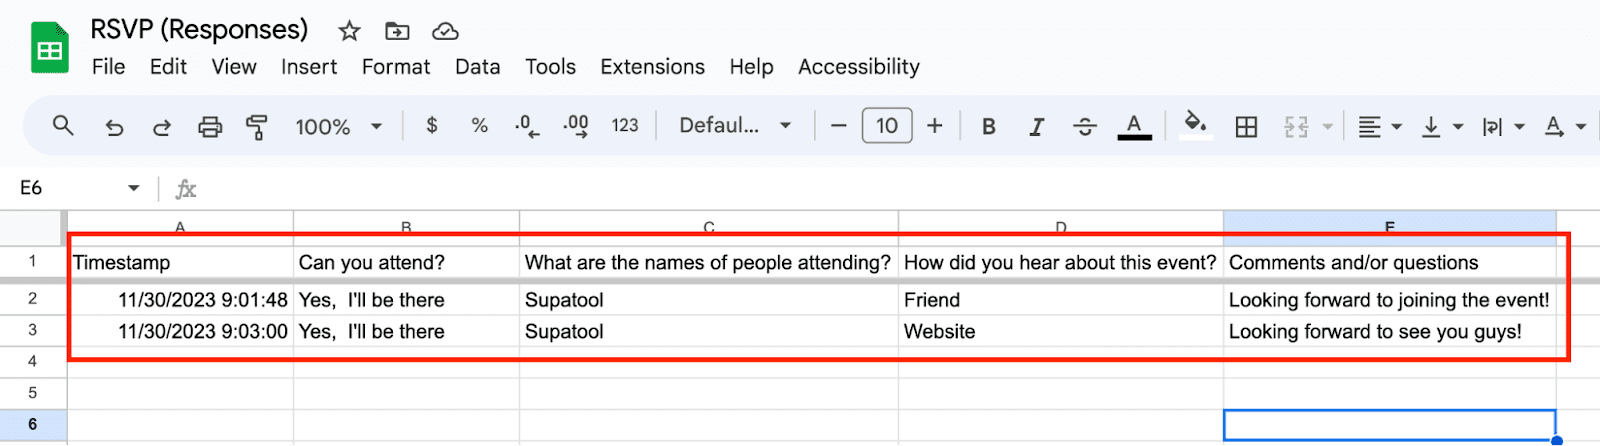
For better organization, click on the Google Sheets icon in the 'Responses' tab to link your form with a spreadsheet:
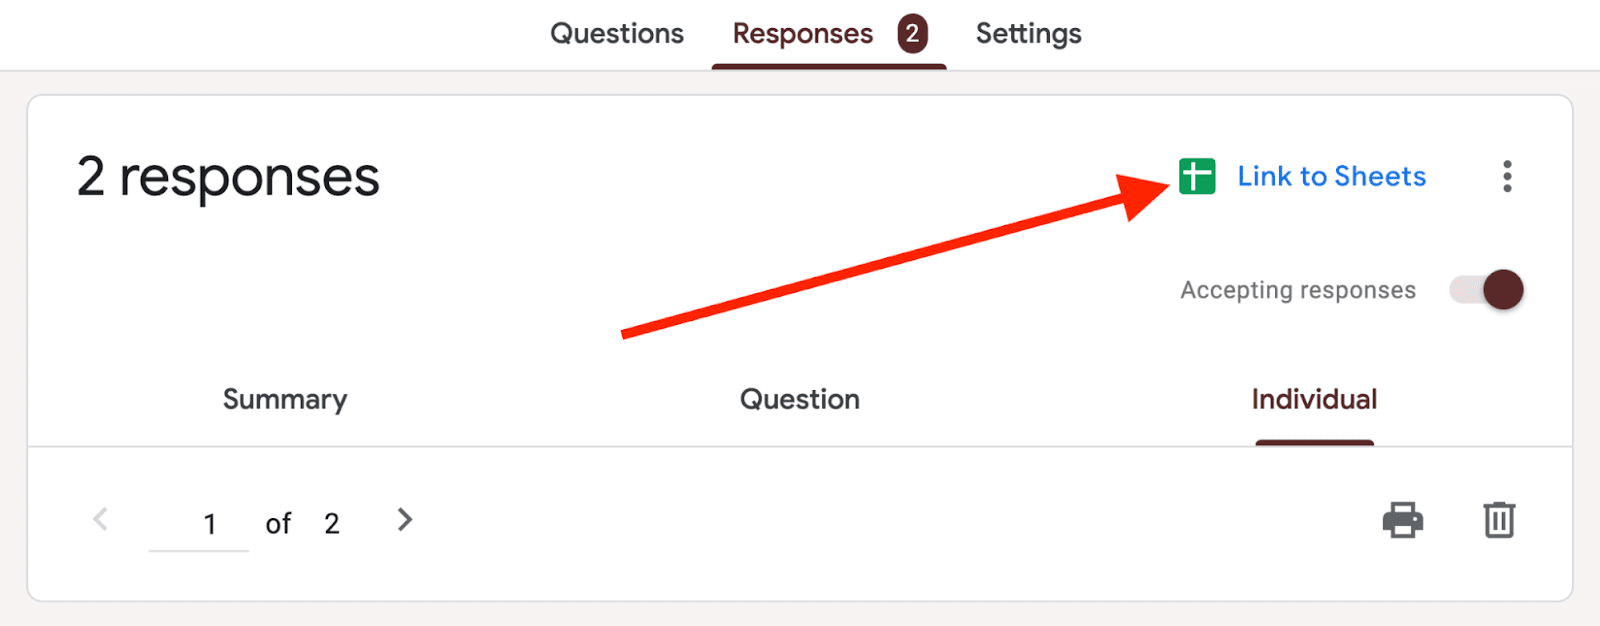
This allows you to manage all responses in a more structured format:
FAQs
Q: Does Google have an RSVP function?
A: Access RSVP templates on forms.google.com or Google's homepage. Find the RSVP template for creating your form in Google Forms.
Q: How do I track RSVPs in Google Forms?
A: Open your RSVP Form, and click 'Responses' for a summary. Enable 'Get email notifications for new responses' for updates on new entries. You can also link to a Google Sheet from the responses tab to manage RSVPs in an organized way.
Q: What is the full form of RSVP in Google forms?
A: RSVP in Google Forms stands for 'Répondez s'il vous plaît', a French phrase meaning 'Please respond', used for managing event responses.