How to Embed Google Form in Website
In 4 simple steps, this guide will show you how to embed a Google Form in your website.
Providing a seamless experience by embedding forms directly on your site enhances user engagement.
So let’s dive in and embed your Google Form in your website!
Steps:
- Create or Open Your Google Form
- Access the Embed Code
- Embed the Form in Your Website
- Test the Embedded Form
Step 1: Create or Open Your Google Form
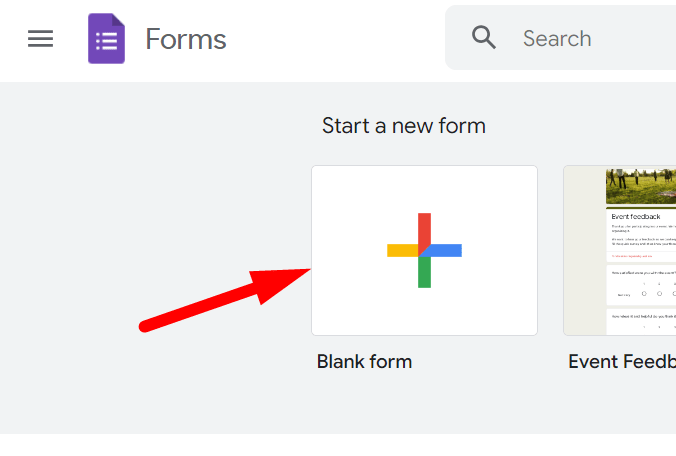
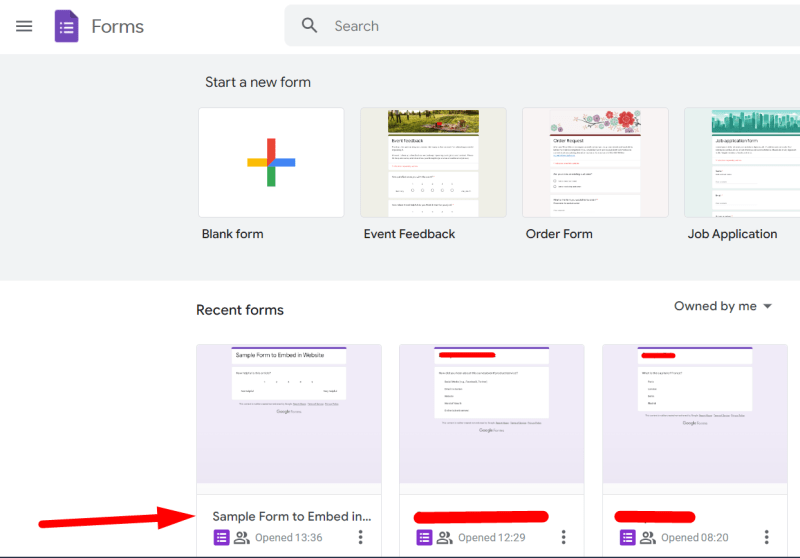
First, you need a Google Form to embed. If you haven't created one yet, go to Google Forms and start a new form. If you already have a form, select it from your list of recent forms.
Create a New Form: Click the plus sign under "Start a new form".
Open an Existing Form: Click on the form you want to embed from your list of forms.
Step 2: Access the Embed Code
Once your form is ready, you need to get the embed code.
In the top right corner of your form, click the purple "Send" button.

In the Send form popup, click the "<>" icon to get the embed code.

Highlight and copy the HTML code provided. You can adjust the width and height if necessary to fit your website layout.

Step 3: Embed the Form in Your Website
Now that you have the embed code, you can add it to your website.
Access the HTML source code of the web page where you want to embed the form.
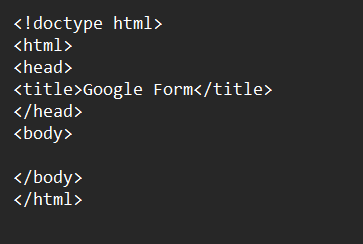
Locate the section of the page where you want the form to appear and paste the copied iframe code.
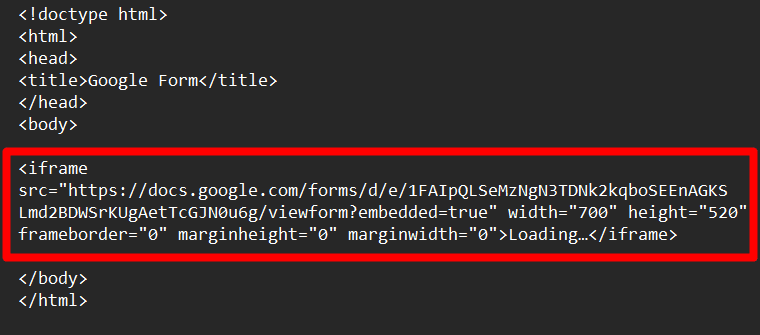
After pasting the code, save your changes and publish the updated page.
Now your form is embedded in your webpage.
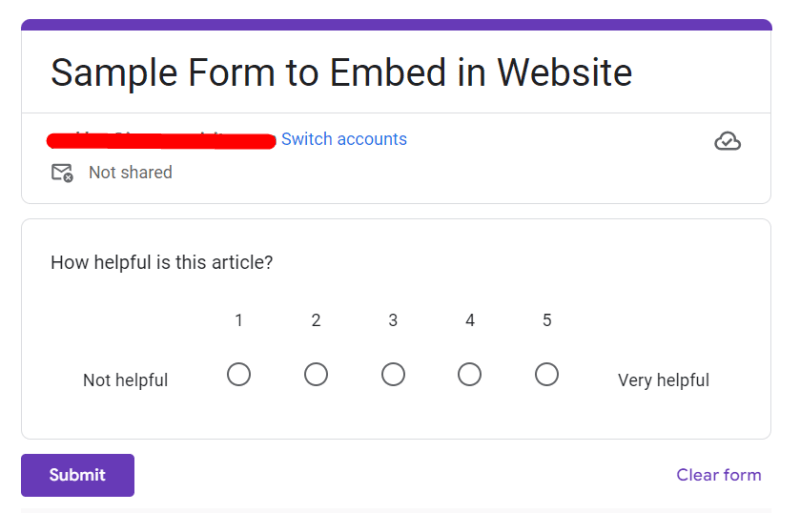
Step 4: Test the Embedded Form
To ensure the form is correctly embedded and functional:
Go to the page where the form is embedded. Fill out and submit the form.

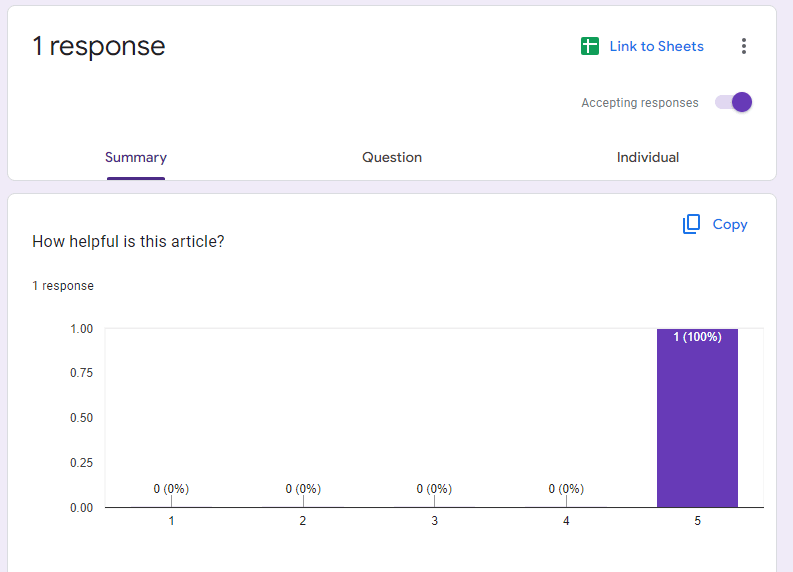
After submission go to your form. And open the ‘Responses’ tab in the middle of the form.

If everything is perfectly done. Then here you can see your response.
That’s it. Hopefully, you have your Google Form embedded in your website.
Finished!