
How to Make Personality Quiz on Google Forms (7 Steps)
Fast navigation
Curious about how to make a personality quiz on Google Forms?
This guide breaks down the process into seven easy steps, making it simple for anyone to craft engaging, insightful quizzes.
Our step-by-step approach demystifies the creation process, turning Google Forms into a powerful tool for interactive personality assessments.
Let's dive in and unlock the secrets of making captivating quizzes!
Steps:
- Create a New Google Form
- Design Your Quiz Questions
- Set Up the Quiz Logic, Scoring & Feedback
- Customize the Appearance of Your Quiz
- Test Your Quiz
- Share Your Quiz
- Analyze the Responses
Step 1: Create a New Google Form
- To begin, create a new blank Google Form. Click the plus sign under "Start a new form":
- Enter a name for your quiz, like "Personality Quiz":
Step 2: Design Your Quiz Questions
You have to start adding your questions here:
Click on the “DropDown” arrow to open the dropdown menu.
After clicking on the “DropDown” arrow, you can choose the format of your questions.
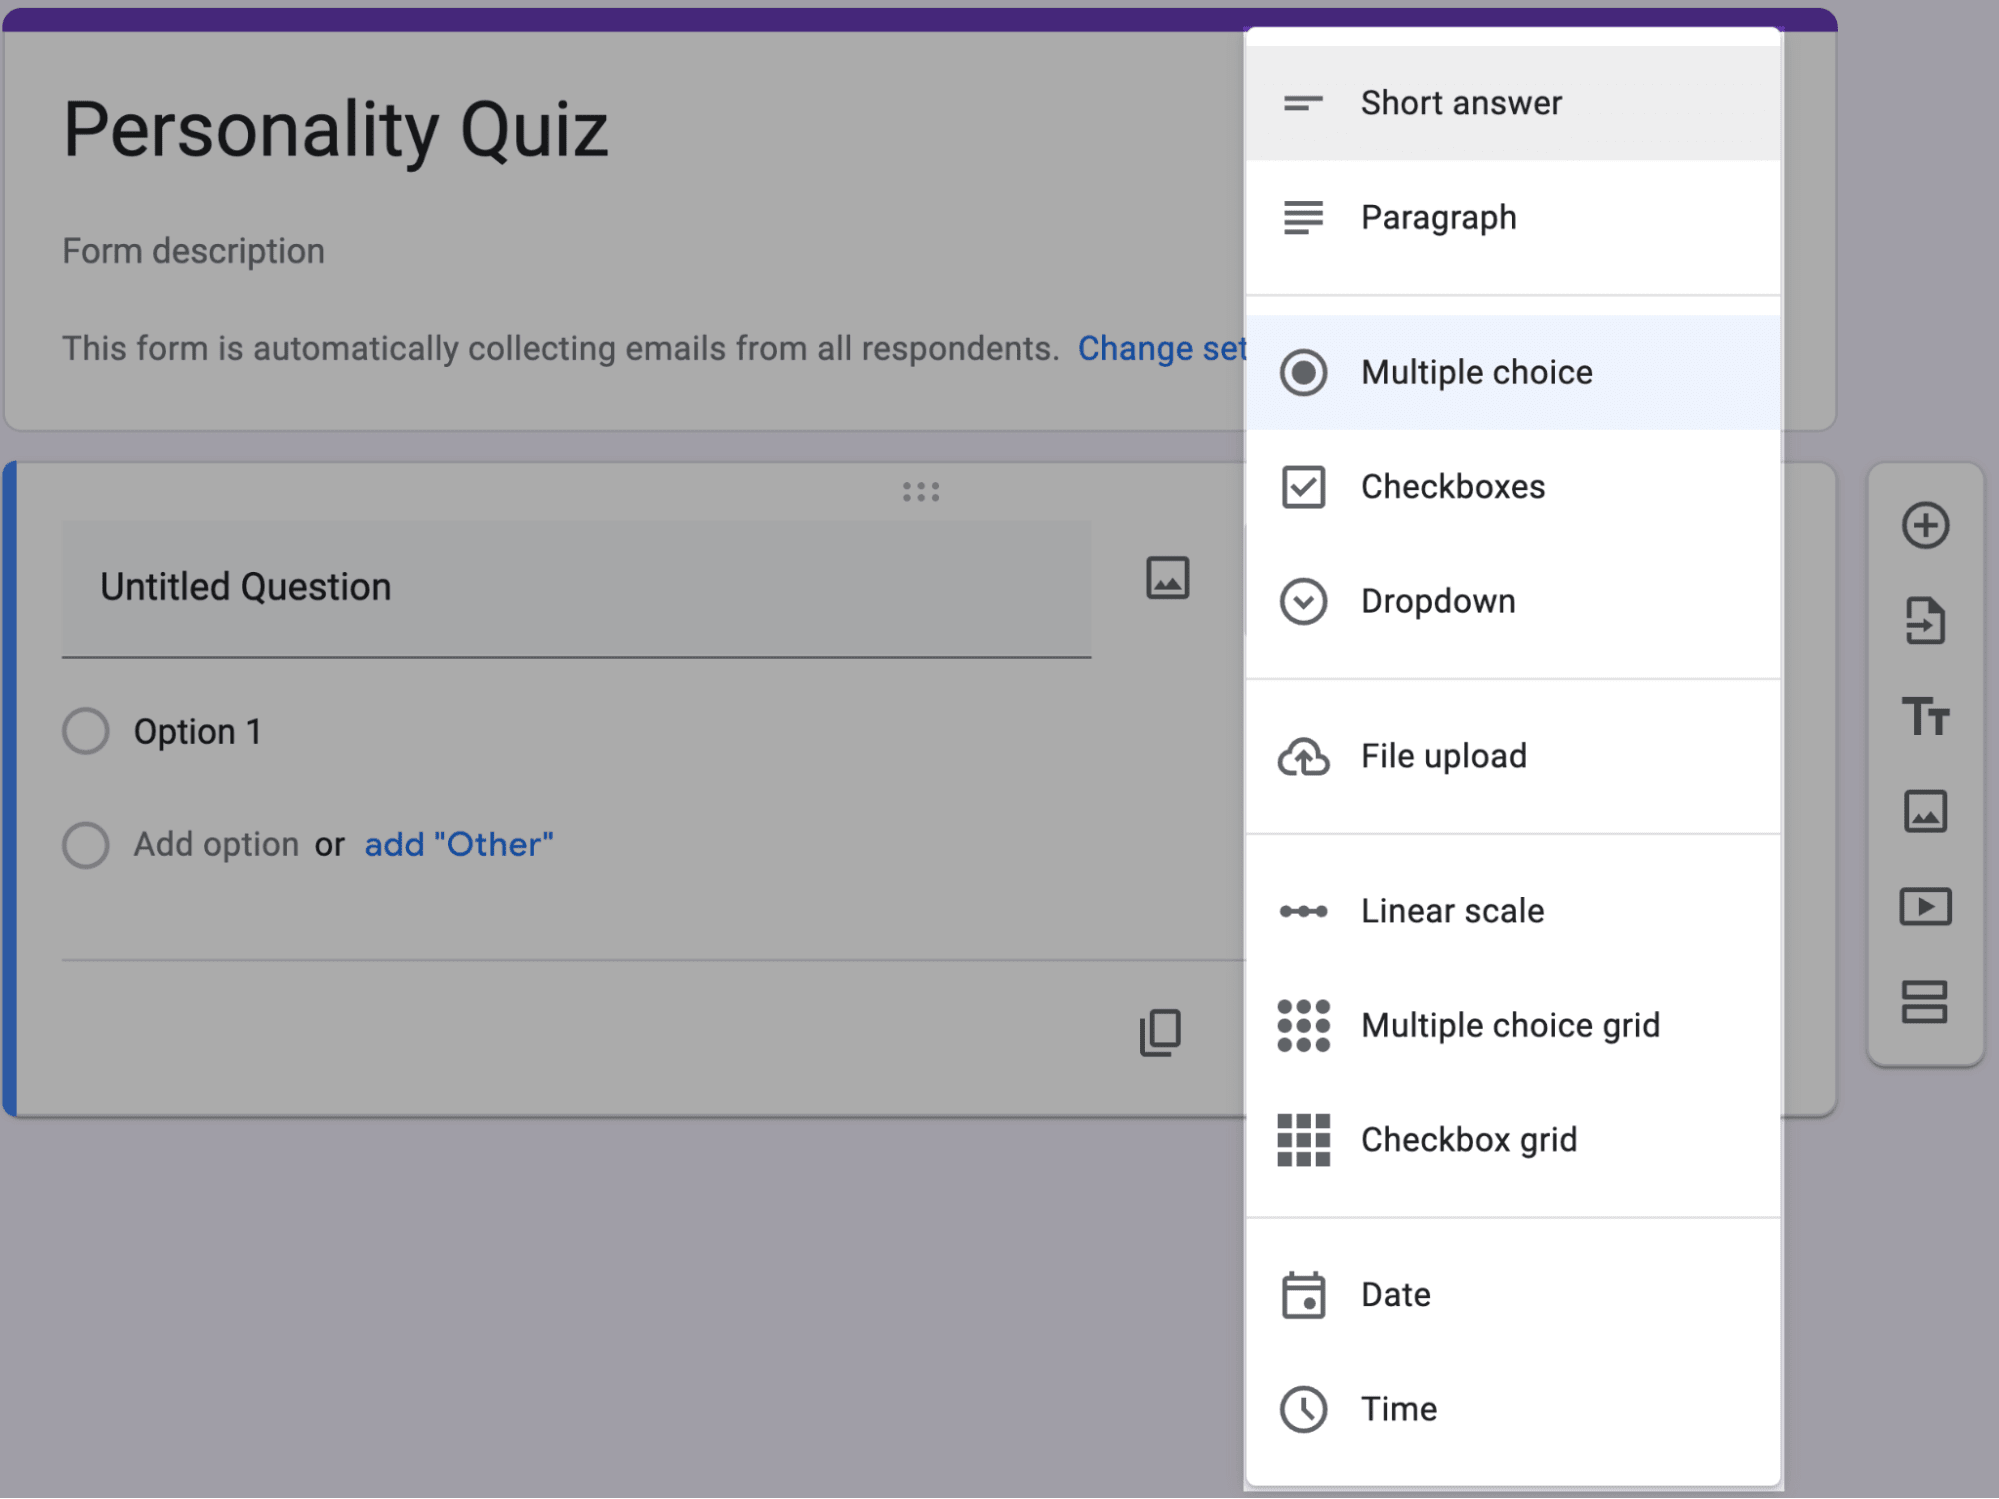
Let me break down the most popular types for you, using an example of a business owner creating a form to hire a candidate whose tastes align with theirs:
- Multiple Choice: This format allows the candidate to choose one option from a list.
For example, you could ask, "What is your preferred work environment?" with options like 'Team-oriented', 'Independent', 'Flexible', and 'Structured'.

And the respondent will have something like this:

- Checkbox: This option is great for questions where multiple answers may apply. For instance, "Select the skills you are proficient in:" could include checkboxes for 'Communication', 'Technical expertise', 'Leadership', and 'Creativity'.

And the respondent will have something like this:

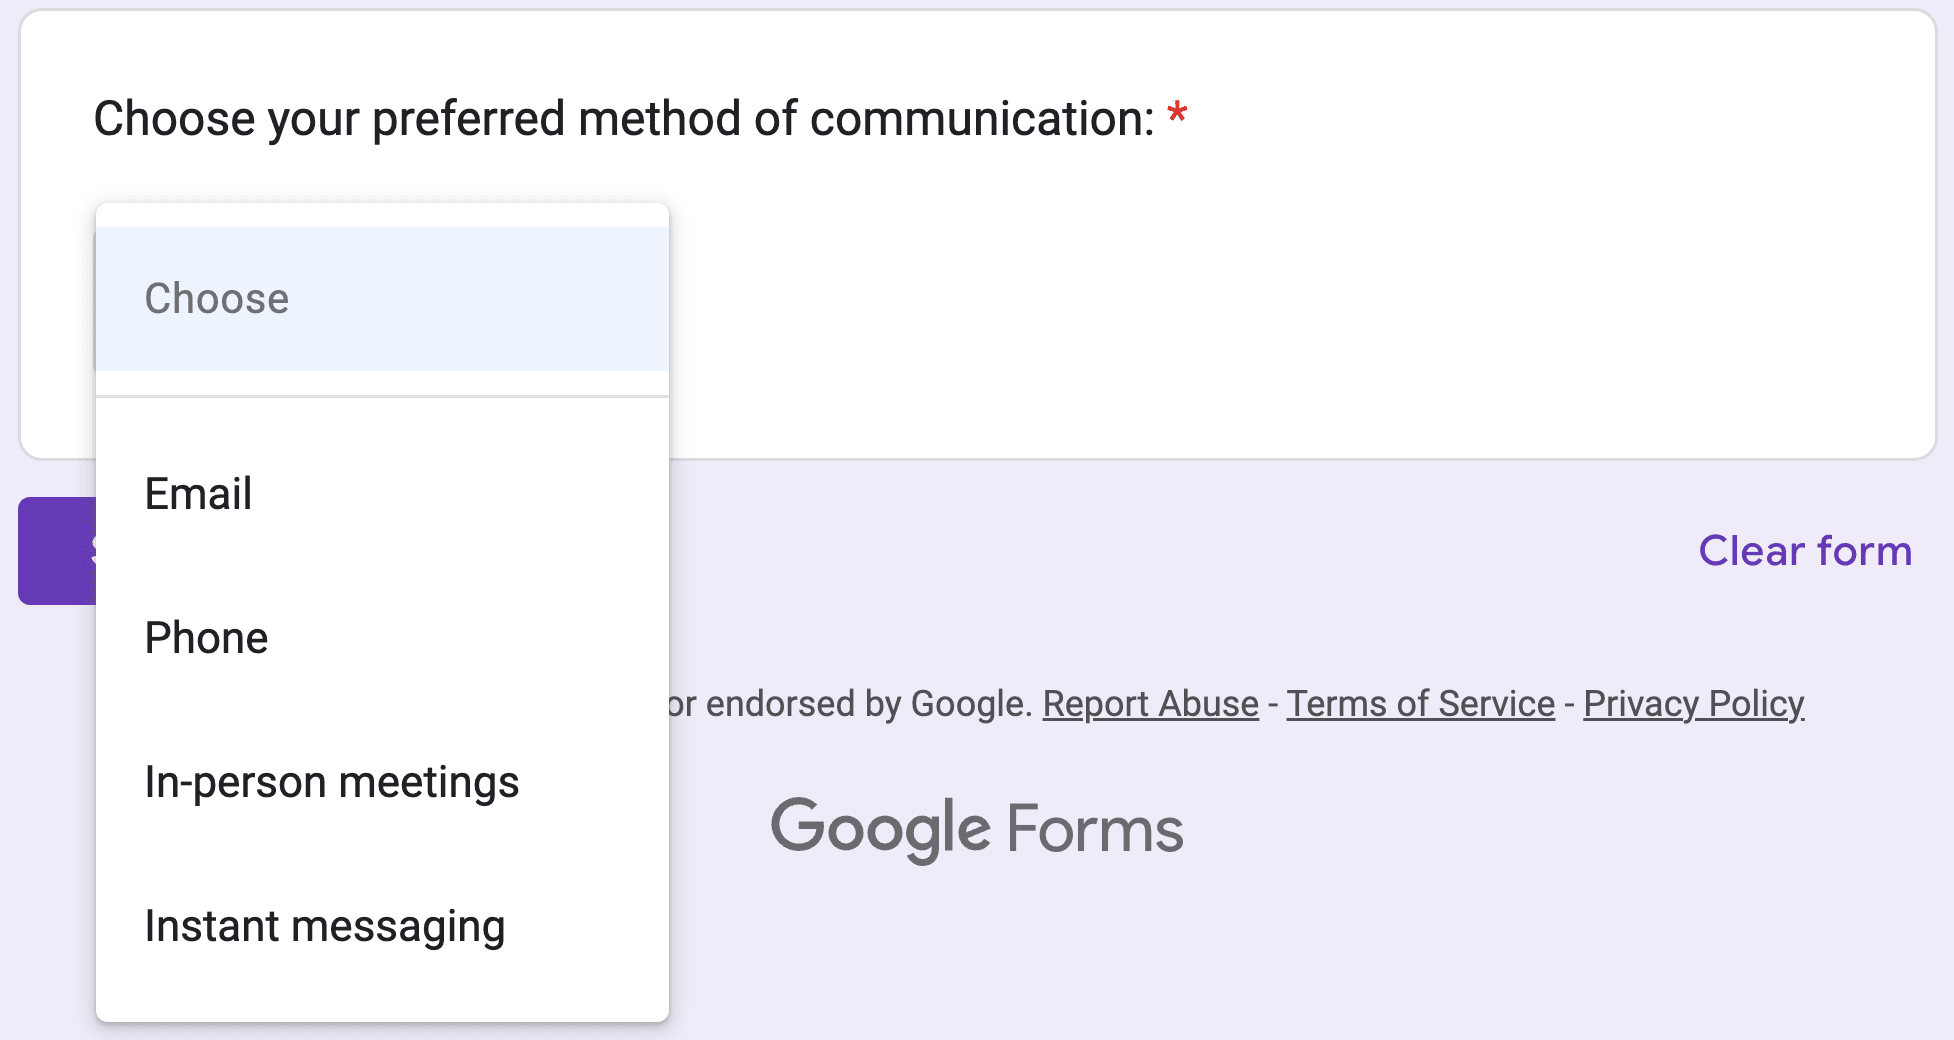
- Dropdown: Similar to multiple choice, but ideal for longer lists of options. A question here might be, "Choose your preferred method of communication:", with a dropdown list including 'Email', 'Phone', 'In-person meetings', and 'Instant messaging'.

And the respondent will have something like this:

- Linear Scale: This lets respondents rate something on a scale. You could ask, "On a scale of 1 to 5, how important is work-life balance to you?" with 1 being 'Not important' and 5 being 'Extremely important'.

And the respondent will have something like this:

Step 3: Set Up the Quiz Logic, Scoring & Feedback
Let’s delve into how to craft the scoring logic for your Google Forms quiz. Whether you're a business owner looking to align with a new hire, a teacher understanding student preferences, a marketer gauging customer tastes, or just someone curious about your friends' opinions, this approach is versatile and insightful.
For the purpose of our article, let's continue with the example from step 2 (on a business owner making a form to hire a candidate whose tastes align with theirs).
3.1 Crafting Your Questions:
Start by framing questions that reveal preferences or opinions.
Question 1: "Choose your preferred method of communication:"
- Email (4 points)
- Phone (3 points)
- In-person meetings (2 points)
- Instant messaging (1 point)
Continue with similar questions, each designed to subtly uncover the respondent's preferences.
3.2 Assigning Points:
As the quiz creator, you'll assign points to each answer option. The respondents won't see these points, ensuring their choices are genuine and unbiased.
Why should you assign points and how would this help you?
Well, you are the business owner from our example. You are hiring someone and want to check if their taste or preferences align with yours.
Now let’s say your preferred method of communication is (ranked from the most liked to the least liked)
- Phone
- In-person meetings
- Instant messaging
And if you assign points to each option:
- Email (4 points)
- Phone (3 points)
- In-person meetings (2 points)
- Instant messaging (1 point)
When someone selects ‘Email’ they get 4 points. On the other hand, if someone chooses ‘Instant messaging’, they get 1 point.
3.3 Identifying the Ideal Candidate:
In a hiring scenario, the candidate with the highest score may share similar tastes or viewpoints, potentially creating a smoother working relationship.
Step 4: Customize the Appearance of Your Quiz
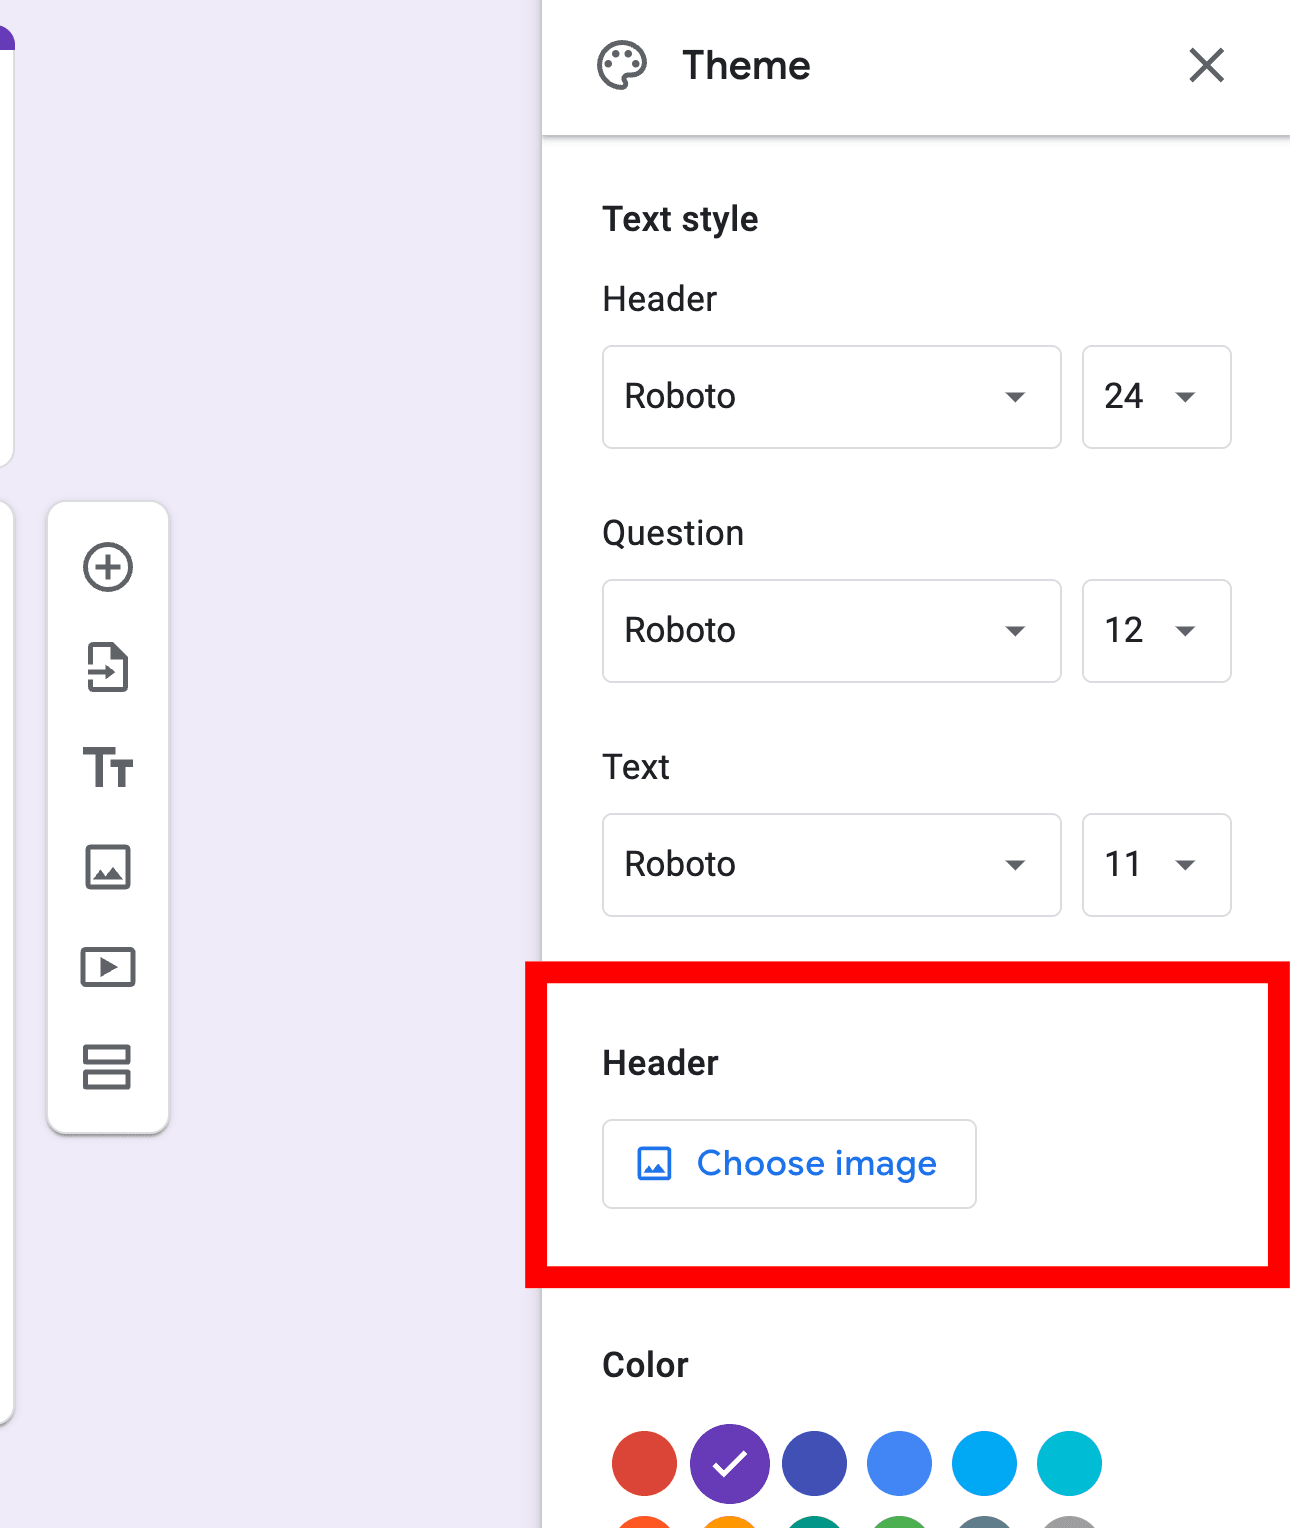
To customize the appearance of your quiz, first click on the “Customise Theme” button at the top right corner:
You can customize 4 items:
- Text style: You can customize 3 types of text in a Google Form: Header Text, Question Text, & answer Text.

- Header Image: You can select an image from the library or you can upload your image from your computer to add as a header image.

- Form Color: You can customize the form color from a list of 12 colors. Or you can customize colors by clicking on the plus sign.

- Background Color: You can customize the background color from the very bottom of the “Customize Theme” menu.

Step 5: Test Your Quiz
To test your quiz, clink on the ‘eye’ icon at the top right of the Google Form.
You’ll get the respondent's point of view:

Emphasize the importance of testing your quiz to ensure everything works as expected and catch any potential issues before sharing it widely.
Step 6: Share Your Quiz
First, you can click on the “Send” button at the top right of your Google Form Quiz.
You can share your quiz via:
- Email: You can share your quiz with a specific set of people via their email. They’ll receive this quiz on their inbox.
- Shareable Link: You can create a shareable link that you can share with anyone on the internet. They just have to click on the link and can take part in this quiz.
- Embed HTML Code: You can get an HTML code that you can embed on your website or anywhere where there is an option to embed an HTML code.
The form will be there for people to take part in that quiz.
Ensure that your quiz is accessible to your intended audience.
Step 7: Analyze the Responses
- Once you start receiving responses, you can analyze them directly in the “Responses” tab of Google Forms:
- Or you can analyze the responses in a Google Sheet. First, head over to the responses tab, Then click on “Link to Sheets”:
You can create a new spreadsheet for the responses or you can select an existing spreadsheet:
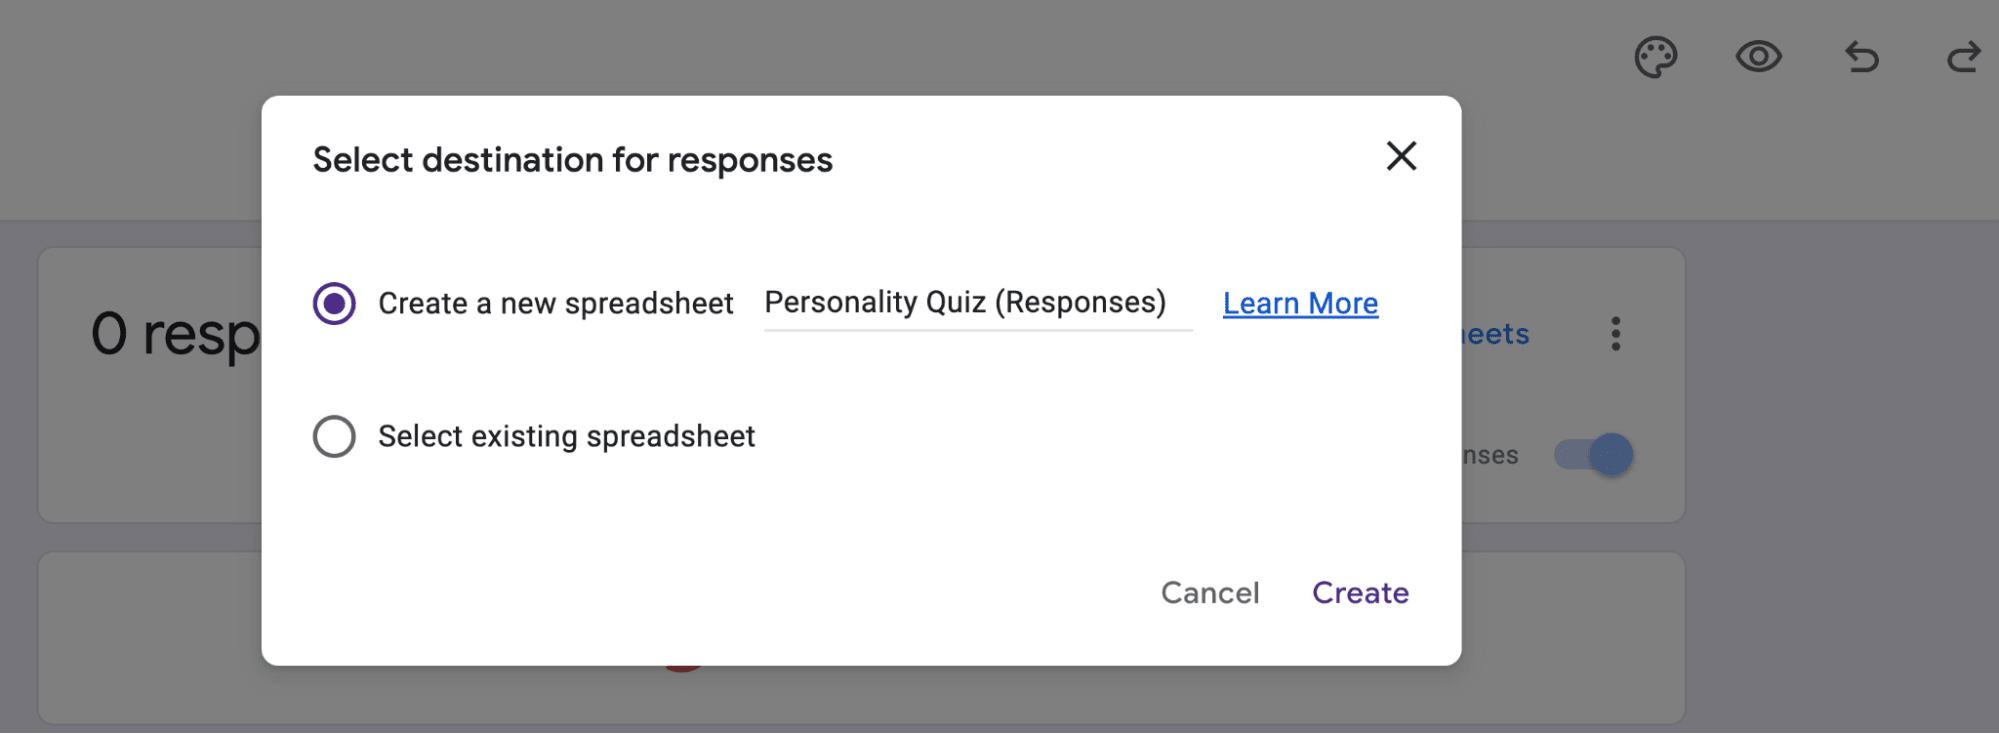
I have created a new one for my example Google Form. You can analyze the responses directly from Google Sheets like this:

For my example Google Form, I haven’t assigned any points to the answer. So you can’t see any points.
This data can provide valuable insights into your audience's preferences and characteristics.
FAQs
Q: How do I make a quiz using Google Forms?
A: To make a quiz in Google Forms, open a form, click 'Settings' at the top, and enable 'Make this a quiz'. Optionally, collect email addresses by turning on 'Collect email addresses' under 'Responses'.
Q: How do I create a self-marking quiz in Google Forms?
A: Convert your form into a self-marking quiz in Google Forms by clicking 'Settings' and enabling 'Make this a quiz'. Set correct answers and point values for each question for automatic grading.
Q: How are personality tests formed?
A: Personality tests are developed through various methods like interviews, in-basket exercises, observer ratings, or self-report inventories such as questionnaires.