
How to Add Checkbox Grid In Google Form (7 Steps)
Fast navigation
Creating a Checkbox Grid in Google Forms is super easy. In 7 simple steps, let us show you how to add a checkbox grid question In Google Forms.
Steps:
- Open Your Google Form
- Add a New Question
- Select Checkbox Grid From Question Types
- Configure Rows and Columns
- Customize Grid Settings
- Preview and Test Your Form
- Share Your Form
Step 1: Open Your Google Form
Open Google Forms. Click the “+” icon to create a new form.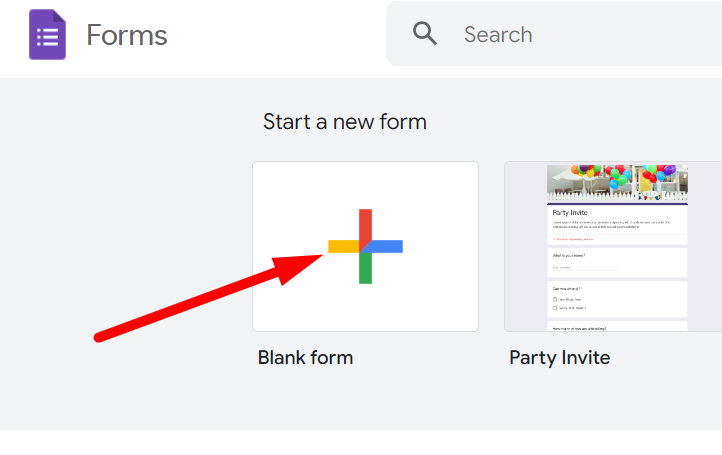
Step 2: Add a New Question
Now, click on the Untitled Question field to add your first question. This is where you will set up your Checkbox Grid.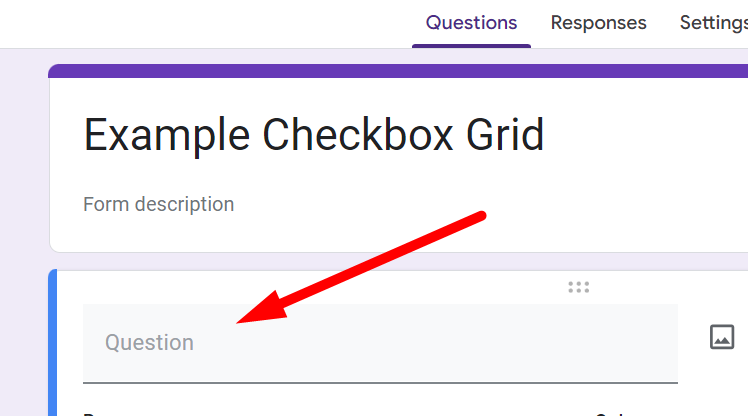
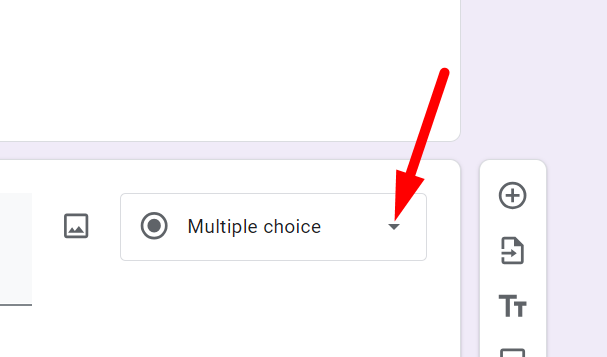
Step 3: Select Checkbox Grid From Question Types
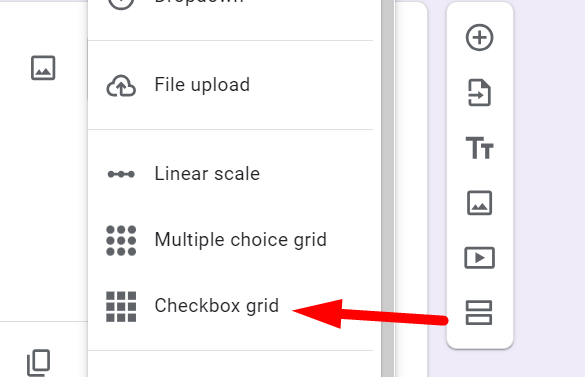
Click on the dropdown arrow to dropdown menu where it defaults to “Multiple choice”.
Select “Checkbox grid” from the list of options. This changes the format of your question to a grid layout where multiple responses can be selected per row.
Step 4: Configure Rows and Columns
Enter Row Labels: These are the items or questions that respondents will evaluate. Click on the “Row 1” field to start adding your items/questions.
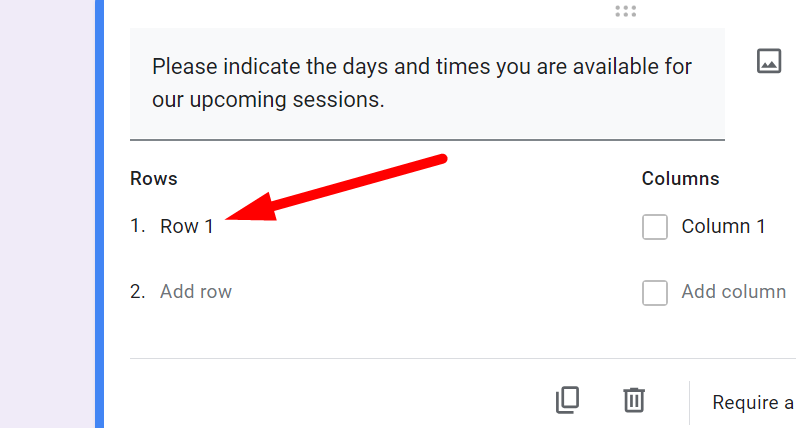
Enter Column Labels: These represent the possible choices for each row item. Click on “Column 1” box to add options.
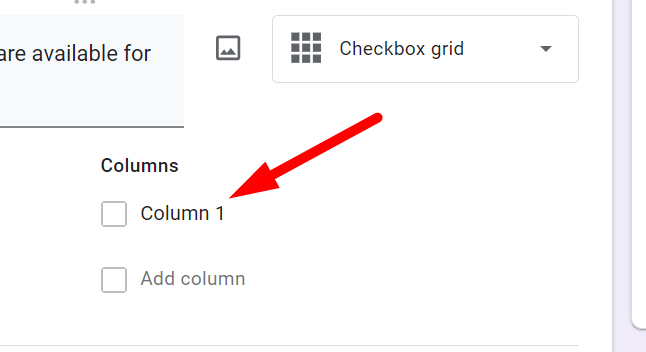
Ensure each label is clear and concise for the best respondent understanding.
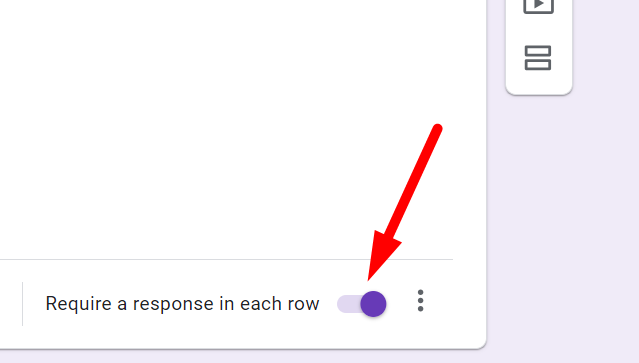
Step 5: Customize Grid Settings
If you need responses in every row to ensure complete data collection, check the box labeled “Require a response in each row”.
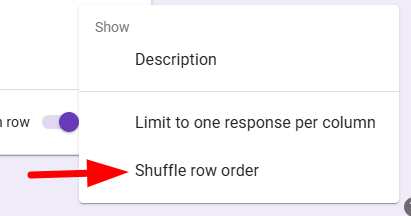
If applicable, click on three dots in the bottom right corner and Shuffle Rows.
Select the “Shuffle row order” to randomize the order of rows for each respondent, which can help in reducing bias.
Step 6: Preview and Test Your Form
Before sending your form, click on the Eyeball Icon at the top of the page to preview your form. This lets you view the form as a respondent, ensuring everything appears as intended.

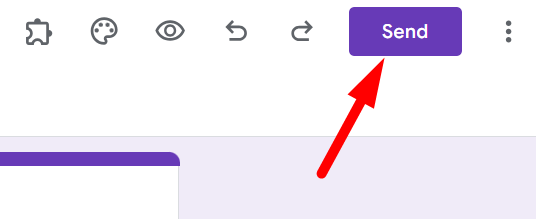
Step 7: Share Your Form
If you're satisfied with the form, Click on the Send Button at the top right of the form editor.
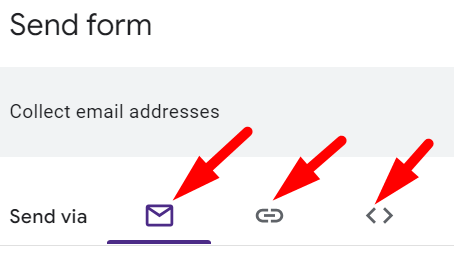
You can choose to send your form via email, a link, or even embed it on a website.
Hope our guide helped you to create a Google Form with Checkbox Grid questions.
FAQs
What is a checkbox grid?
A checkbox grid is a Google Forms question type that arranges choices in a table. Respondents see rows (questions) and columns (options) and can select multiple boxes per row. It is ideal for collecting many-to-many answers, such as rating several features across multiple criteria.
How does the dropdown work in Google Forms?
The Dropdown question type displays all answer options in a single list that opens only when clicked, allowing respondents to choose one item. It saves screen space on long forms and prevents users from selecting more than one option, unlike checkbox or multiple-choice questions.
Why are checkboxes used?
Checkboxes let respondents select any number of applicable answers instead of being limited to one. They’re useful for questions like “Select all services you use” or “Choose preferred meeting days,” ensuring the data captures every relevant choice without forcing respondents into a single response.
How many values can a checkbox have?
Each individual checkbox stores one of two states: checked or unchecked. In HTML and Google Forms, that translates to a boolean value—true or false. While a single checkbox has only those two states, you can include as many separate checkboxes as needed to capture multiple selections.