How to Upload Image to Google Forms
Fast navigation
This article shows you the fastest way to upload photos to Google Forms. Follow the steps outlined here to add photos to questions or answers; insert images as a standalone component and set photo upload limits. We will also explain how to view photos attached to responses.
Add An Image To A Question Or An Answer
You can create exciting questions by adding images. Here is how to do it.
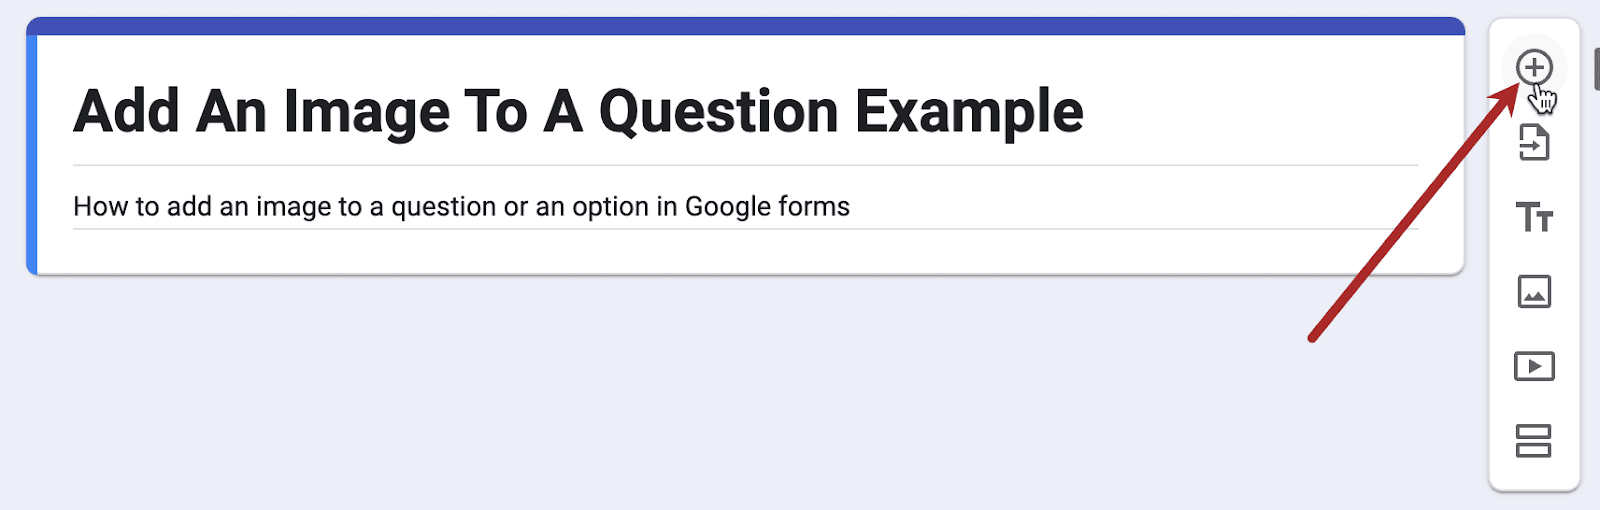
1 – Add A New Question To The Selected Form
Create a new question by clicking the ‘+’ icon in the floating bar on the right side of the question.
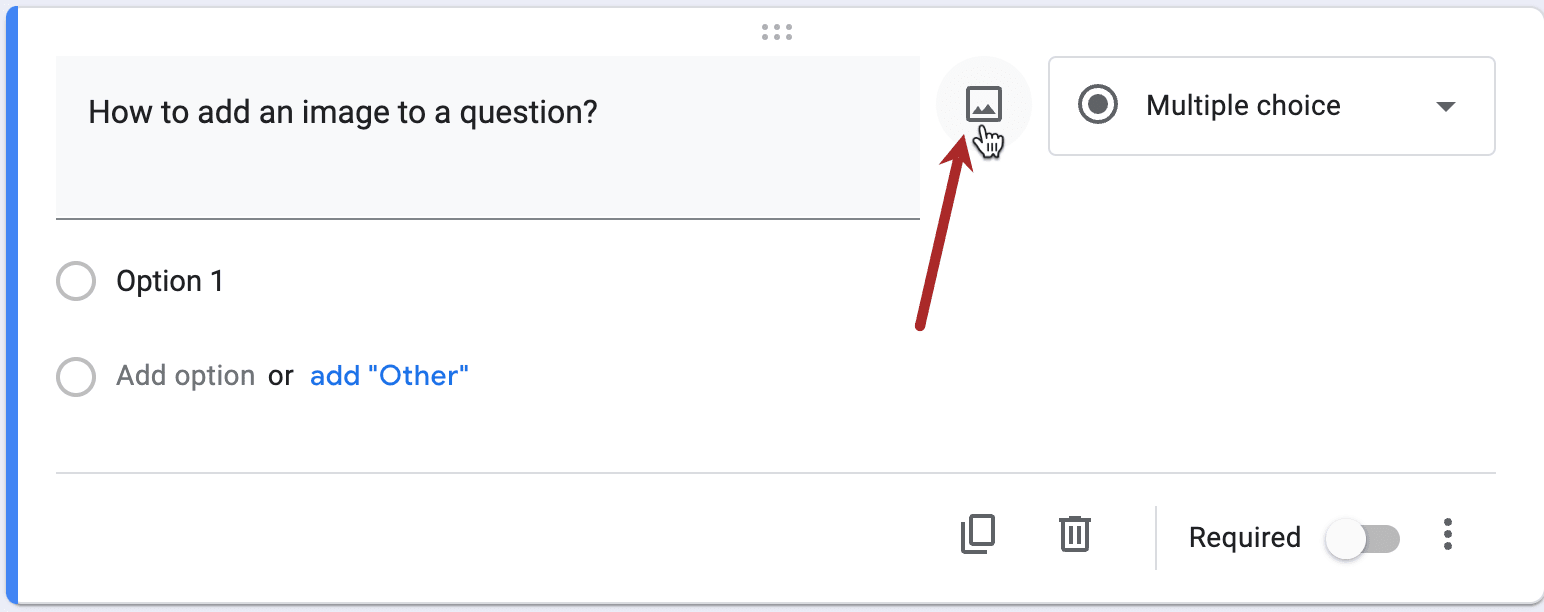
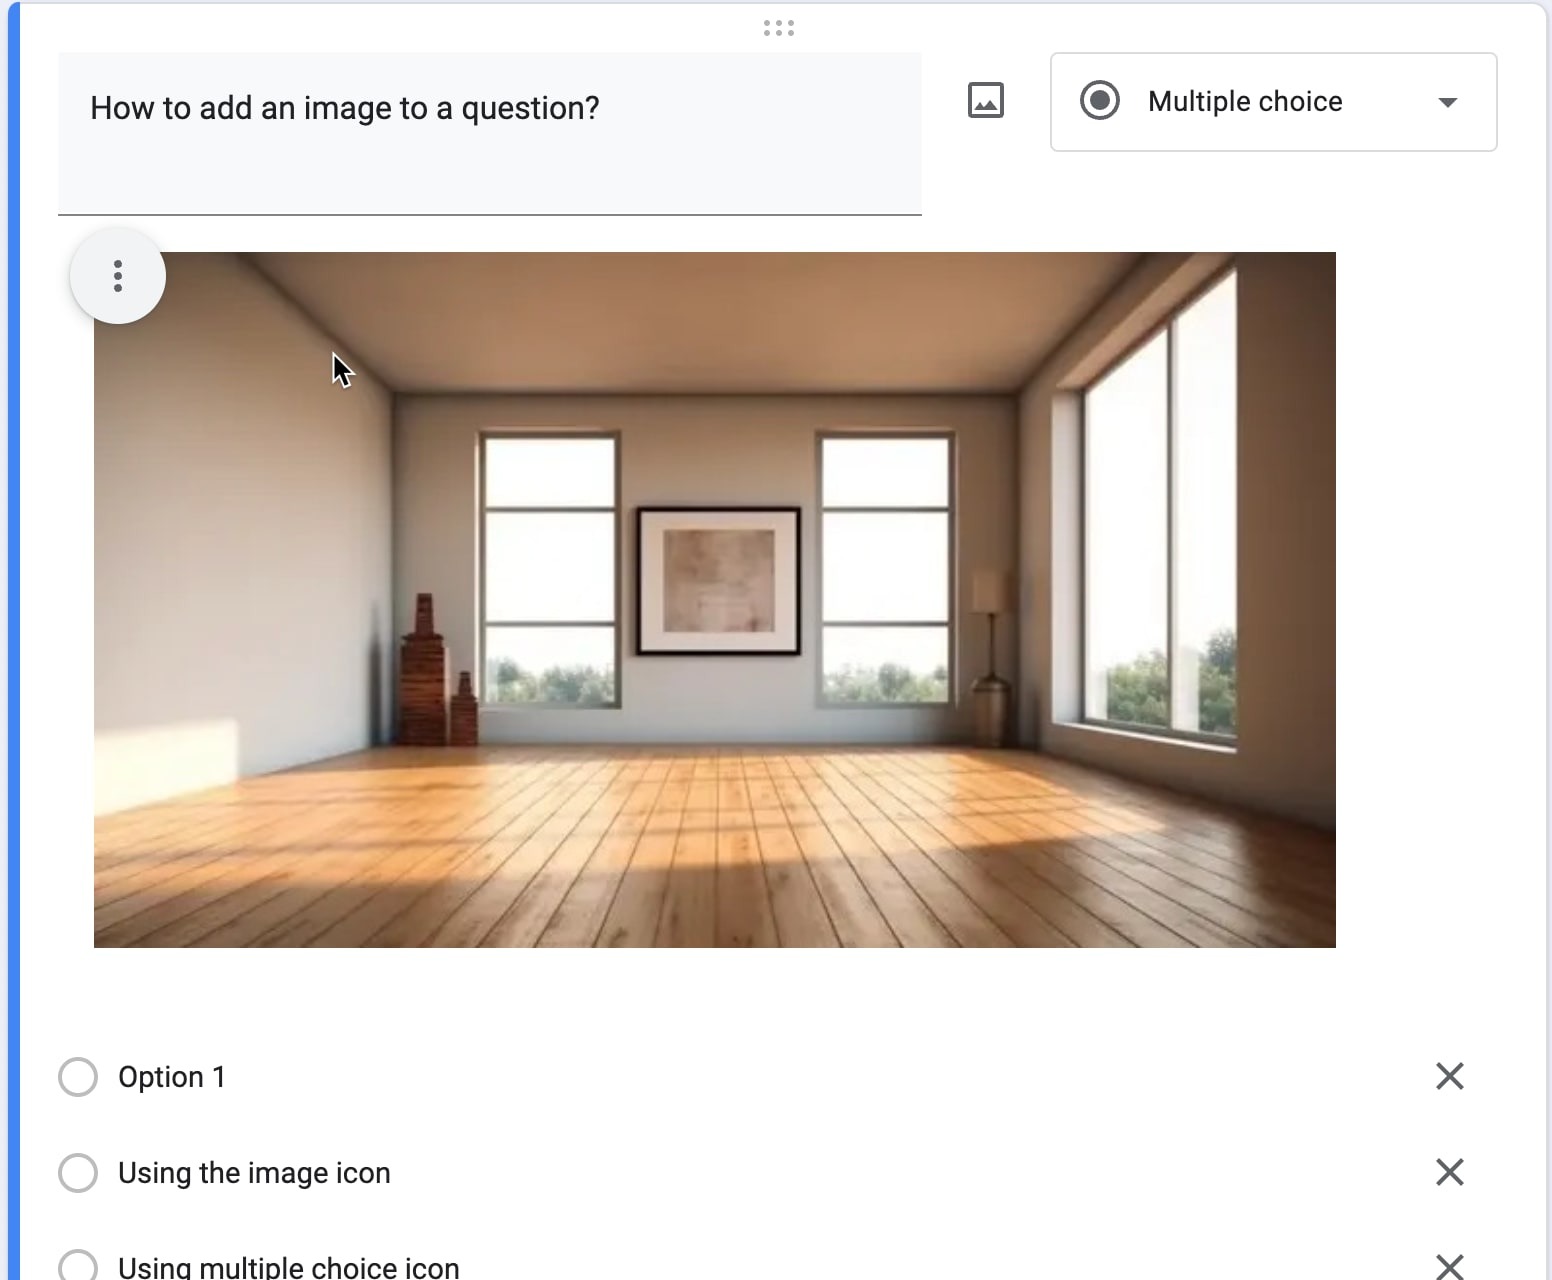
2 – Go To The Image Icon Next To The Question Input Box
You can add an image to a text-based question or the options by clicking the image icon next to the corresponding input box.
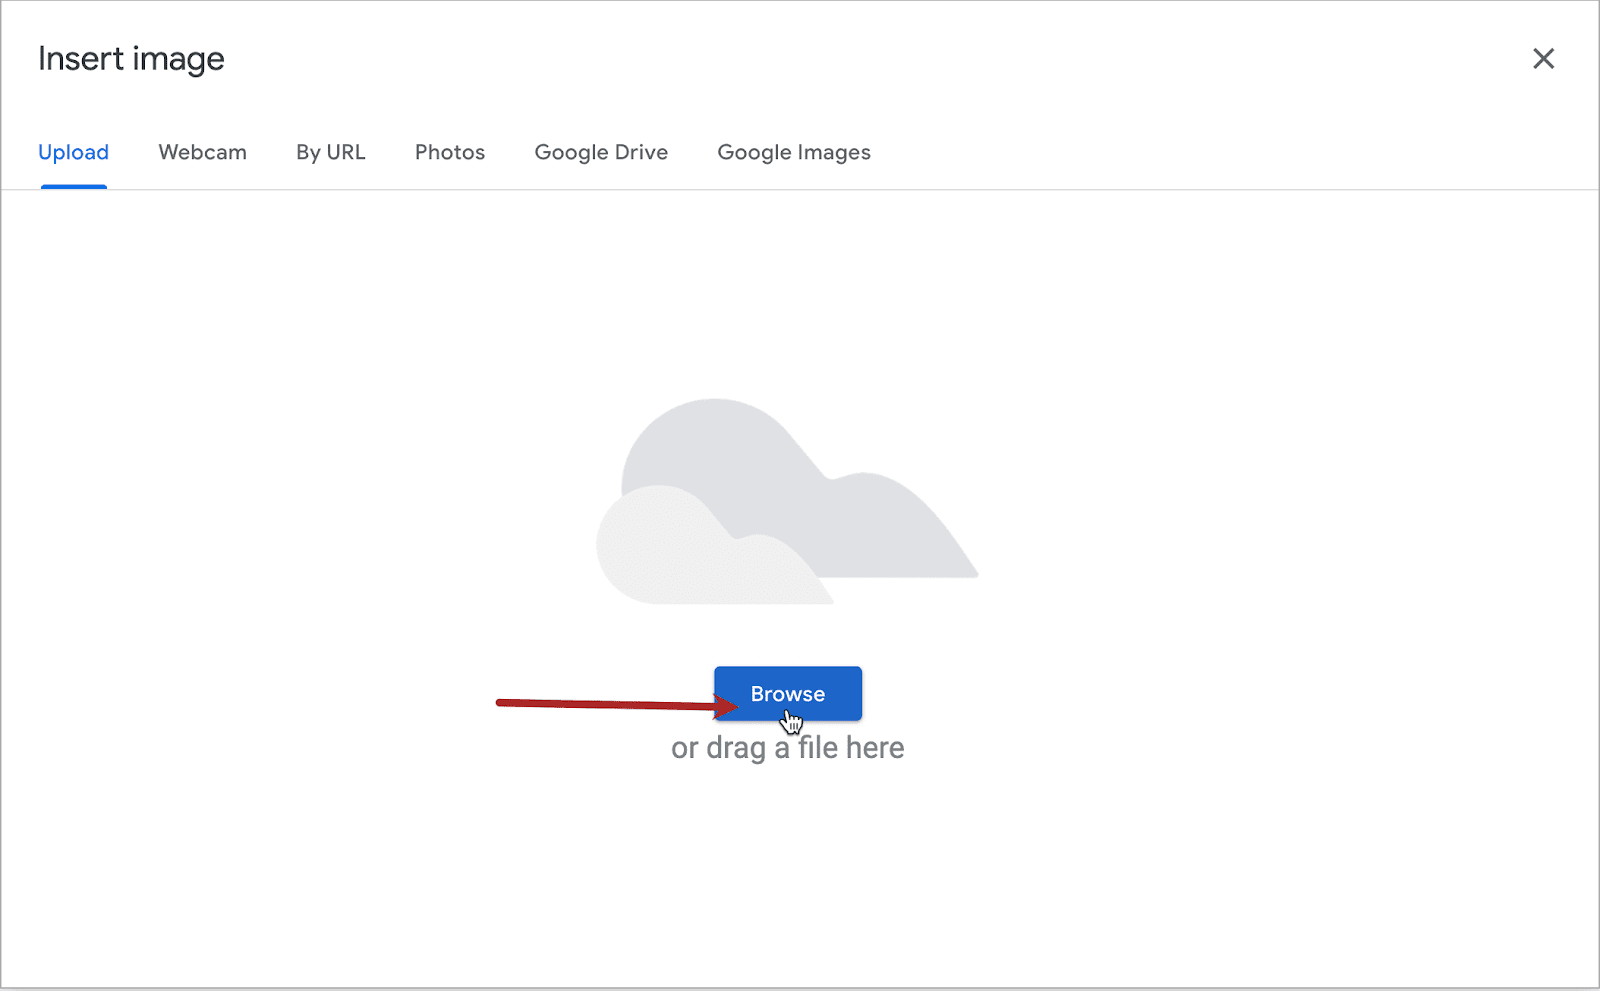
3 - Click The Icon To Upload And Add The Image To The Question Or An Option
After clicking the icon, a pop-up window appears. There are 6 ways to add an image. Find the one that suits you. You can upload the image on your computer, click a picture of yourself or an object using a webcam, paste an image URL, select an image from Google Photos or a Google Drive folder, and finally, search for the image using the Google Image search engine. All the options are intuitive and easy to comprehend. This guide shows you how to add an image using the Upload option. Click the blue button at the bottom of the window.
4 – Select An Image To Upload
Select the image on your computer and click ‘Open.’ The image will be uploaded automatically to the corresponding input box.
To upload an image for the options, move the cursor to the option and click the image icon next to it.
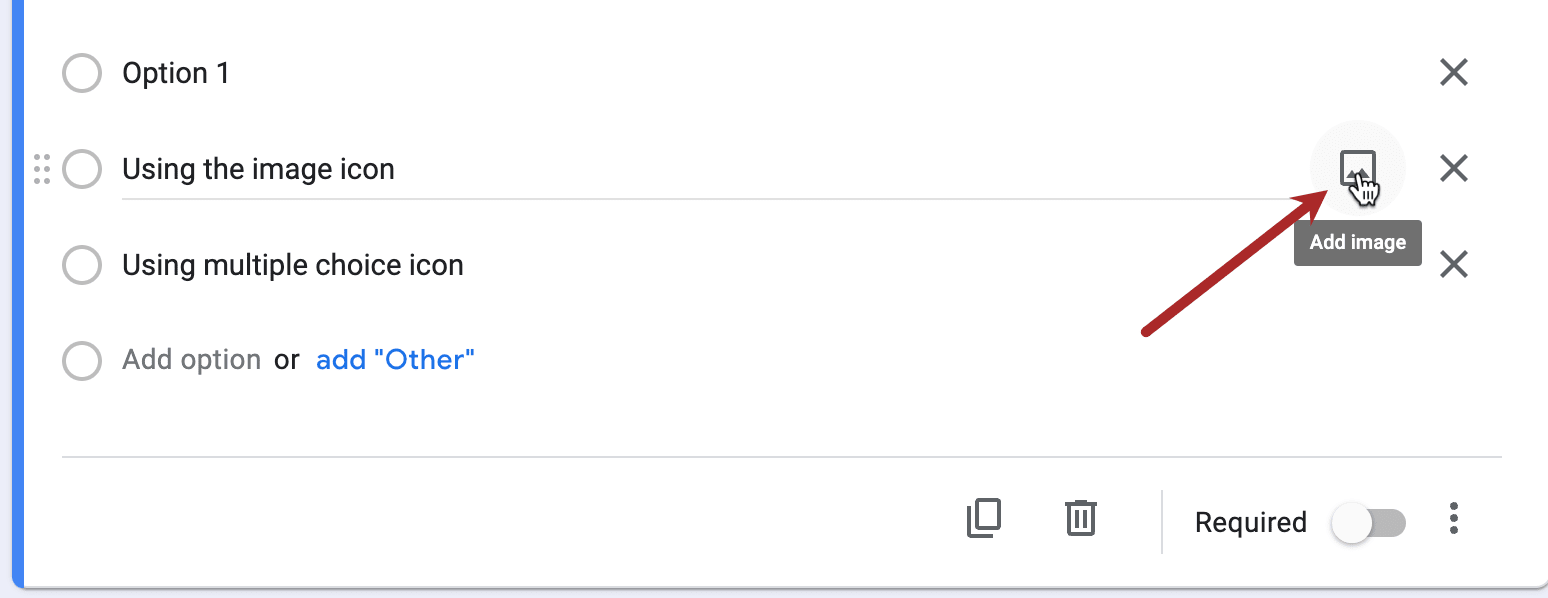
Use the upload option or the other ones to upload an image.
5 – Verify The Image Display
Check to see if the image is displaying correctly. Google Forms saves your image automatically.
Add The Image As A Standalone Element
You can add a visual break or an image ad in between a form. The standalone image is unlinked to a question or an option. It is there to add a visible break or show a company logo or an image-based ad. To add an image as a standalone element, follow the steps below:
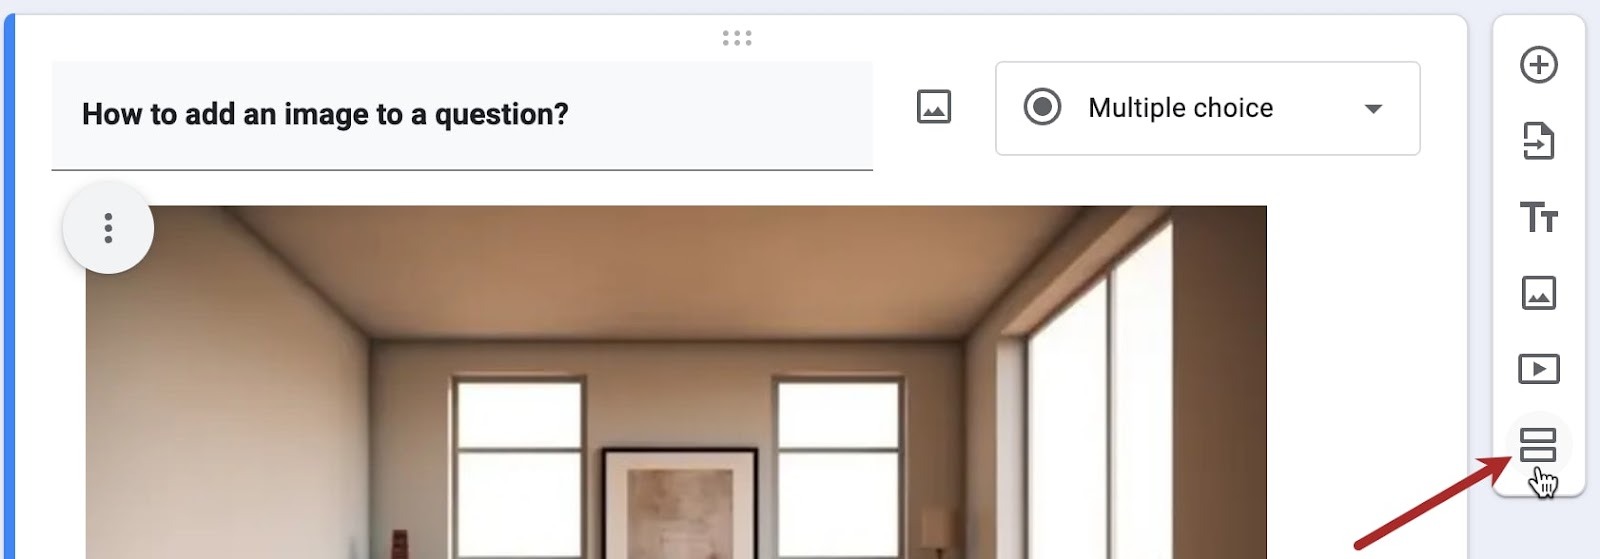
1 – Add A Section To The Form For The Standalone Image
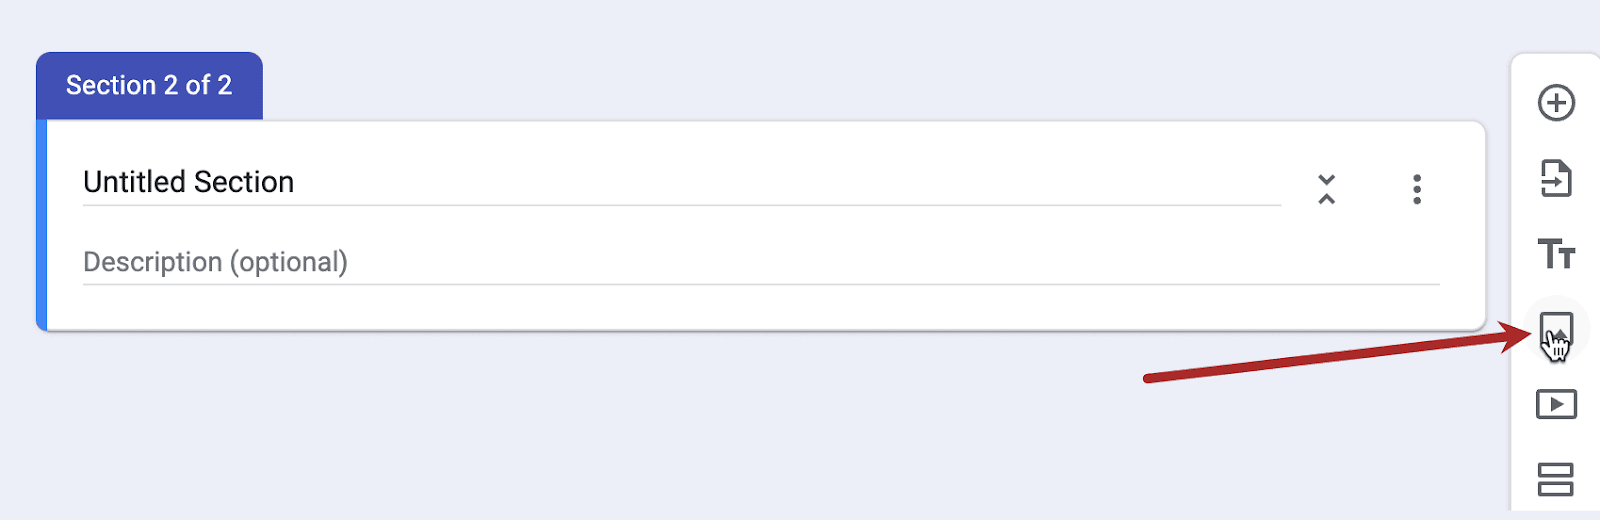
Click the section icon in the floating bar on the right to add a section to the form.
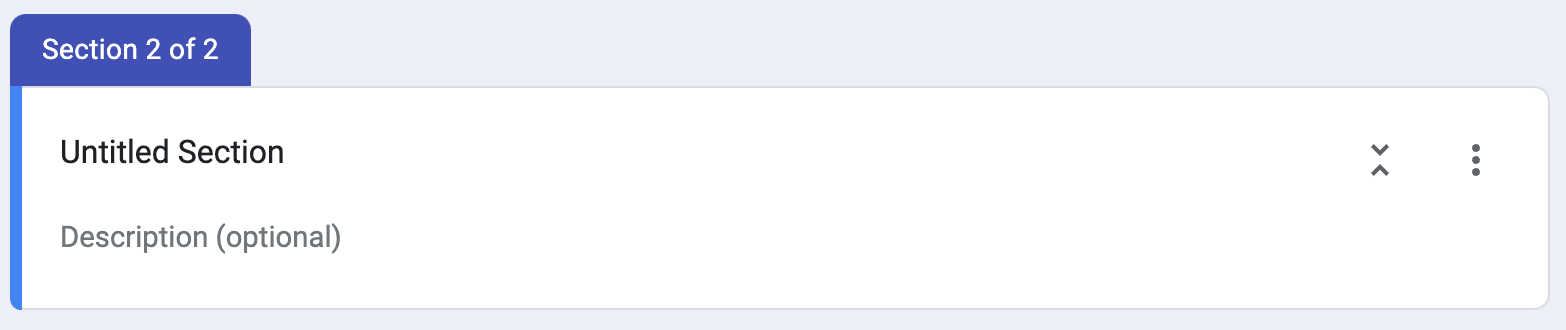
A section appears below the question box.
2 – Select The Floating Bar Image Icon On The Right To Add The Standalone Image
The floating bar on the right side of the form textboxes appears adjacent to the section box. Select the image icon to add the image to the section area.
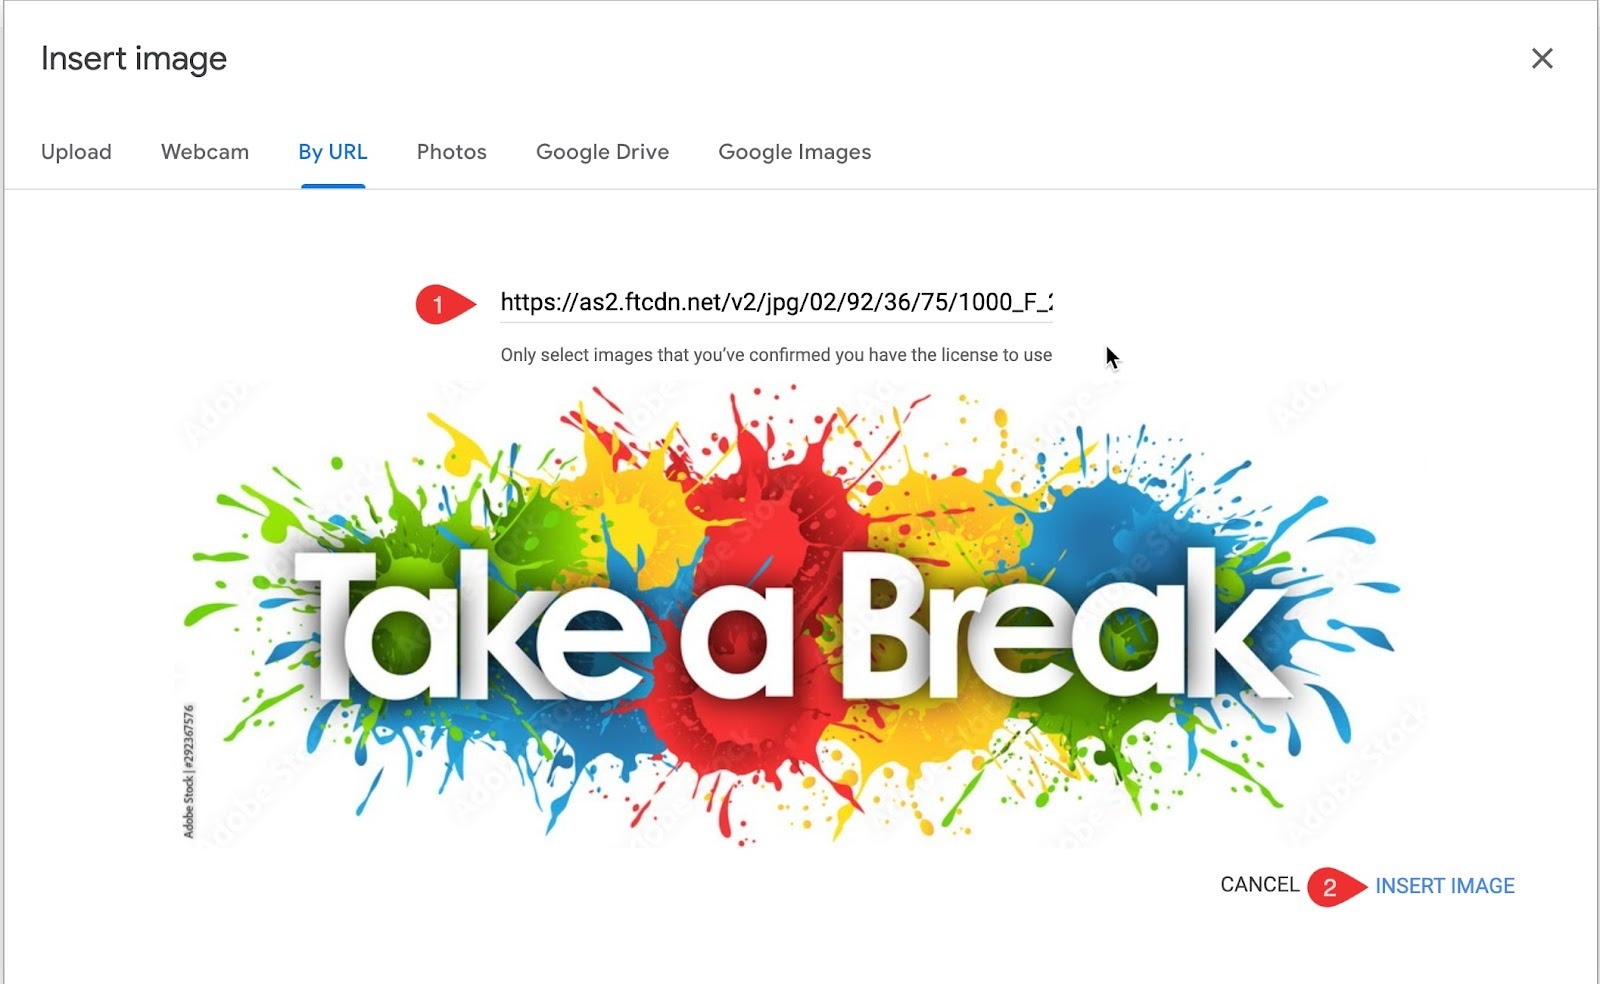
Select the ‘By URL’ tab and click paste the image URL.
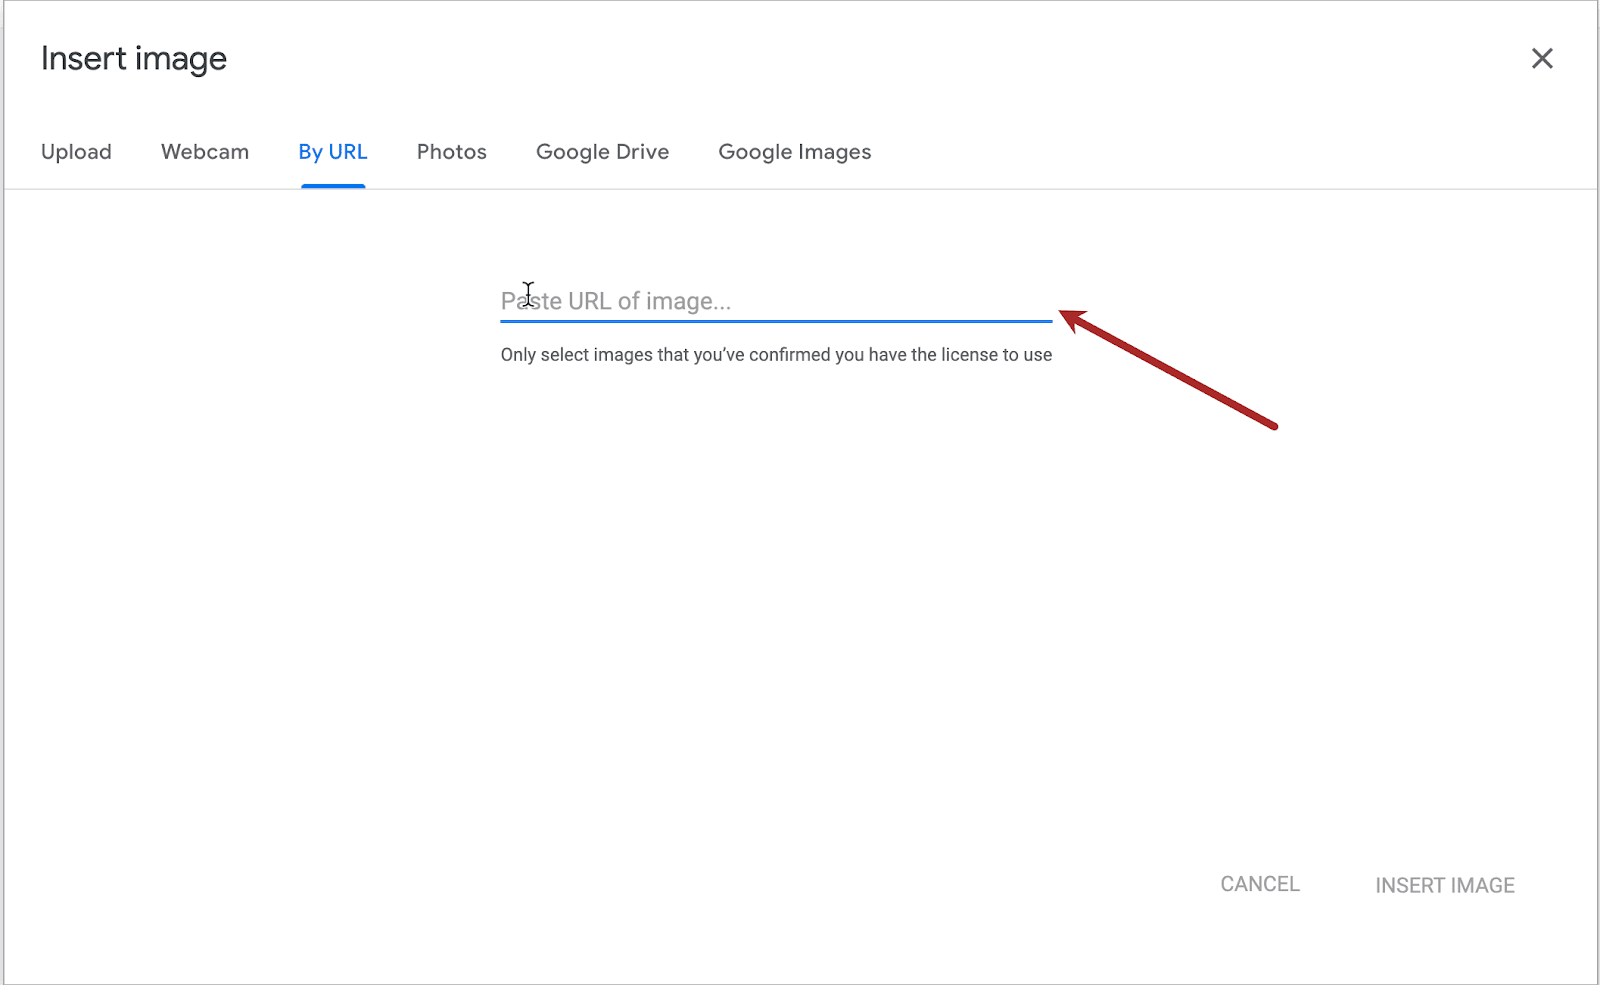
Paste the image URL or use any of the given options in the pop-up window to add an image. Click ‘Insert Image’ to add the standalone image to the section.
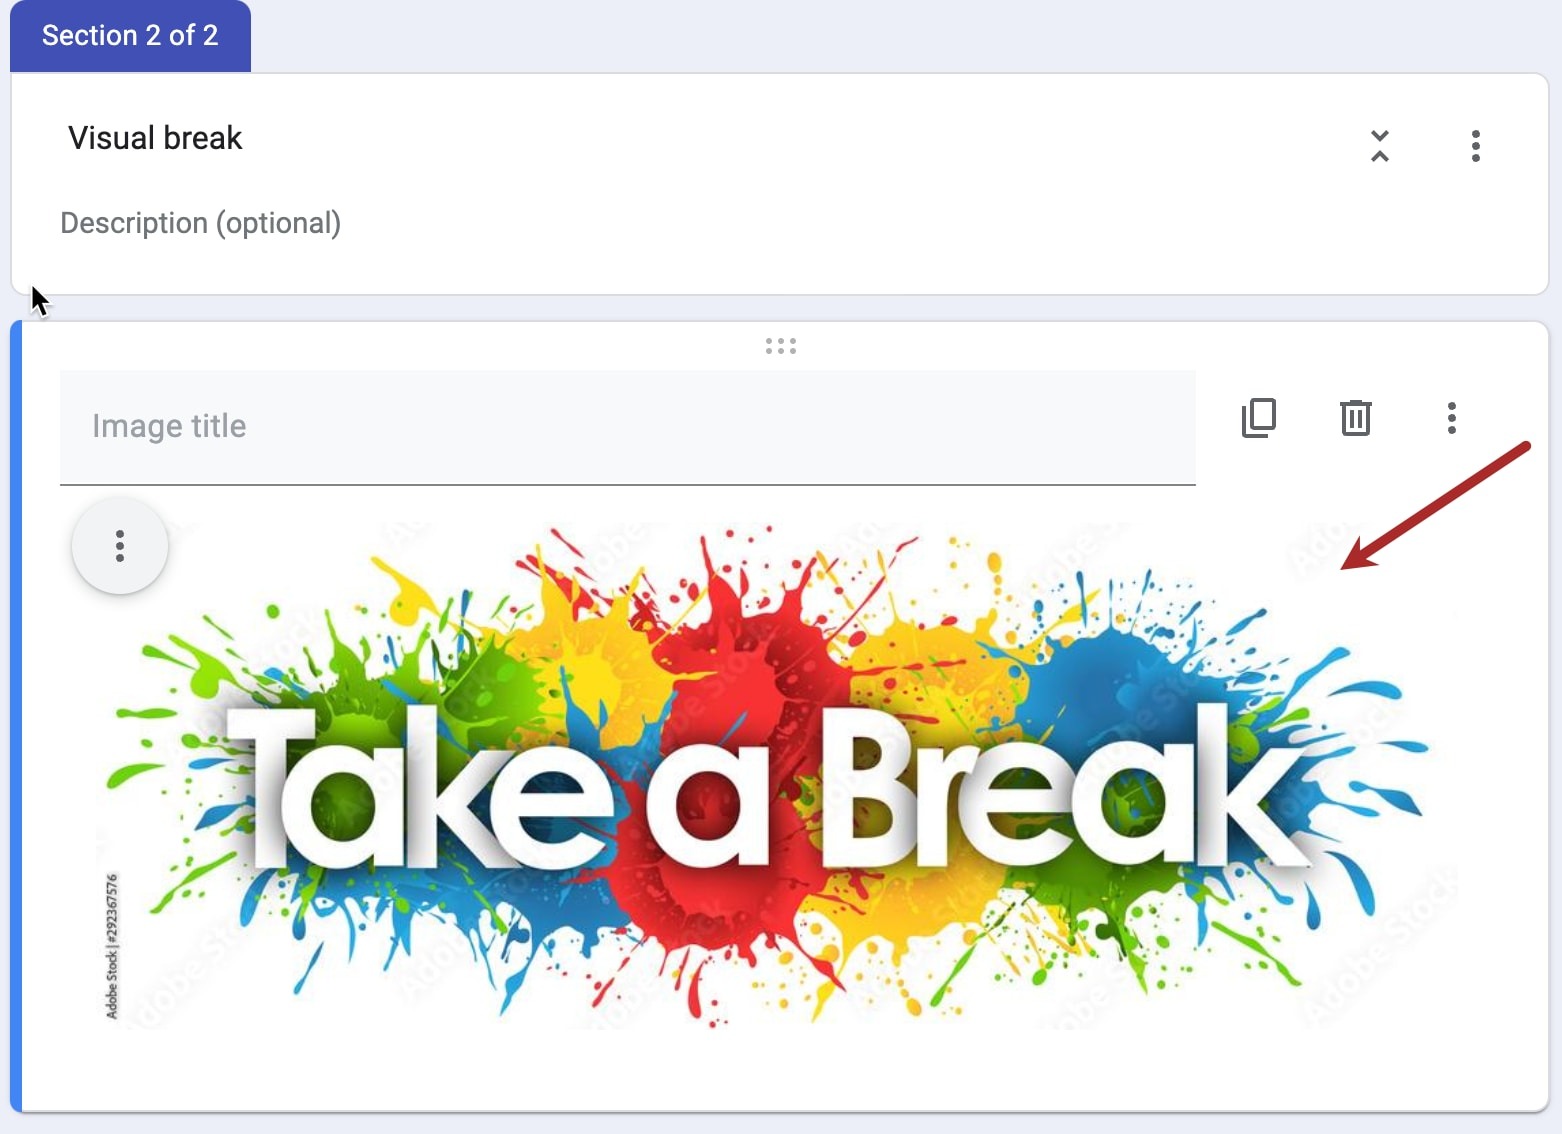
3 – Verify The Image And Write An Image Title (Optional)
The image appears in the section. Type the image title to explain the image or leave it blank.
Establish Image Upload Restrictions for Responses
If you want the respondents to upload images as an answer to a question or a response, you can specify the restrictions for them. Follow the steps below to set photo upload limits for the responses.
1 – Create A Question And Select ‘File Upload’ As The Question Type
Create a new question or add the image upload restrictions to an existing question. Select the File Upload option in the question type drop-down menu adjacent to the question input box.
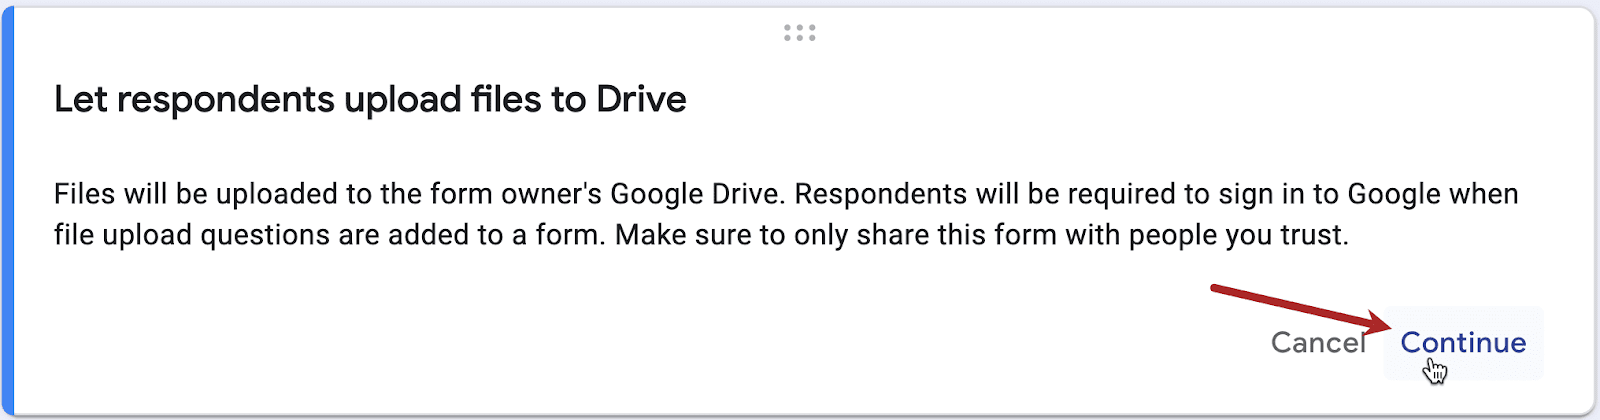
2 – Confirm File Uploads to the Owner’s Google Drive
Confirm the informational message that basically informs you that the images uploaded by the respondents will be in their own Google Drives. Click Continue to proceed forward.
3 – Configure Image Upload Settings
After clicking continue, you will see the image upload settings for the respondent images.
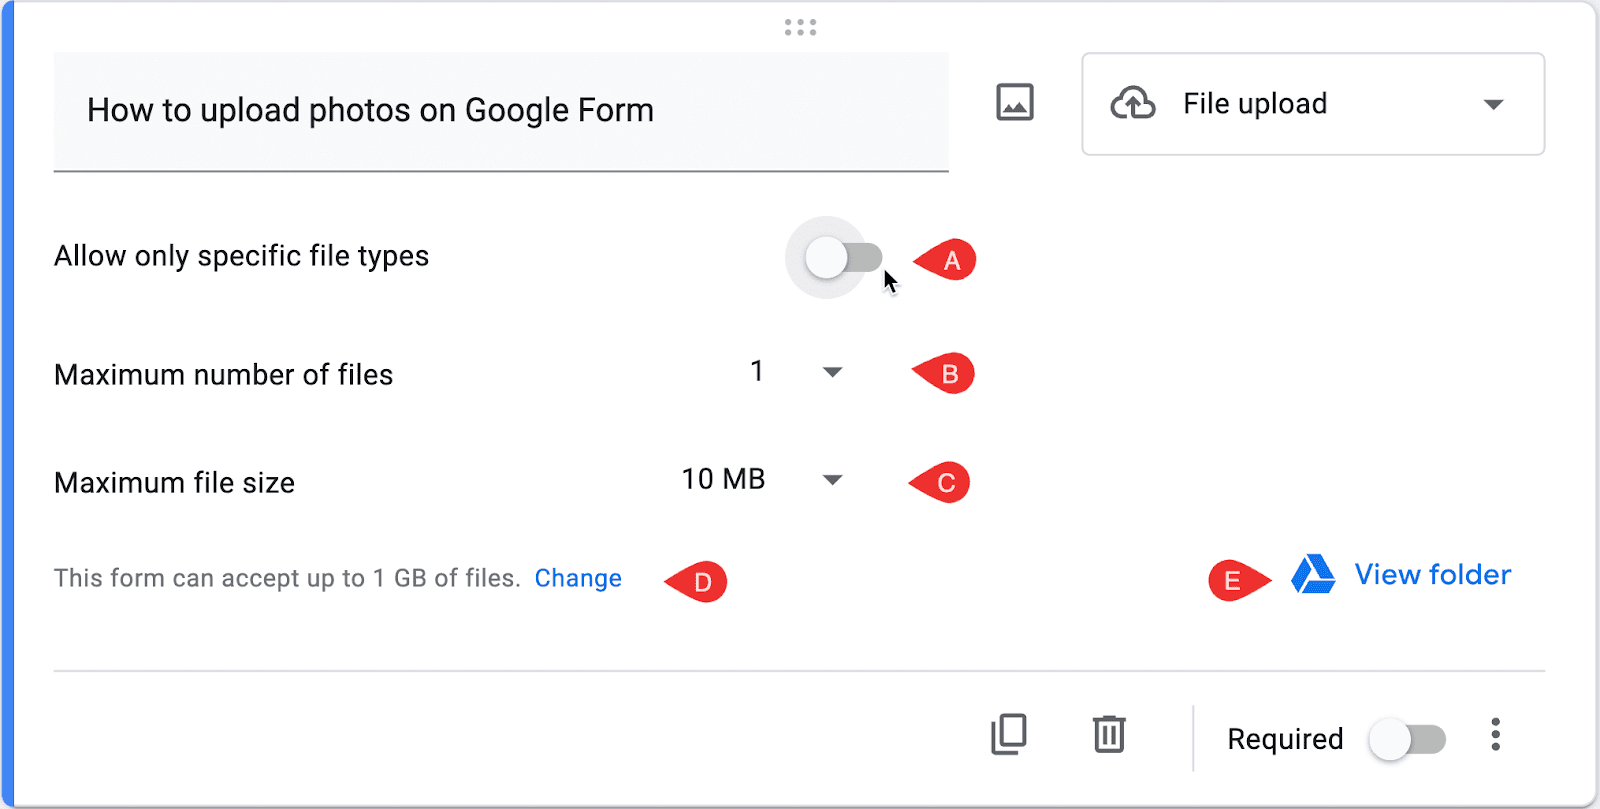
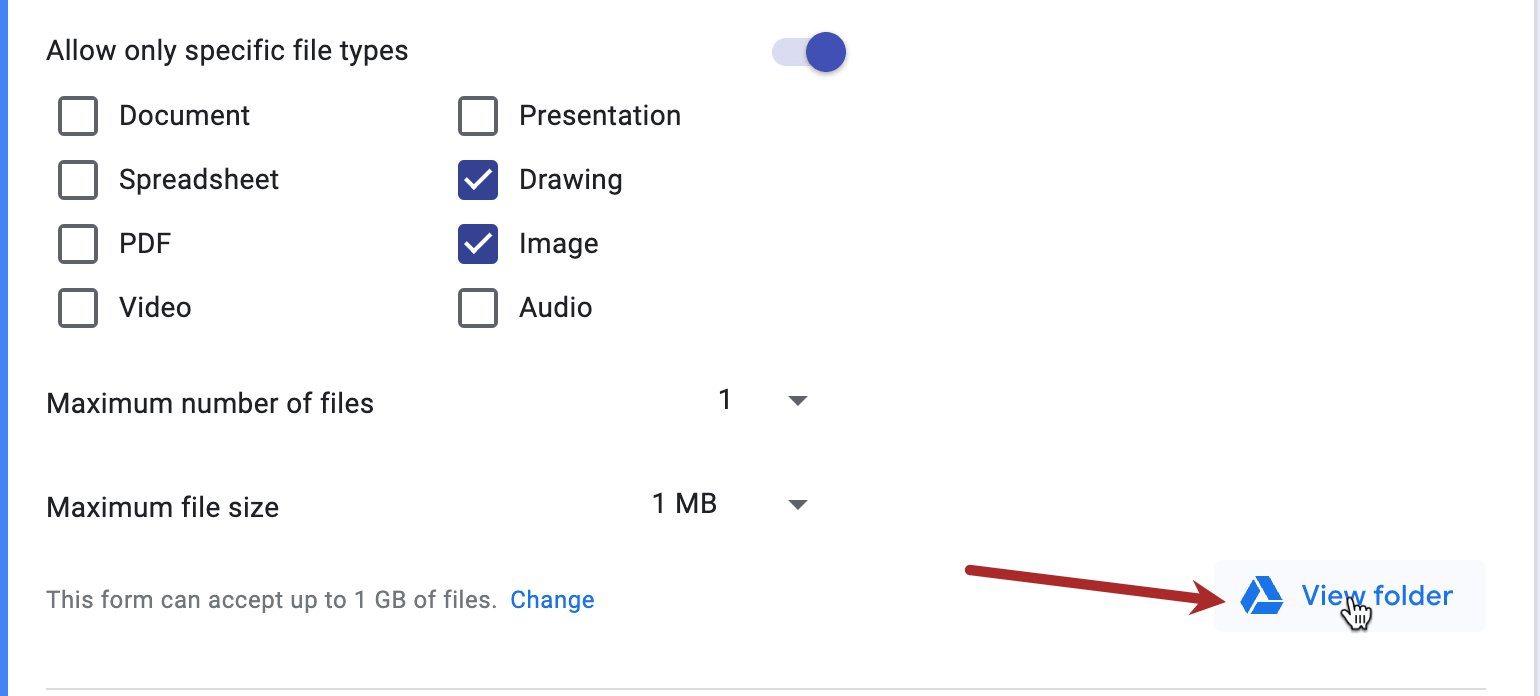
A – File Types: Turn on this setting if you want to restrict file types that can be uploaded as a response. Using this setting, you can allow only images to be uploaded. Google will reject all other file types unless you allow any of it.
B – Maximum number of files: You can specify how many files an individual can upload. It can be 1, 5, or 10. You cannot select 2, 3, or 4 files. Leave the default setting to one if you don’t want the respondents to upload multiple files.
C – Maximum File Size: Restrict the file size by specifying the size in megabytes (MB). The form can accept a file up to 1 GB, although it is not recommended. You can select 1, 10, or 100 MB up to 1 GB. The drop-down has a 10 GB size listed as an item. However, a warning message tells you that this form is not accepting it.
D – Changing the maximum file size setting: You can change the 1 GB file size limit by clicking the change button. The form will take you to the settings page. You can configure Google Forms to accept file sizes up to 1TB.
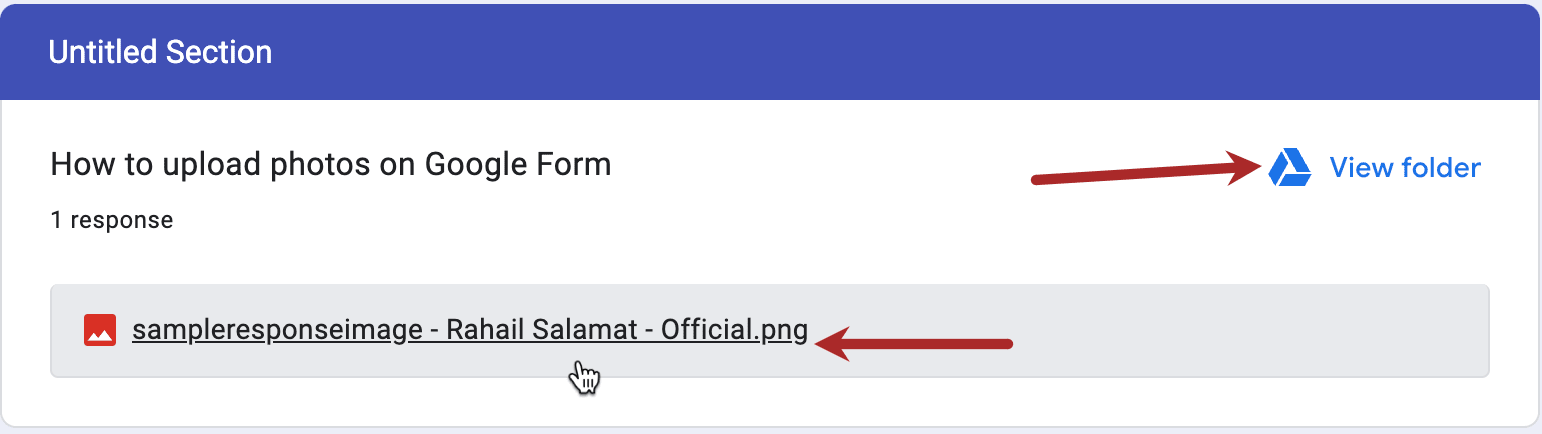
E – View Folder: Google automatically creates a folder in your drive that collects all the files respondents upload to respond to your question/s. You can view the folder by clicking the ‘view folder’ link in blue.
4 – Review The Settings And Finalize The Question
Review and confirm the image upload settings as part of a response. Google will save the changes automatically.
View Images Attached To A Response
View the images or files respondents uploaded as a response to your Google Form question by following the steps below.
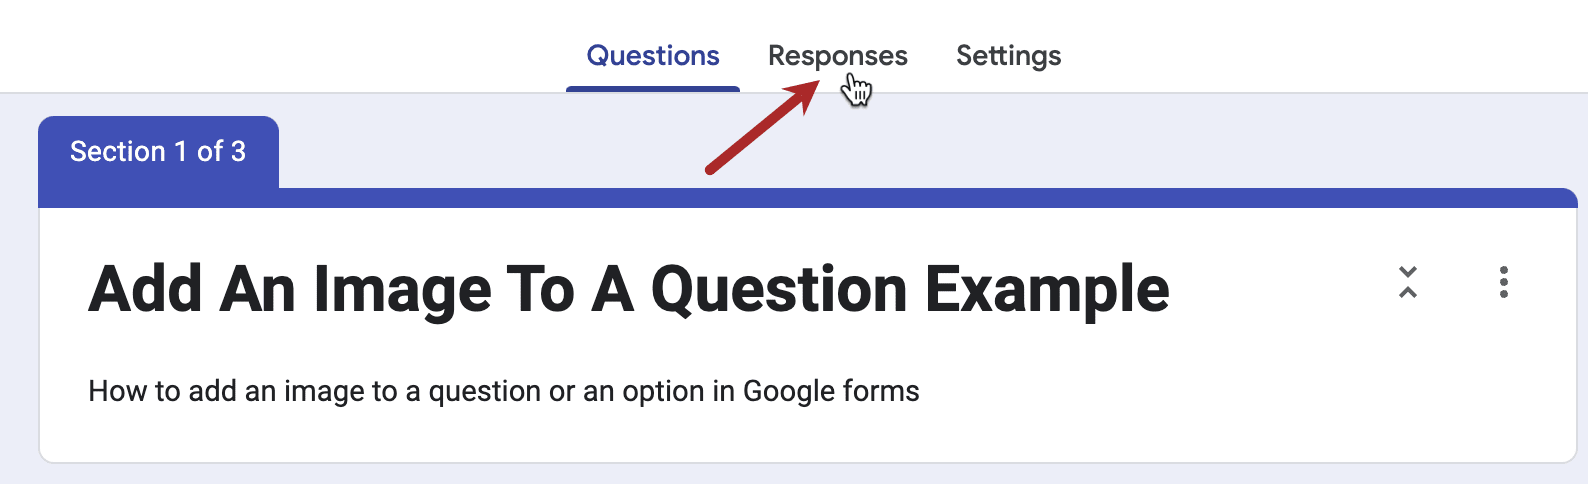
1 – Click The Response Tab at the top of the Google Form
Access the Google Form in which you mentioned a question that required an image or a file upload. Go to the ‘Response’ tab at the top of the Form.
2 – View The List Of Uploaded File Response Under The Section Name
The uploaded images or files are listed in the Form section under which you created a question.
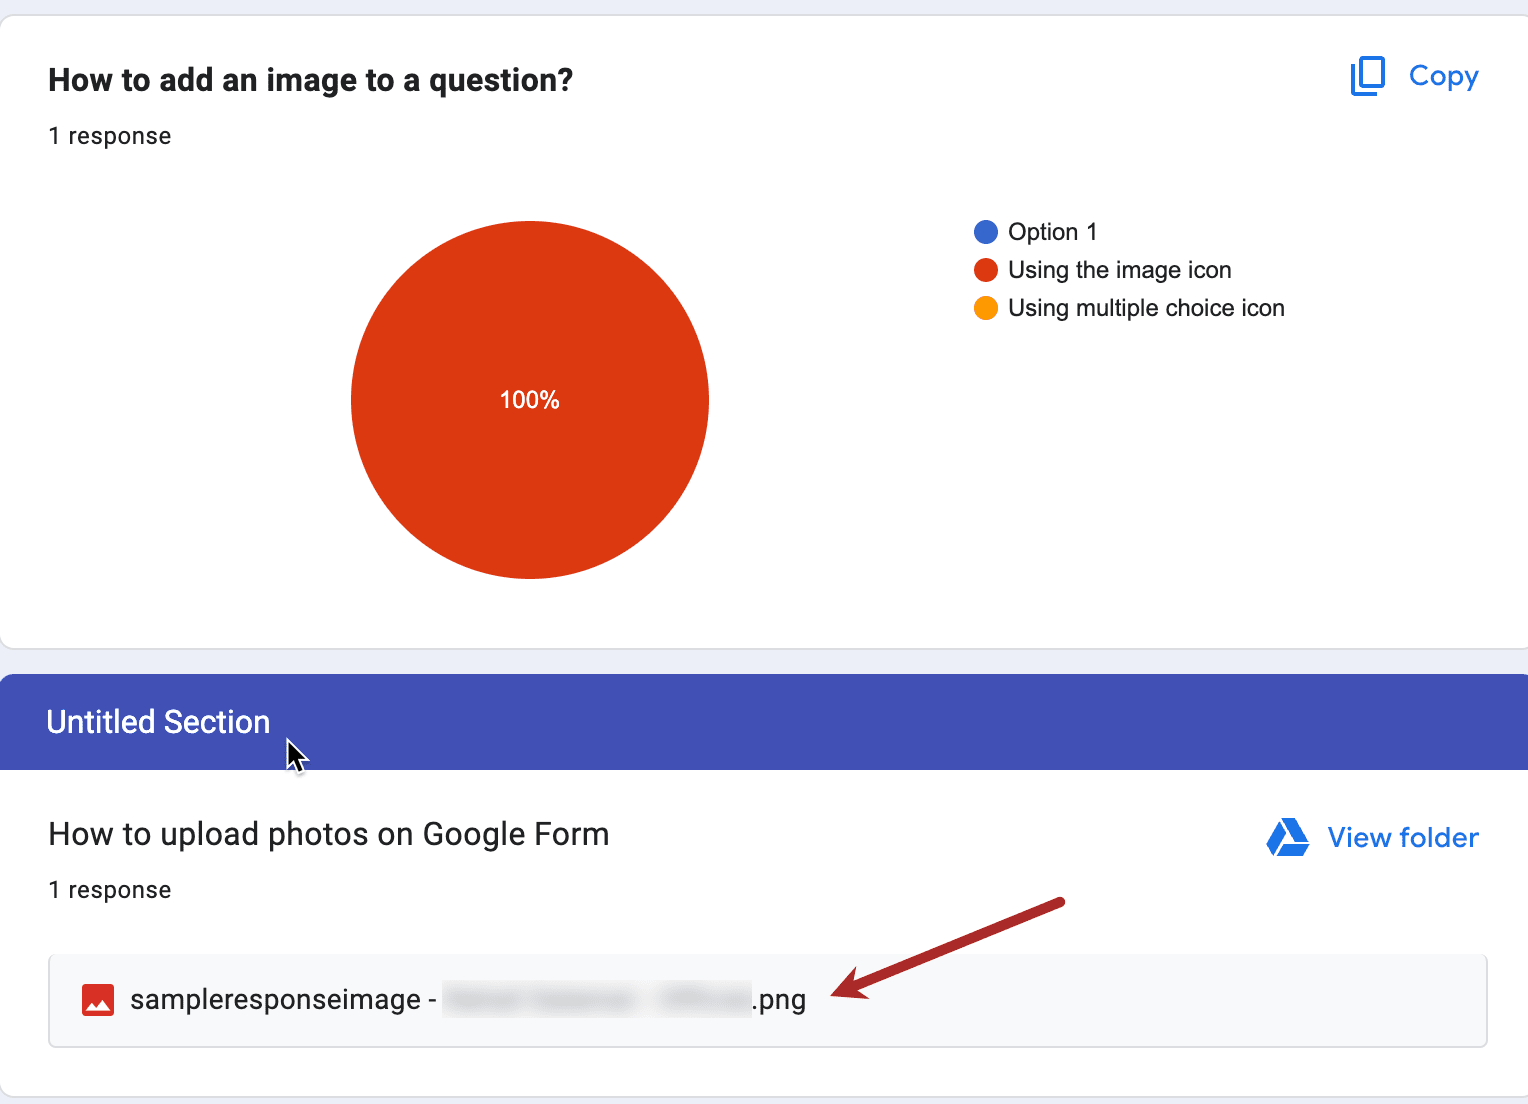
Click the file name to open the image or a file in a separate tab. Google will open the file as a Drive preview.
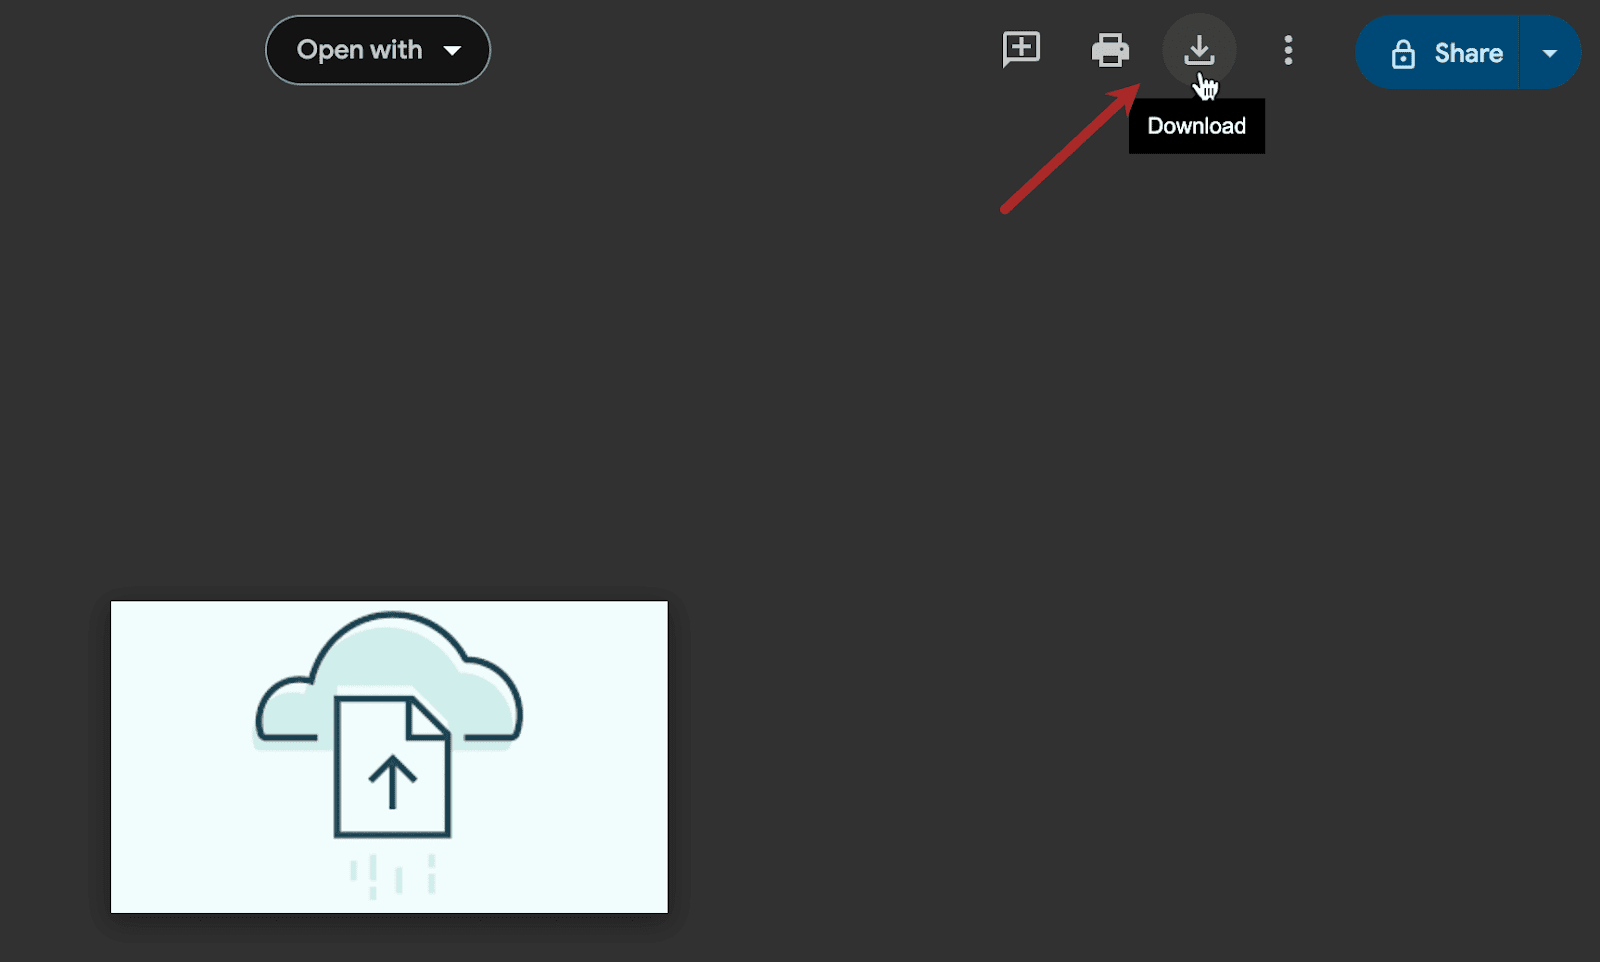
3 – Click The File Name To Preview Or Download
You can download the file by clicking the Download button at the top right corner of the Google File Preview.