How to Add Ranking Questions in Google Forms (7 Steps)
Fast navigation
Often people misunderstand ranking questions with poll questions. It’s a bit complex to add ranking questions in Google Forms. But don’t worry, we’ve simplified the process of how to add ranking questions in Google Forms in 6 simple steps.
Let’s dive in!
Steps:
- Create a New Google Form
- Add Your Ranking Question
- Configure Your Question for Ranking
- Preview and Test Your Form
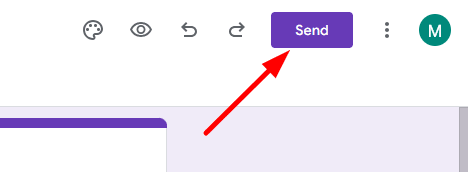
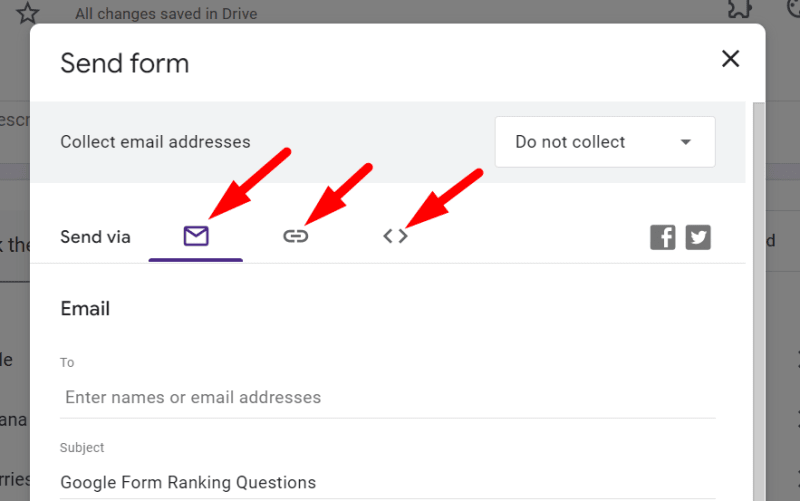
- Share Your Form
- Analyze Your Data
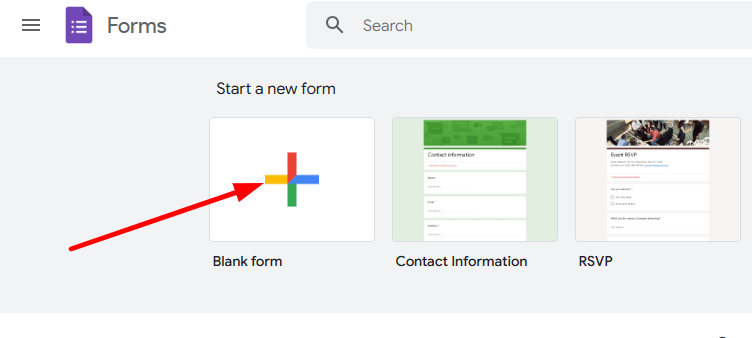
Step 1: Create a New Google Form
Step 2: Add Your Ranking Question
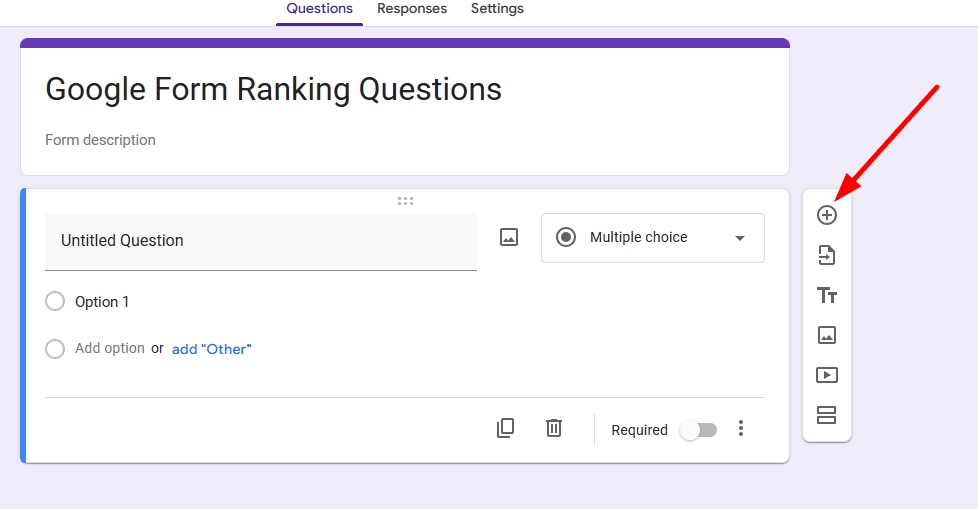
Click on + to add a new question.
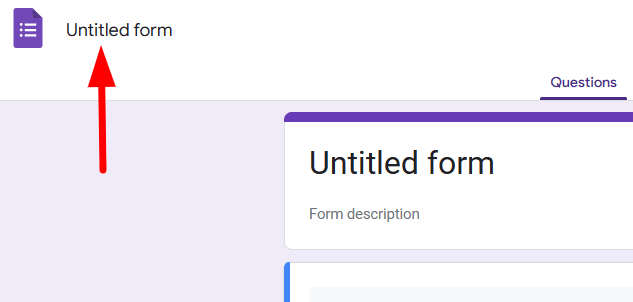
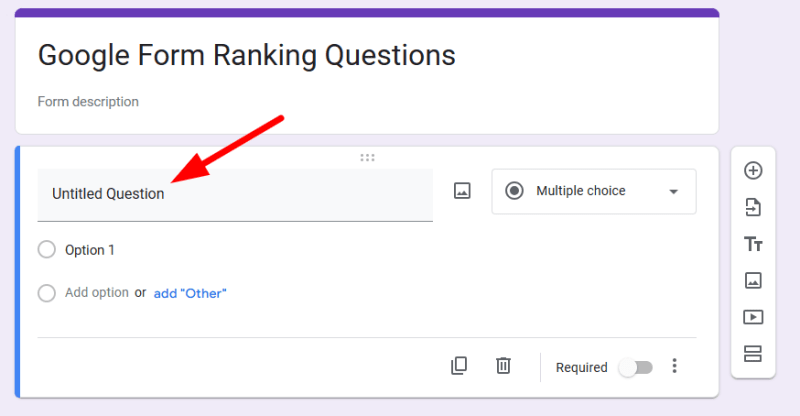
Click on “Untitled Question” to add your question.
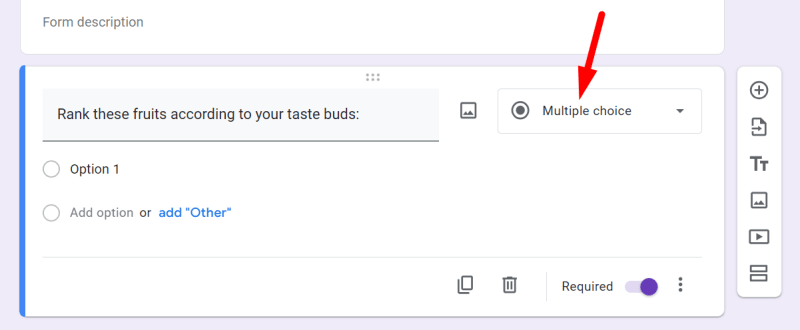
By default, Google Forms sets your new question as a multiple choice question. But for ranking question in Google Form, you have to change it.
To change this, click on the drop-down next to the question type.
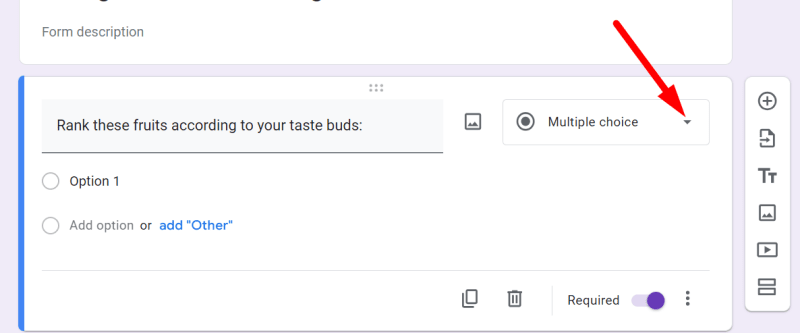
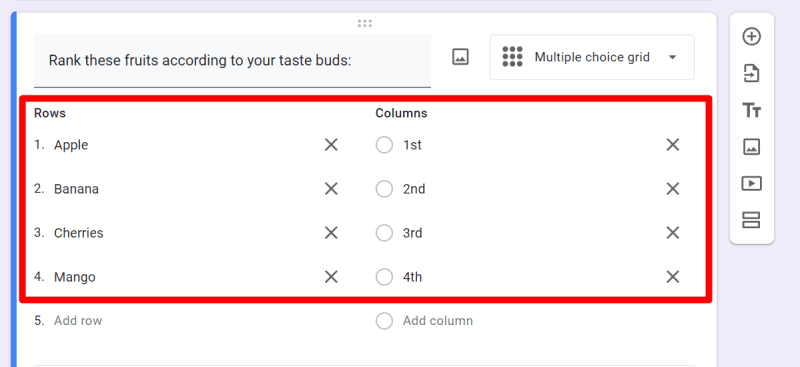
A drop down menu will appear. Select Multiple choice grid from the drop down menu. This type will serve as our makeshift ranking system.

In the Row section, enter the items you want respondents to rank. For example, if you're asking them to rank their favorite fruits, your rows could be Apples, Bananas, Cherries, Mango etc.
In the Column section, input your scale such as 1st, 2nd, 3rd, etc. This will be how respondents rank their preferences.
Step 3: Configure Your Question for Ranking
After setting up your rows and columns, scroll down to the bottom of the question settings. Check the box for Require a response in each row to ensure respondents rank all items.

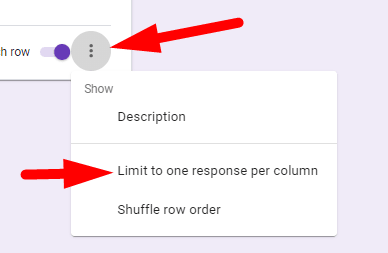
Then click on the three vertical dots to Limit to one response per column. This is crucial as it ensures a respondent can't give the same rank to more than one item, preserving the integrity of your ranking data.
Step 4: Preview and Test Your Form
Before sending out your form, always preview it by clicking on the eye icon at the top right.

This allows you to view the form as a respondent and ensure everything works as intended.
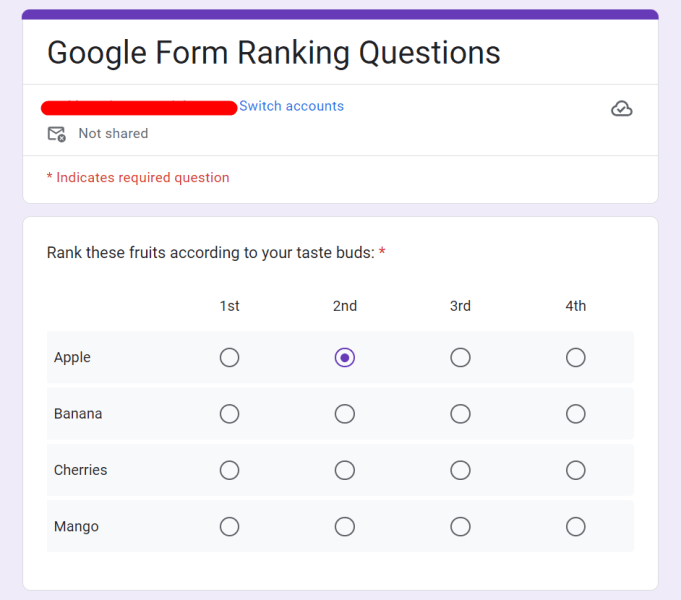
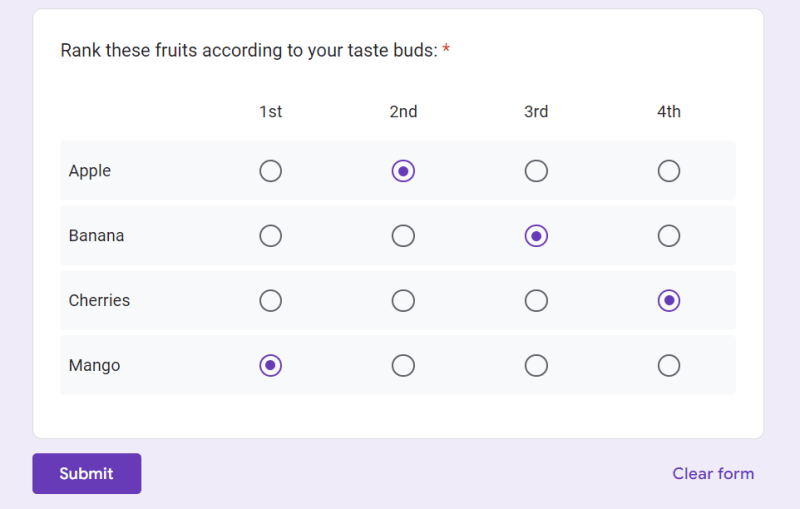
Go through the form and submit a test response to check if the ranking question functions correctly and captures the data as you expect.
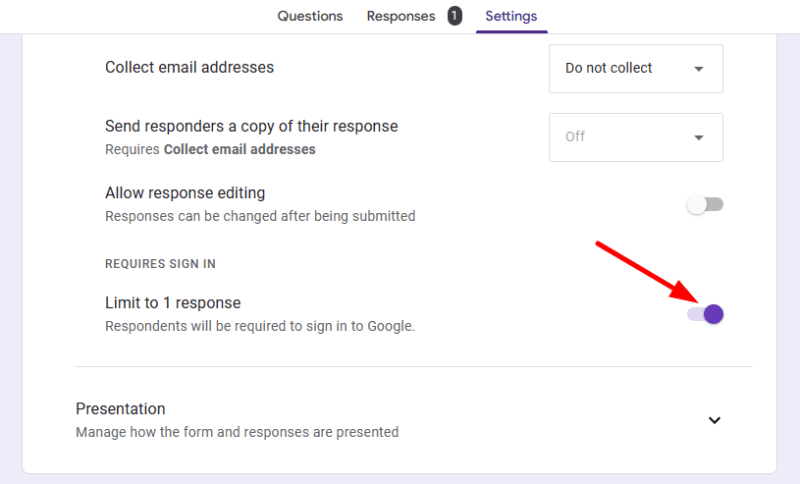
If you want one respondent to submit a single response, then you have to disallow the option to submit multiple responses. To do that, Click on the ‘Settings’ tab.

Open the ‘Reponses’ menu in the ‘Settings’ tab.
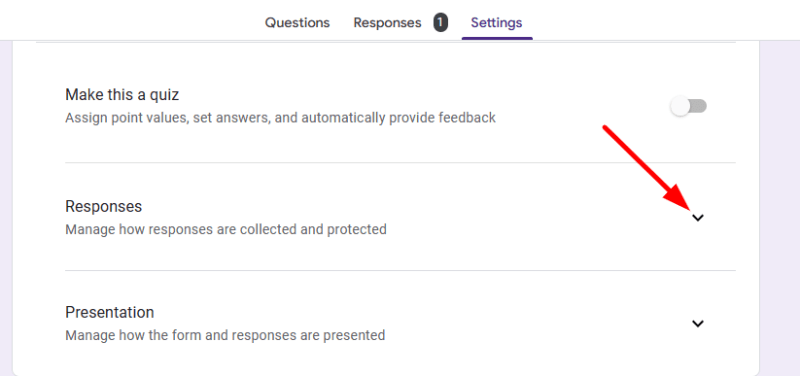
Toggle on the “Limit to 1 response” button.
Step 6: Analyze Your Data
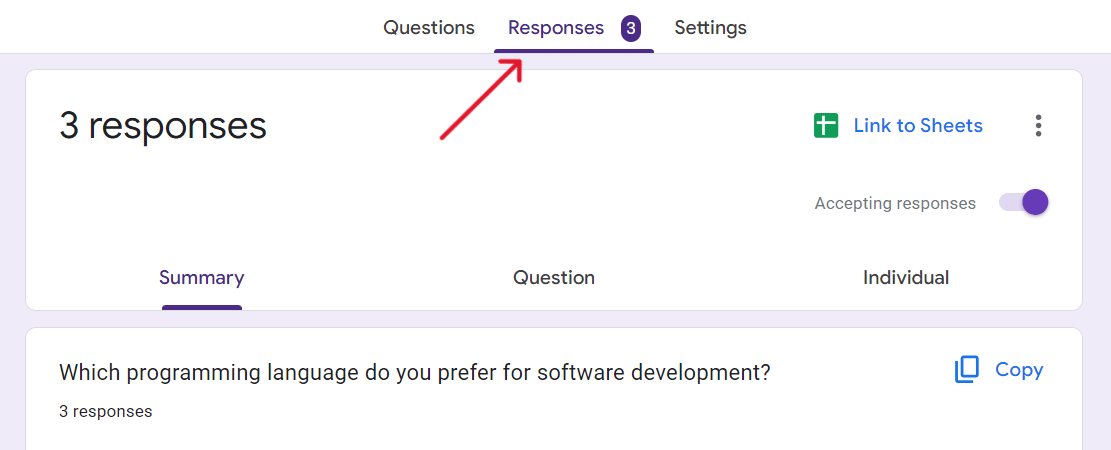
After collecting responses, visit the Responses tab in your form to review the data.
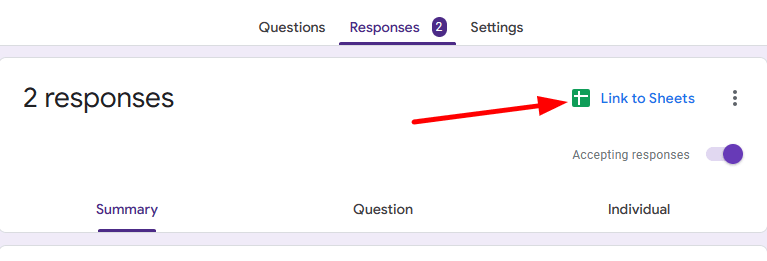
For a more in-depth analysis, click on the green spreadsheet icon to send the data to Google Sheets. In Sheets, you can sort, filter, and perform various analyses to understand your respondents' rankings better.
Hope our guide helped you to create a Google Form with ranking questions.
Finished!
