Google Forms Phone Number Validation In 4 Steps (2024)
Fast navigation
This guide shows the quickest and easiest way to validate phone numbers in Google Forms using regular expressions. Follow the method described in the steps below.
1 – Create A New Phone Number Question In Your Google Form

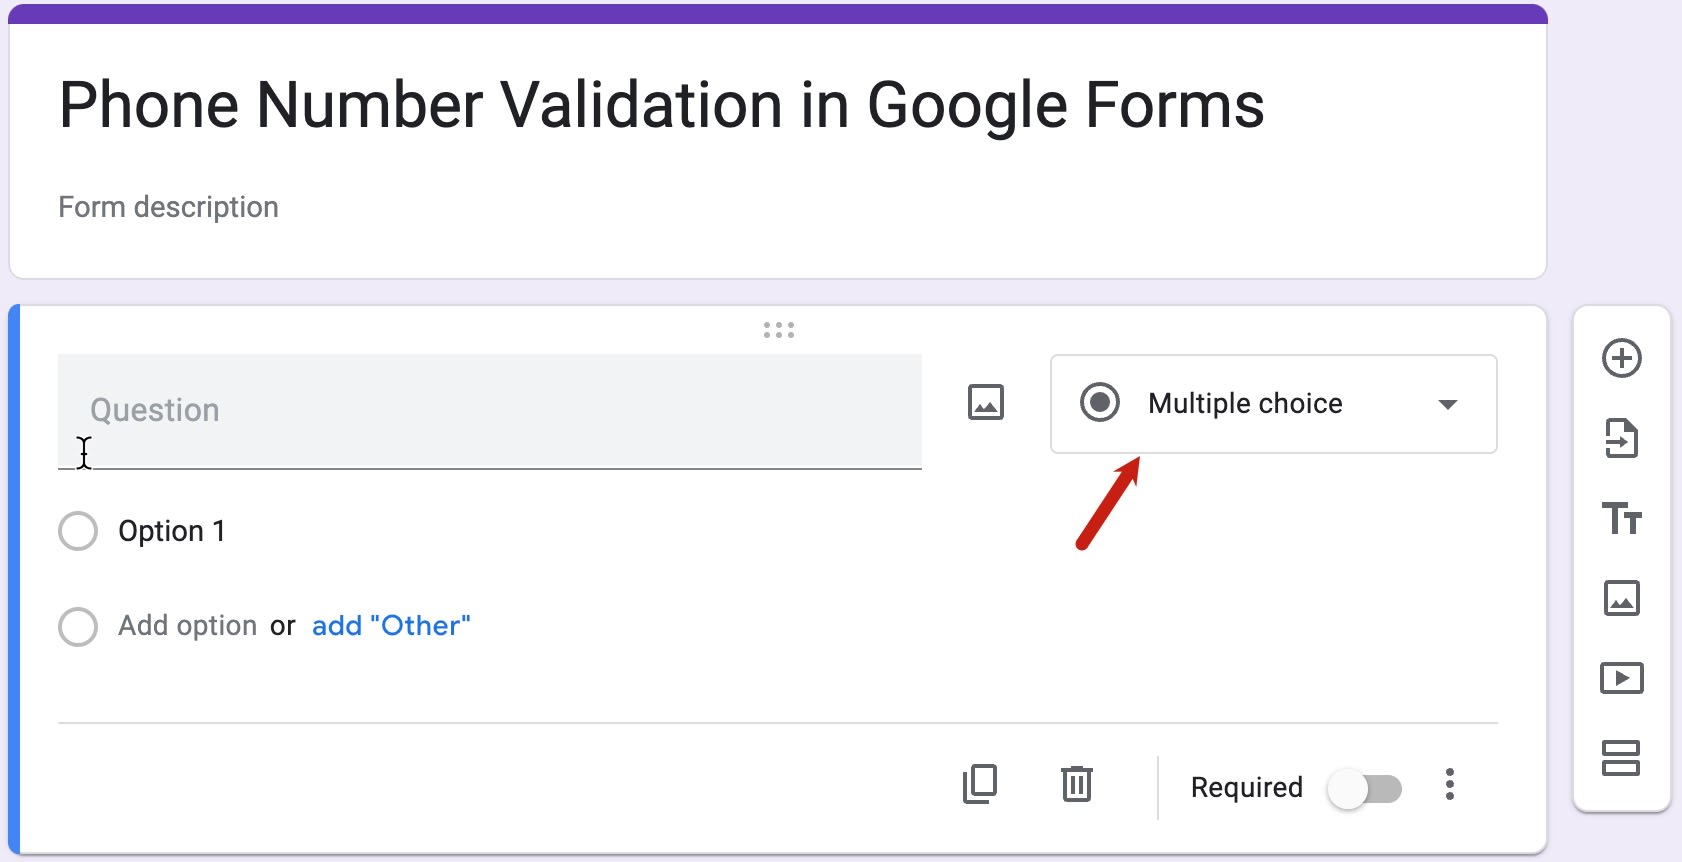
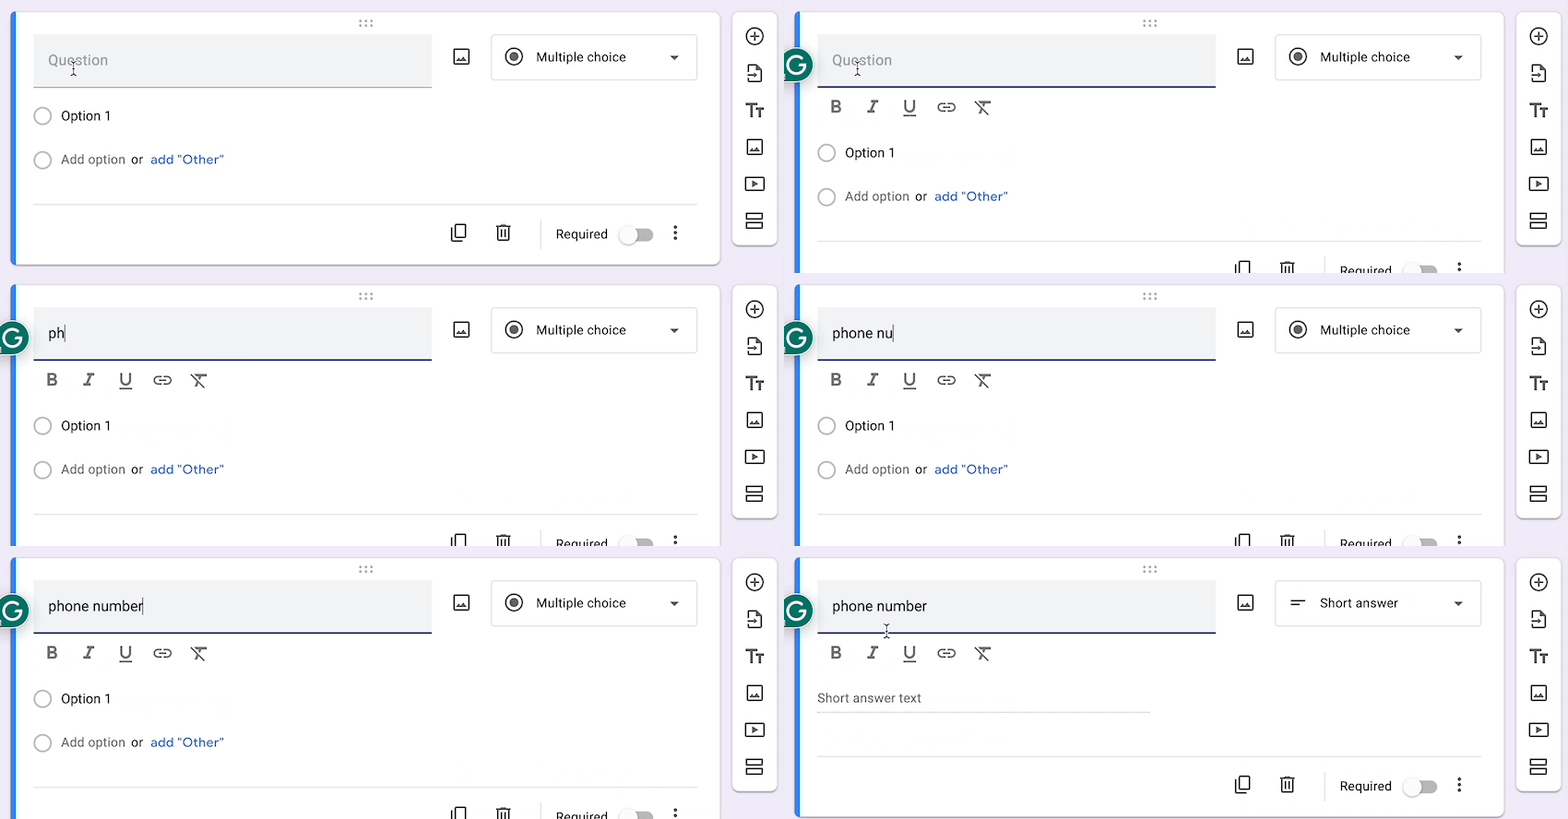
In a new or existing form, click the ‘+’ button in the floating bar on the right side of the form box to add a new question.
The new question box will have multiple choice as the default question type.
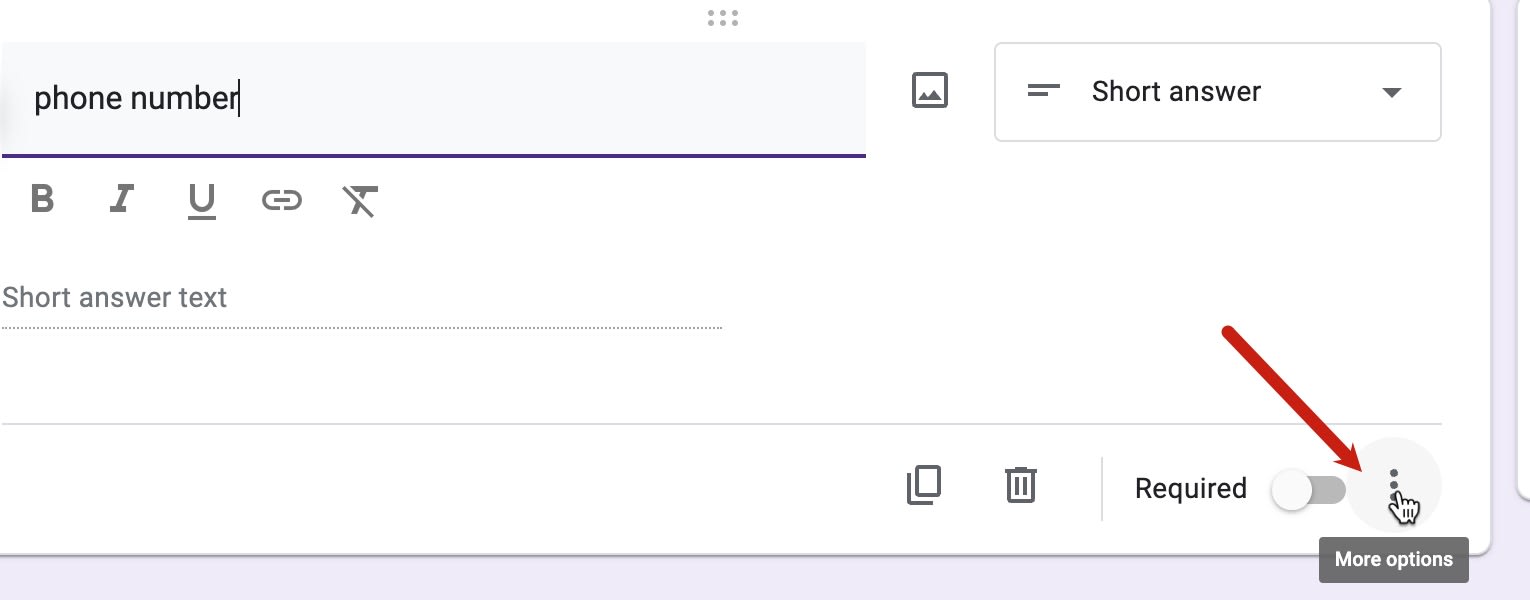
Type ‘Phone Number’ in the question input field. The question type will automatically change to ‘Short Answer.’ Google Forms can guess the question type based on the keywords in the question input field.
3 – Configure Regular Expression For The Selected Response
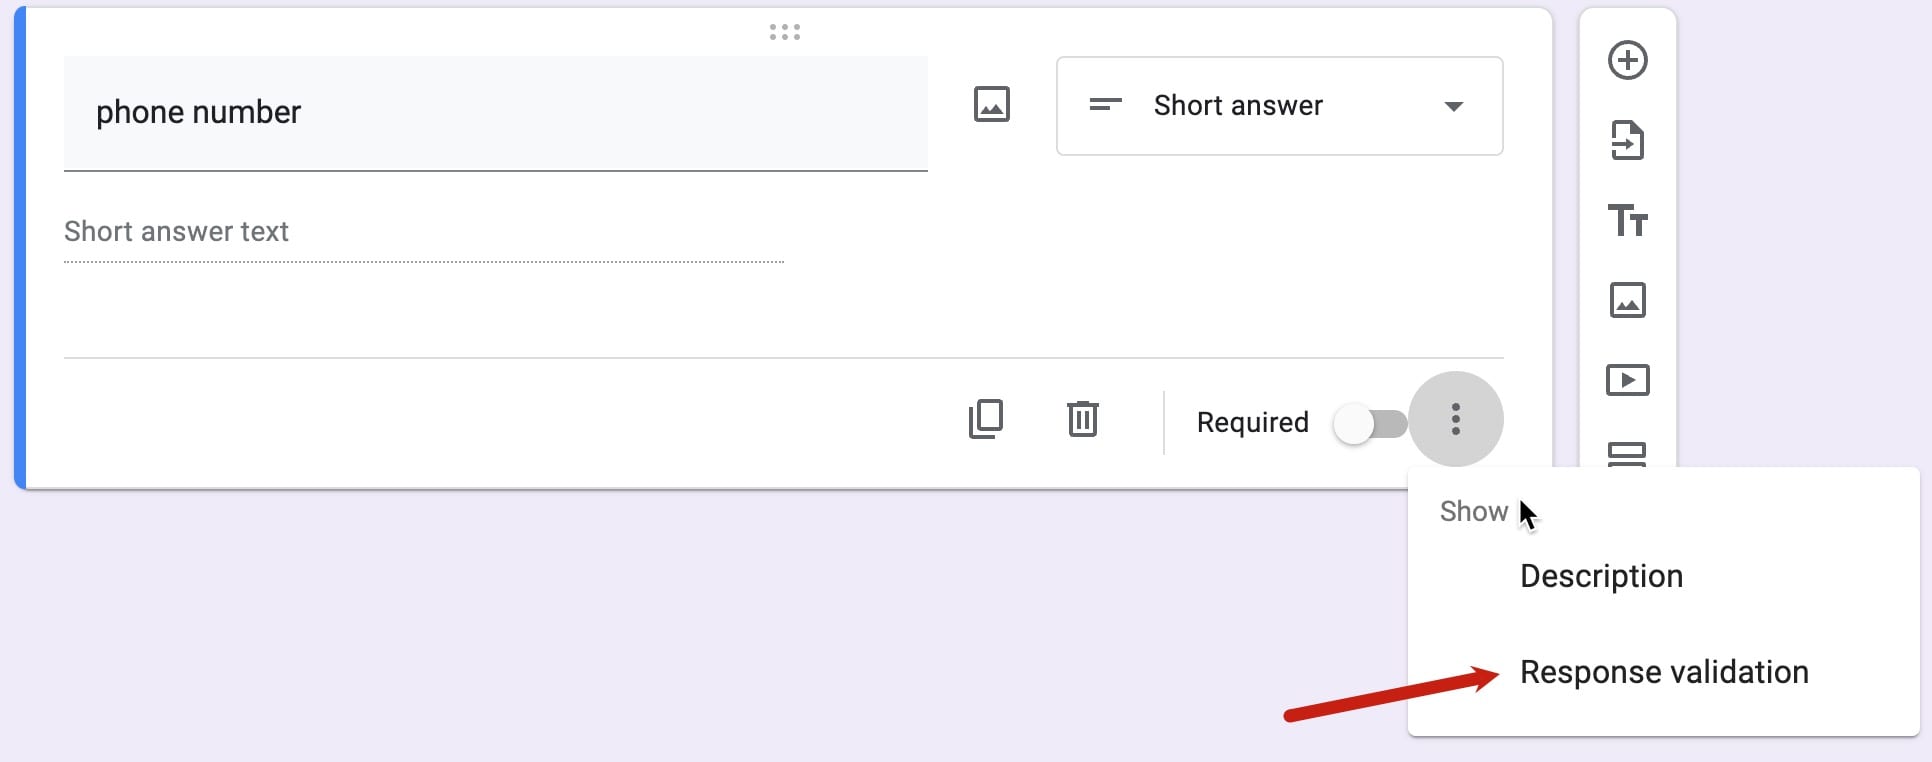
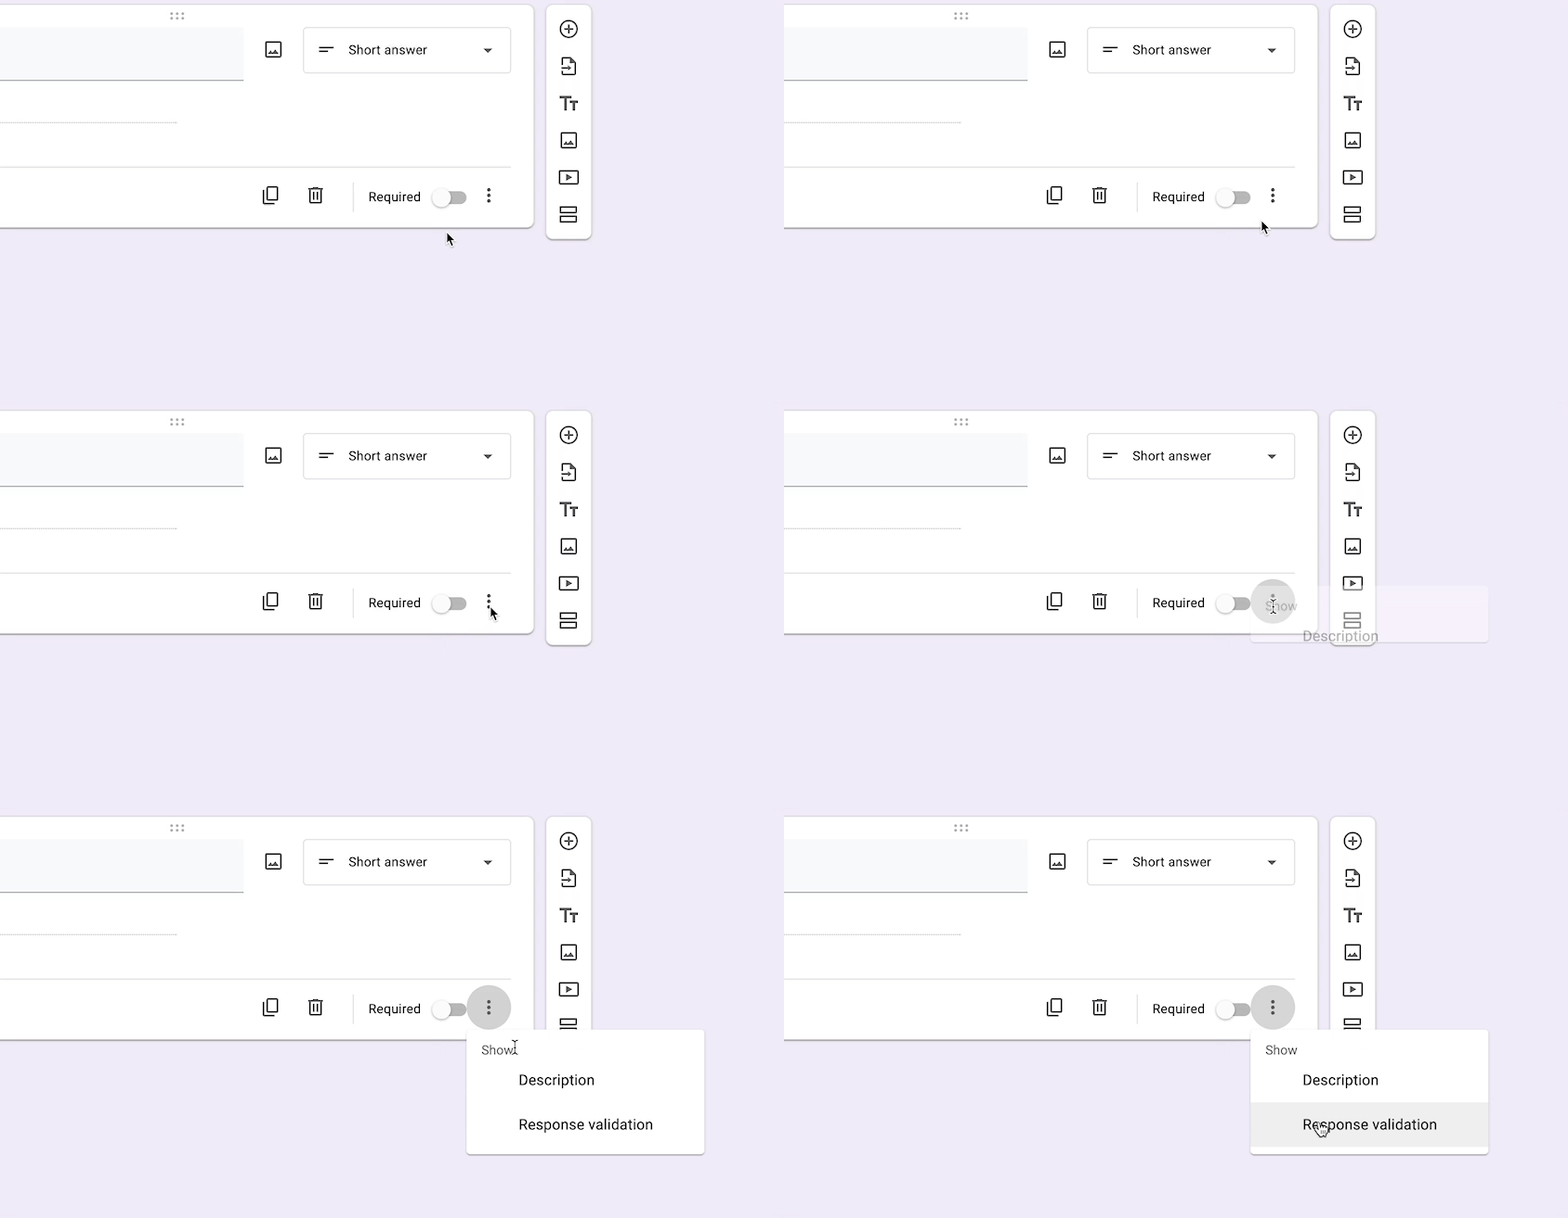
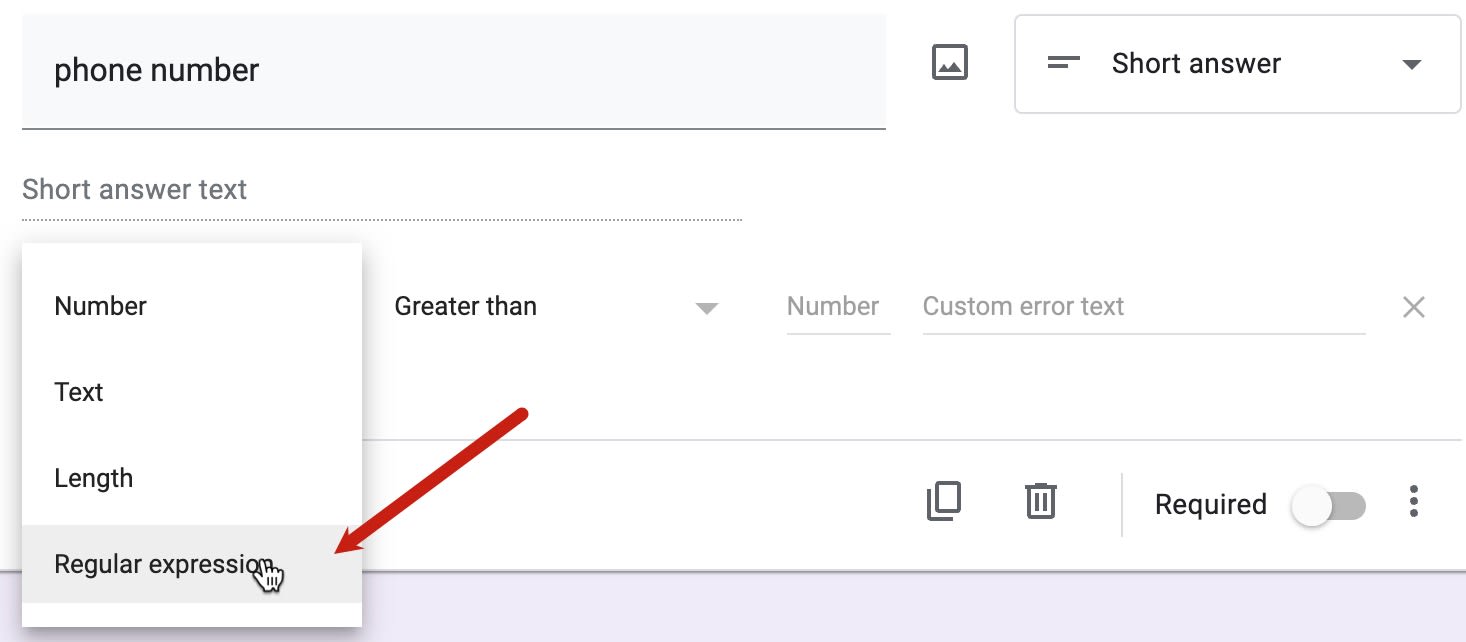
Setting the response validation rule is the most important part of phone validation in Google Forms. Start setting the rule by clicking the number drop-down box that appeared when you clicked the response validation option in the previous step. Select ‘Regular Expression.’
Change the ‘Greater than’ part by clicking and selecting Matches in the drop-down menu.
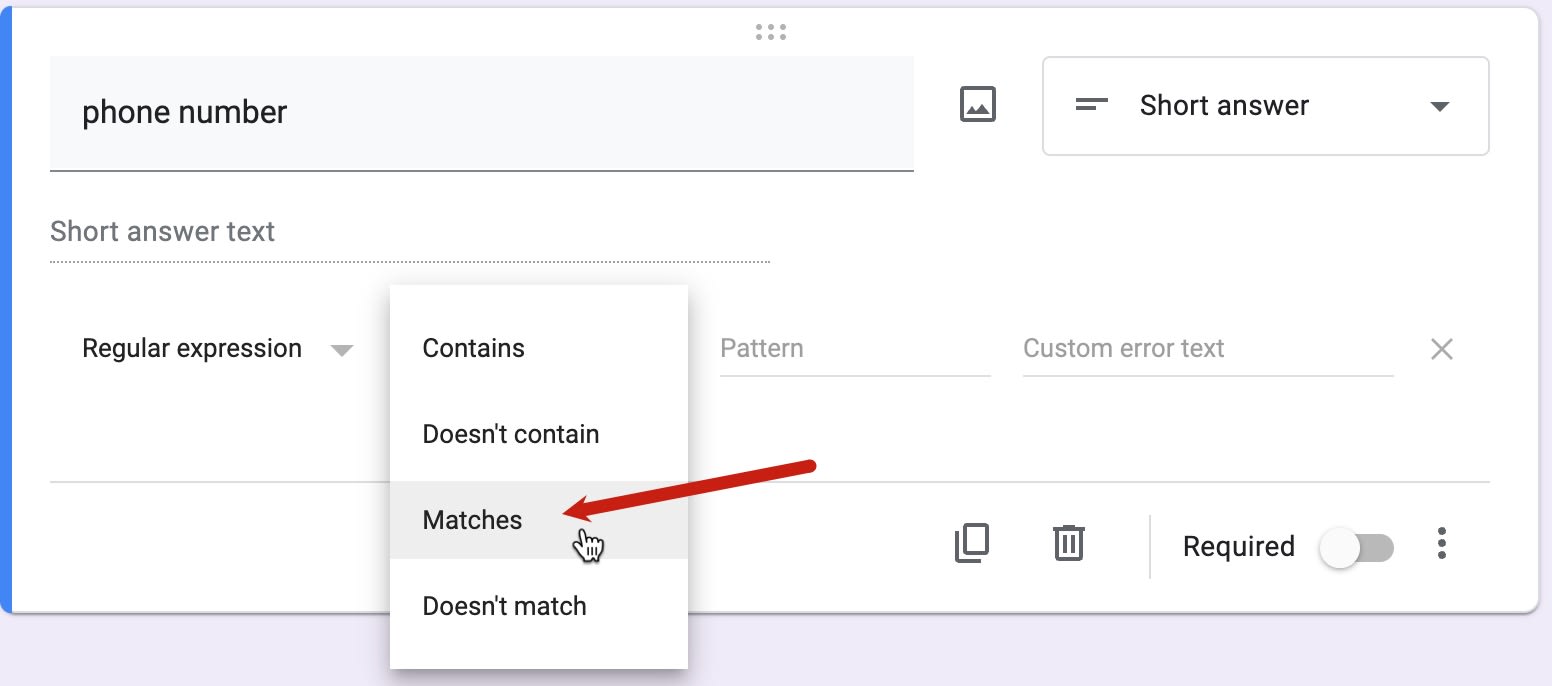
Copy the regular expression you'd like from the options below and paste it in the ‘Pattern’ box next to the matches drop-down menu.
- [0-9]{10}
- ^(\+0?1\s)?\(?\d{3}\)?[\s.-]\d{3}[\s.-]\d{4}$
- ^(\+\d{1,2}\s)?\(?\d{3}\)?[\s.-]\d{3}[\s.-]\d{4}$
- ^\s*(?:\+?(\d{1,3}))?[-. (]*(\d{3})[-. )]*(\d{3})[-. ]*(\d{4})(?:*x(\d+))?\s*$
- This will accept any 10 digit number
- This accepts only US formatted numbers, optionally including +1 and then three digits, three digits, 4 digits. It also accepts brackets around the numbers and dashes separating the groups.
- This is the same as the US numbers one above, but doesn't limit it just to an optional +1 so you can have any country code like +44
- This really just accepts any three, three, four group of numbers with an optional country code at the beginning and extension at the end. Eg this would accept +1 123 456 789 x4567
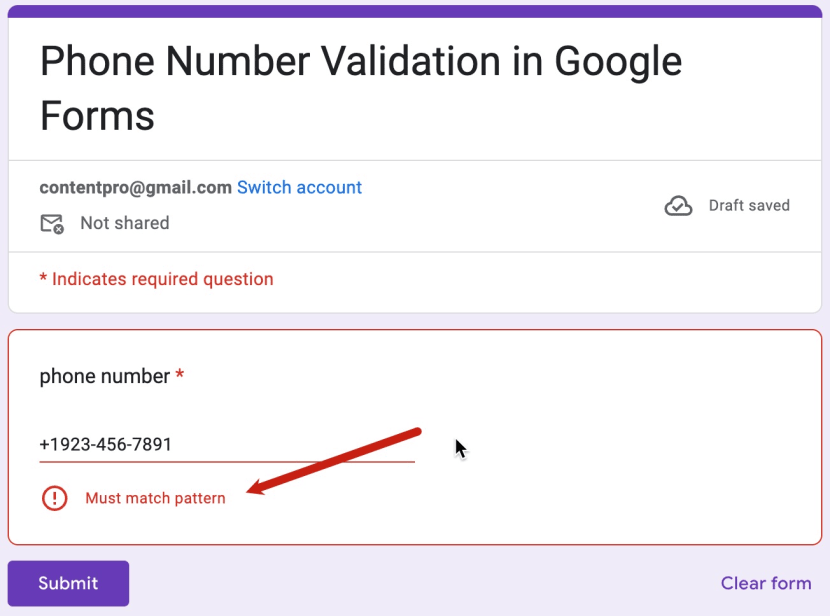
Check the validation by entering a number with dashes and previewing the form.
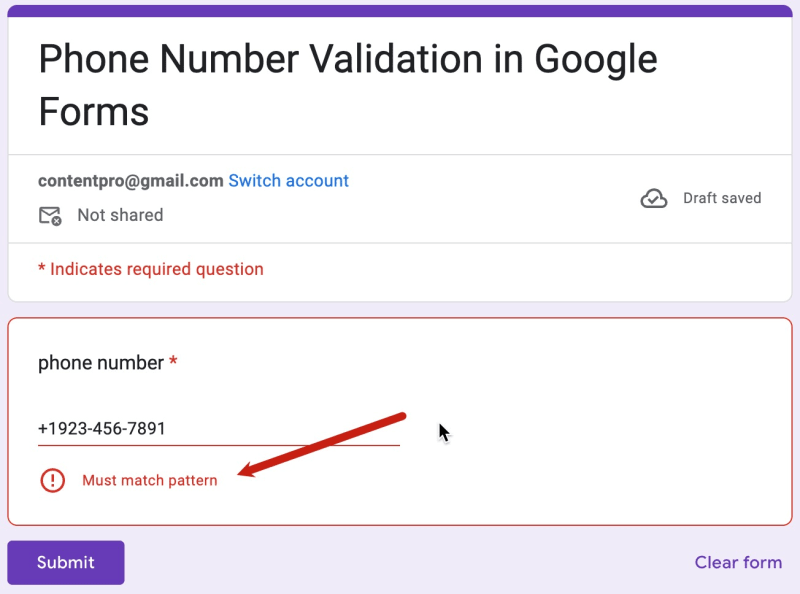
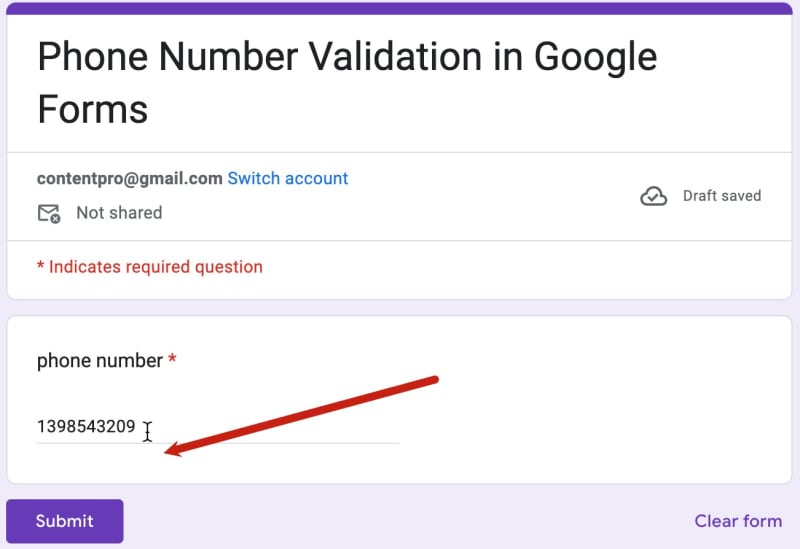
The error message displays a match pattern warning. This means your regular expression rule is working correctly. Now, check whether the form accepts the phone number by removing the dashes and the plus sign.
4 – Specify A Custom Error Message
In addition to regular expressions, it is possible to set a custom error message. The default message is ambiguous because it doesn’t inform the user of a valid phone number requirement. Specify a detailed message like this one: Specify the number without dashes, plus signs and any special characters.

Preview the error message by clicking the preview icon.

Finished!
