
5 Steps: How To Make Google Forms Anonymous
Fast navigation
Are you curious about how to make Google Forms anonymous?
This swift guide shows you the process in seven easy steps, making it simple for anyone to anonymize Google Forms.
Are Google Forms Anonymous By Default?
Google Forms automatically collects information about respondents by default. However, it provides diverse settings enabling you to minimize identifiable details, thereby enhancing the anonymity of the forms.
1 – Add a Question To a New Form
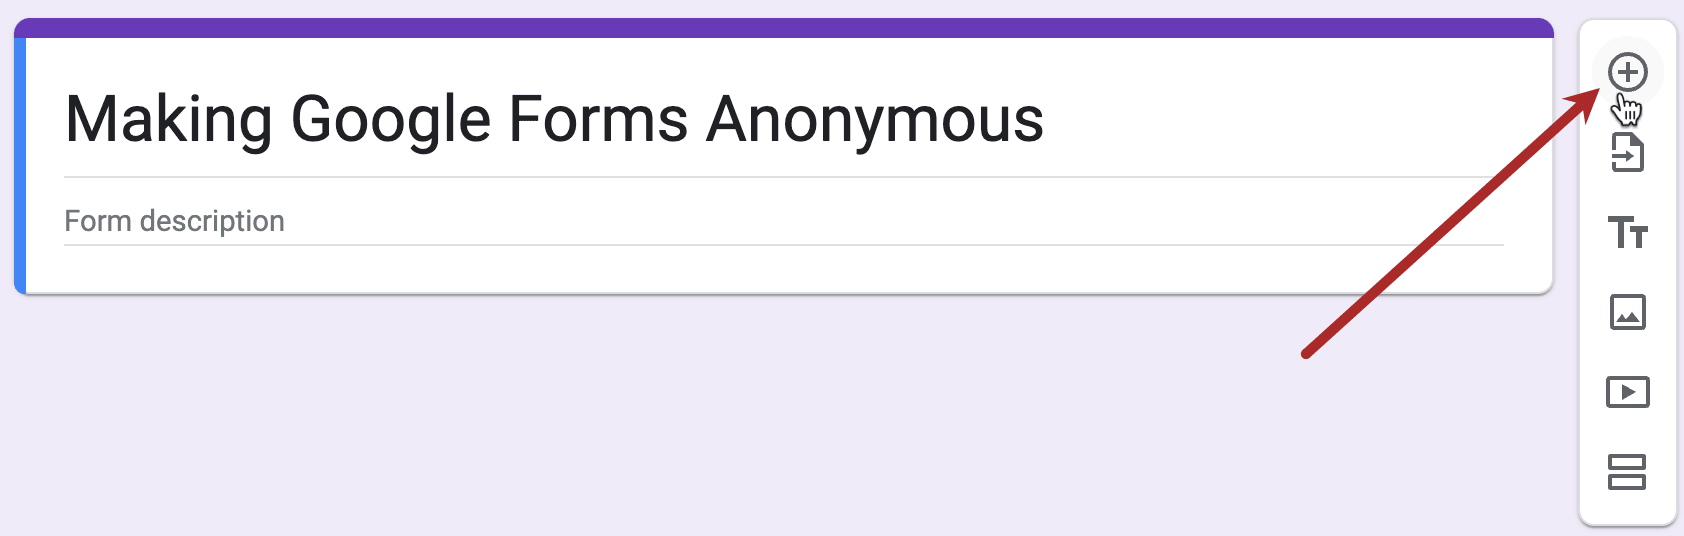
Start by creating a new form. Add a question by clicking the ‘+’ icon at the top of the floating navigation bar on the right.
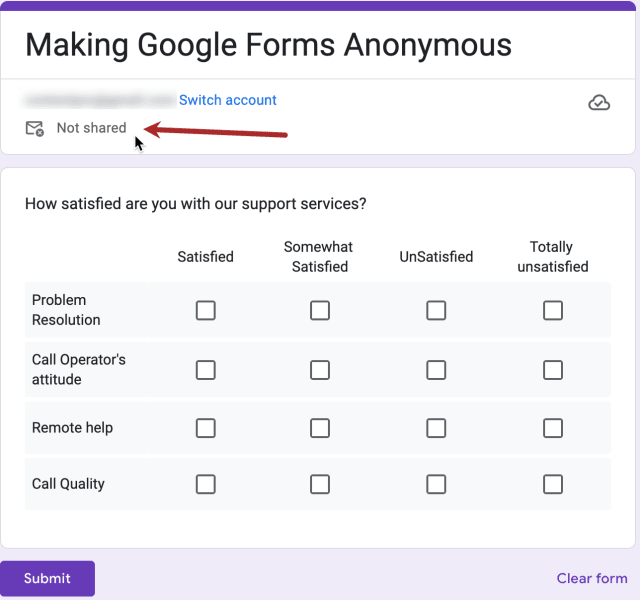
The question format depends largely on the purpose of the form. In this guide, we will create a checkbox grid to survey respondents’ satisfaction with our services. It will help you better understand Anonymous settings in Google Forms.
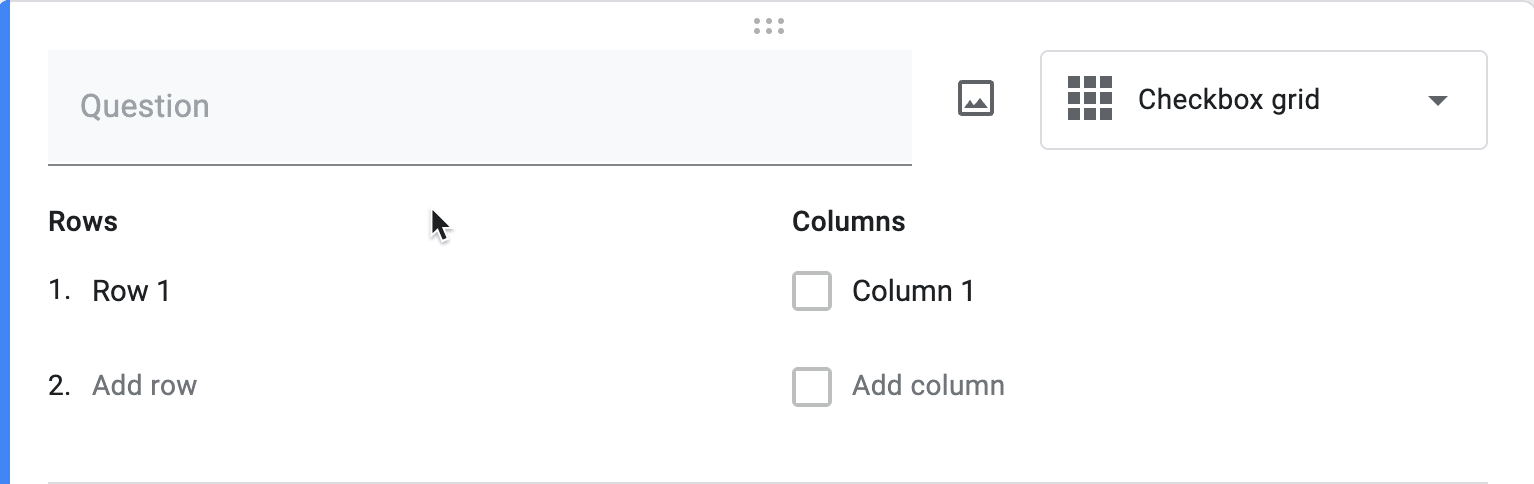
2 – Select The Question Type In The Drop-Down Menu
Select the question type in the drop-down menu beside the question input box. We are using checkbox grid questions for this guide.
3 – Write the Question and populate the checkbox rows and columns
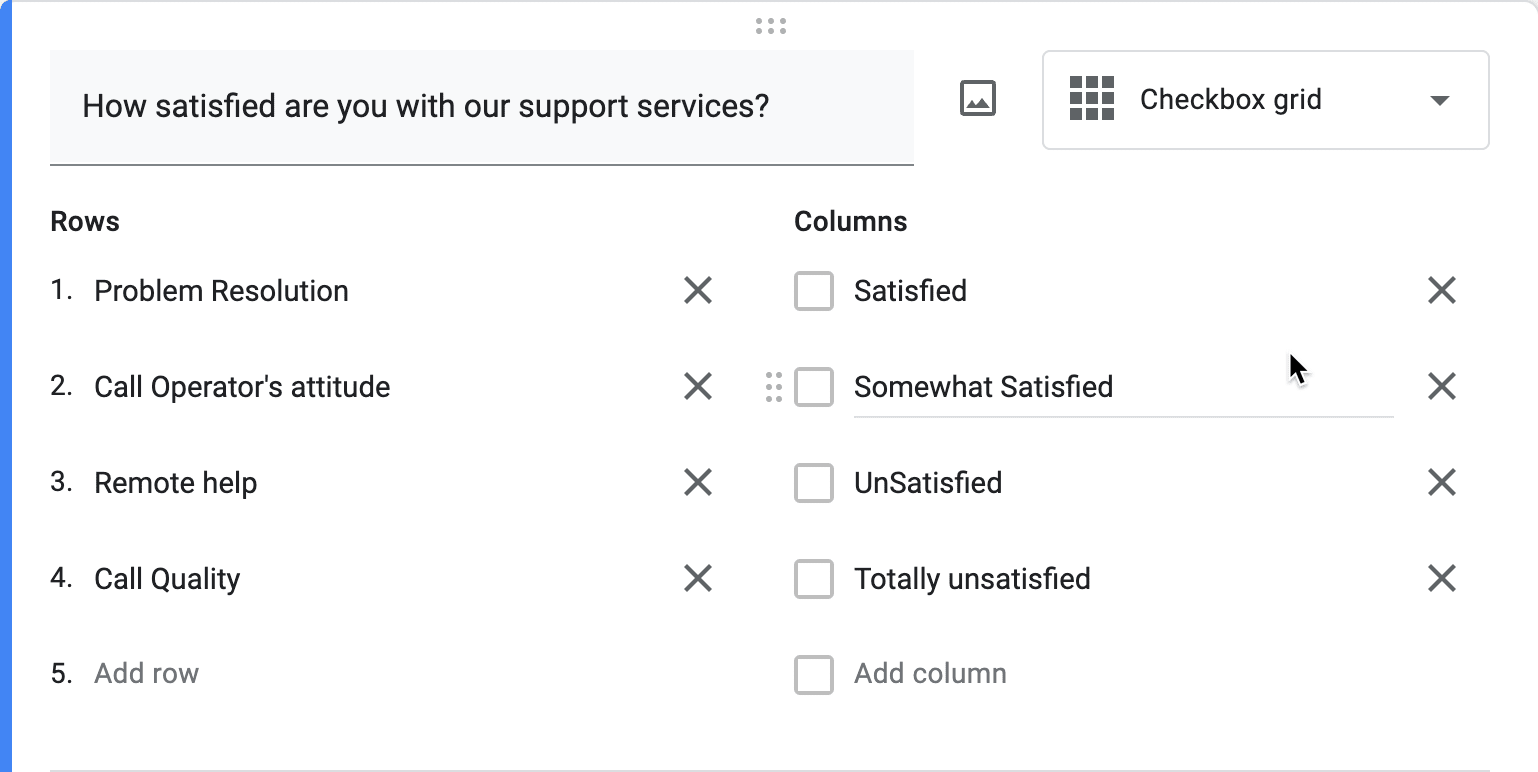
Write the question and the survey options. Populate the rows with questions or survey items and columns with choices.
Ensure no identifying information, including names, email addresses or transaction numbers, is shared. Questions asking for specific identifiable information should not be included in anonymized Google Forms.
4 – Click The Settings Tab

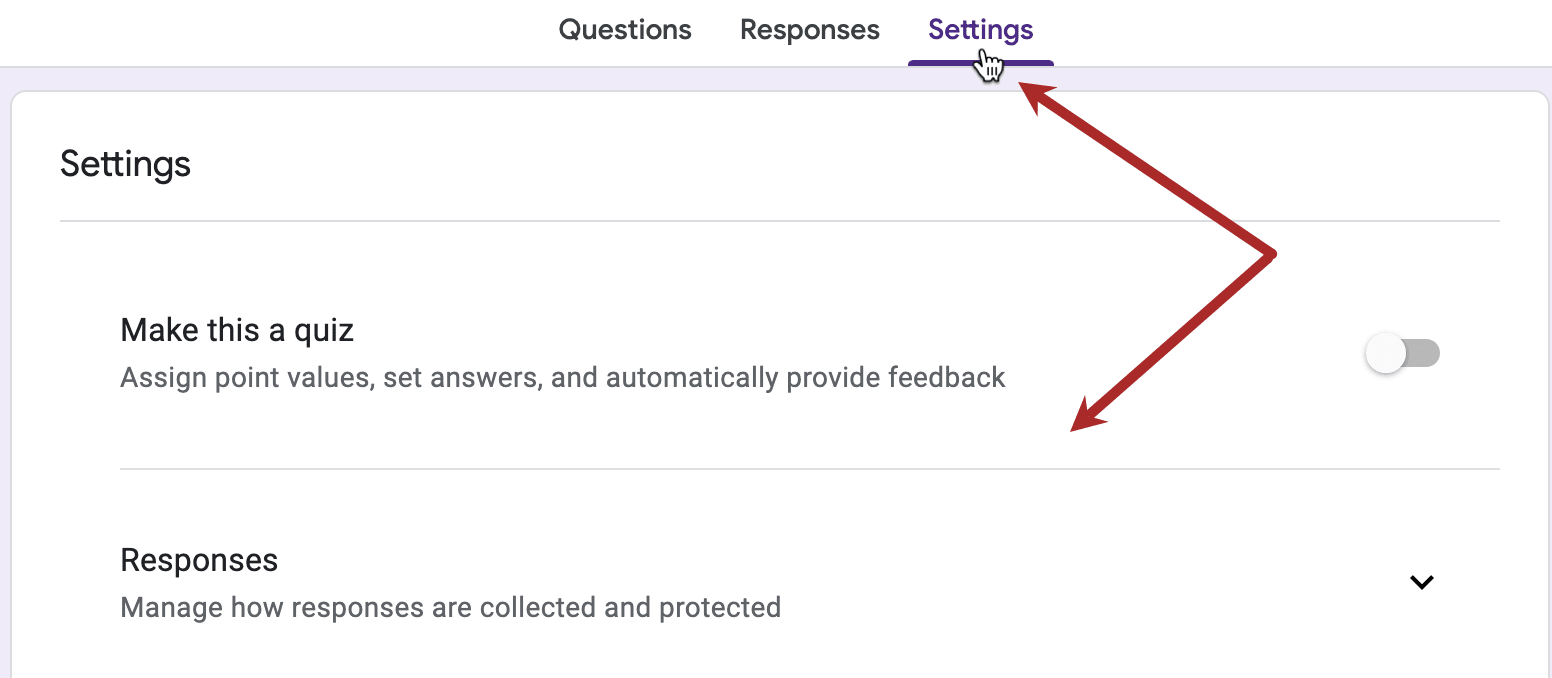
5 – Set Do Not Collect Email Addresses And Ensure Allow Response Editing Is Toggled Off
Expand the responses section. There are then several different settings:

- You want to set this to 'Do not collect'. On the other settings of 'Verified' or 'Responder' it will require them to login.
- will automatically turn off when you select the ‘Do not Collect’ option. However, just double check the toggle is set to off.
- Ensure this is toggled off, otherwise it will require a user to sign in.
You are done. Click the preview at the links cluster at the top of the page to check what your Google Form looks like.

Review the forms page and the questions. Look at the ‘Not Shared text below the account information. It means that the Form is anonymous. The data will not be collected and shared.
Finished!