
How to Add Payment Option in Google Form
Fast navigation
Need to accept payments in Google Forms but aren’t sure where to start? Although Google Forms has no built‑in checkout, you can still turn any survey or order form into a secure payment gateway.
In this tutorial, you’ll learn three quick methods—link redirects, QR codes, and the Payable Forms add‑on—to collect money via PayPal, Stripe, Google Pay, and more.
Follow the steps below to turn Google Forms into a revenue‑ready tool in minutes.
Methods:
1. Redirecting to a Payment Website
2. Collect Payments via Peer-to-Peer Payment Platforms
3. Integrating Google Workspace Add-ons
Method 1: Redirecting to a Payment Website
Redirecting users to a payment website is a straightforward solution that allows you to collect payments through platforms like PayPal, Google Pay, or any other online payment service. Follow these steps to set it up:
1. Create Your Google Form
Start by creating a new Google Form or open an existing one.
Add the questions and fields required for your form.
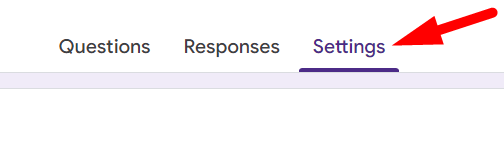
2. Go to Form Settings
Click on the ‘settings’ tab at the top of the form.
3. Go to the ‘Presentation’ tab
In the settings menu, go to the ‘Presentation’ tab.
4. Edit the "Confirmation message"
Find the "Confirmation message" field and click ‘Edit’.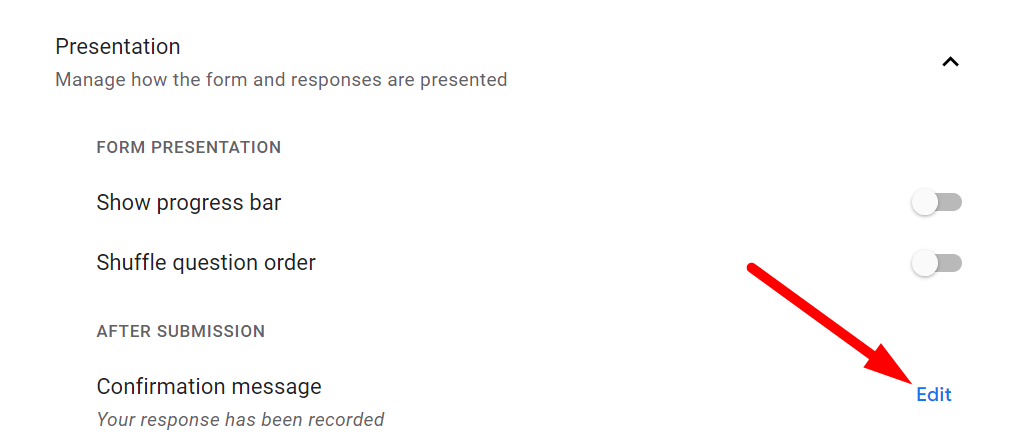
5. Add the Payment Link With the Confirmation Message
Enter a message that includes the payment link.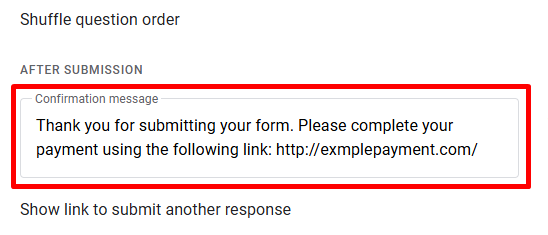
Example: "Thank you for submitting your form. Please complete your payment using the following link: [Payment Link].”
6. Click ‘Save’ to apply the changes.
First, Click ‘Save’ to apply the changes.

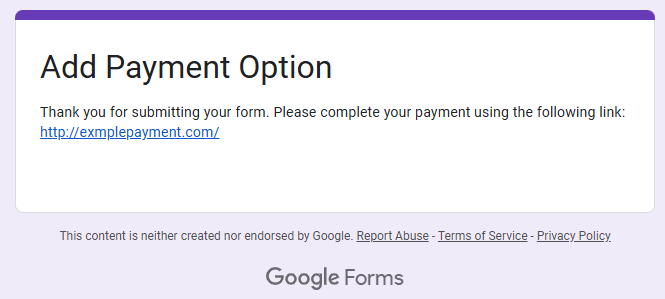
This is how it will look like to your respondents after they submit the form. And they can pay you via the link in the confirmation message.
Method 2: Collect Payments via Peer-to-Peer Payment Platforms
Using peer-to-peer payment platforms like PayPal, Venmo, or Google Pay is another effective method. This approach involves using QR codes that users can scan to make payments directly from their mobile devices.
1. Use a QR Code Generator to Create a QR Code
Use a QR code generator to create a code linked to your payment platform. You can search on google, there are many free QR code generators you can find.
Open one of them.
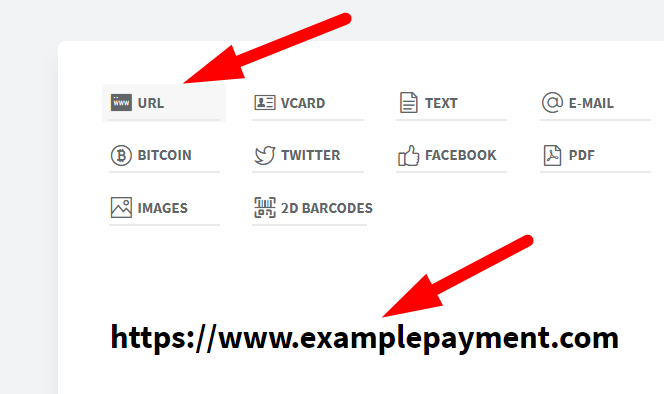
Click on the URL and paste your payment link.
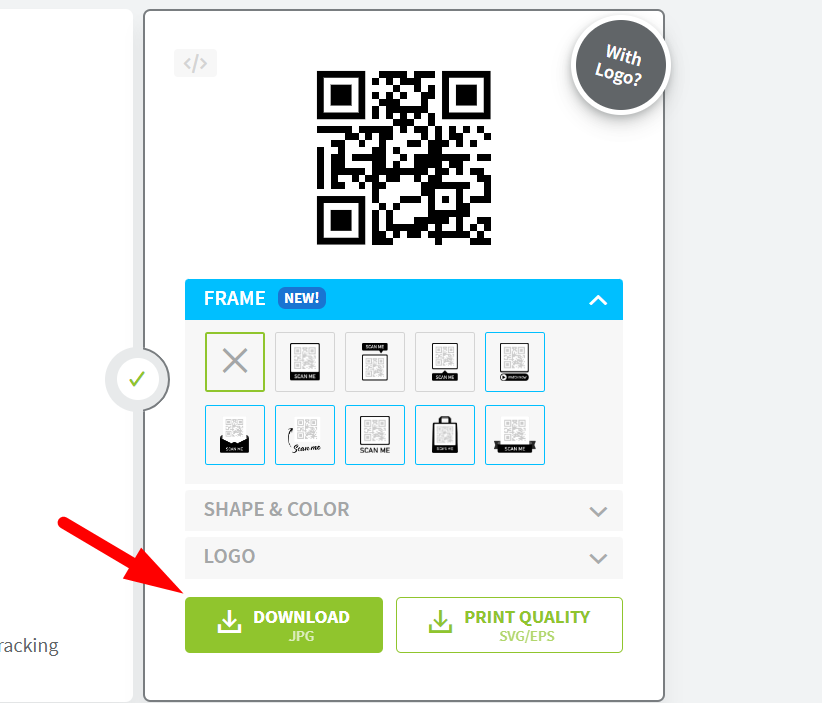
QR code will appear on the right side of your screen. Click on “Download” and save it on your computer.
2. Add QR Code to Google Form
We wrote this detailed guide: Kindly check this guide for this step. Once you add the QR code in your Google Form, it will work as a payment option for your respondents.
Method 3: Integrating Google Workspace Add-ons
For a more seamless and integrated solution, consider using Google Workspace add-ons. These add-ons can connect directly to your Google Form and process payments through various payment gateways.
1. Click on the Three-Dot Menu
Open your Google Form and click on the three-dot menu in the upper-right corner.

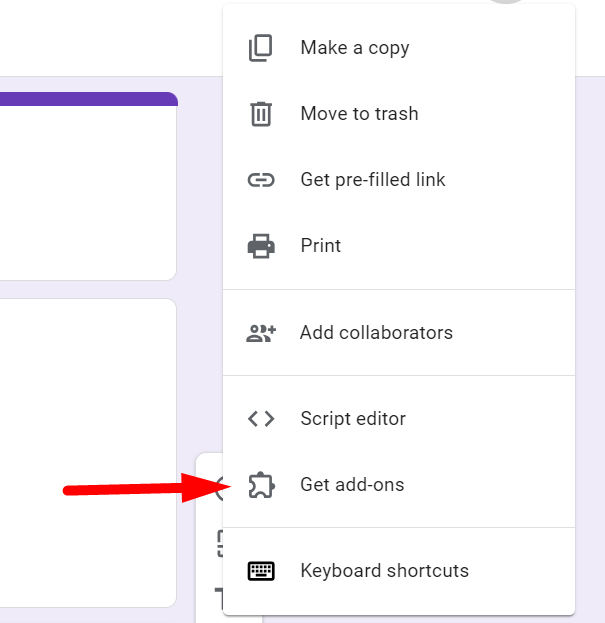
2. Select "Get add-ons"
A dropdown menu will appear. Select "Get add-ons" from the menu.
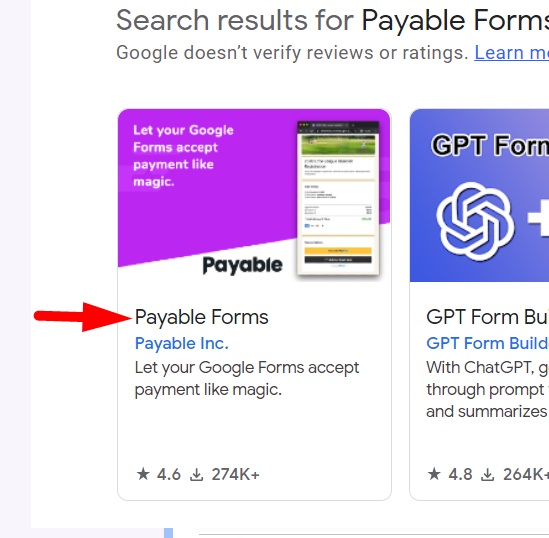
3. Search for Payment Add-ons
In the marketplace, search for payment-related add-ons such as "Payable Forms".
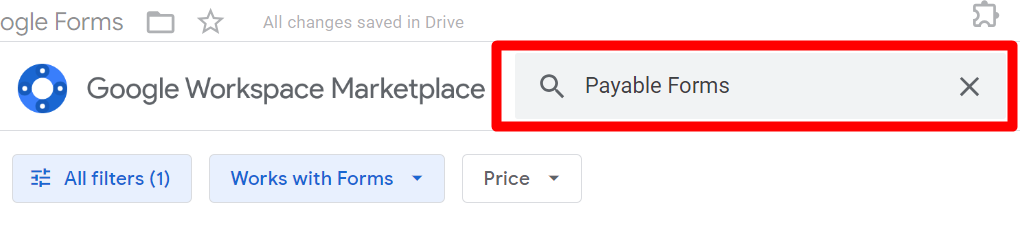
Now, click on it.
4. Configure the Add-on
Now click on ‘Install’ to install it.
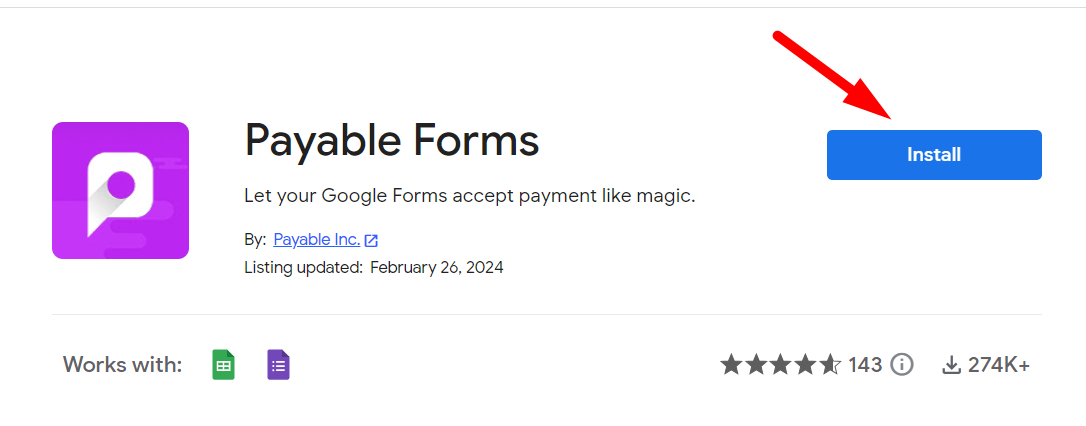
It is installed now.
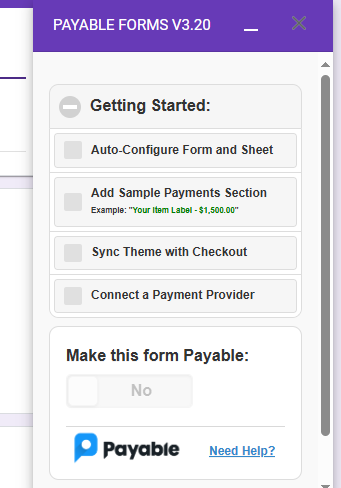
Connect your preferred payment provider (e.g., PayPal, Stripe, Square).
5. Click ‘Send’ and Share Your Form
Share your form with respondents by clicking on the ‘Send’ button.

Track payments and responses through the Google Form and the add-on’s dashboard.
Adding payment options to Google Forms can significantly enhance its utility for businesses and individuals alike.
By redirecting to payment websites, using peer-to-peer payment platforms, or integrating with Google Workspace add-ons, you can efficiently collect payments and manage transactions.
Each method has its benefits, so choose the one that best fits your needs.