
How to Share Google Forms Responses (6 Steps)
Fast navigation
- Step 1: Open Your Google Form//
- Step 2: Click on The Responses Tab Located at The Top//
- Step 3: Click on the Google Sheets Icon//
- Step 4: Select Destination for Responses//
- Step 5: Click on the Top Right Share Button to Share the Google Sheet//
- Step 6: Add People With Whom You Want to Share and Click ‘Send’
How to Share Google Forms Responses (6 Steps)
In 6 simple steps, this guide will show you how to share Google Forms responses.
We'll cover methods using Google Sheets to ensure you share your responses efficiently.
So let’s dive in and share your Google Forms responses!
Steps:
1. Open Your Google Form
2. Go to the Responses Tab
3. Click the Google Sheets Icon
4. Select Destination for Responses
5. Share the Google Sheets
6. Send the Invitation
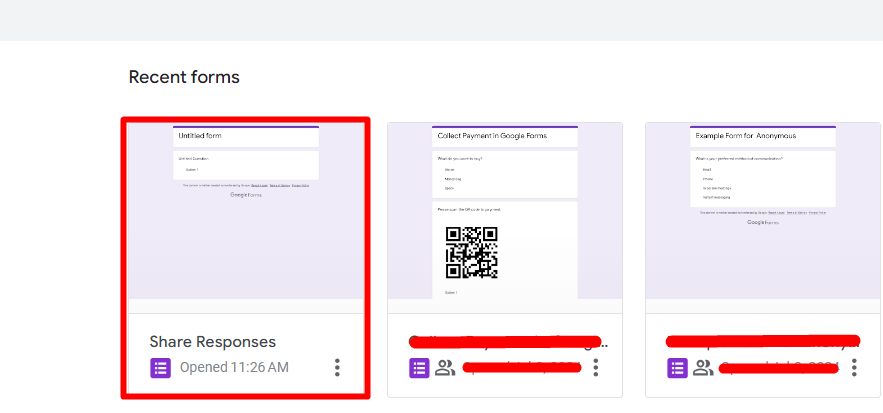
Step 1: Open Your Google Form
To begin, open your Google Form. Navigate to Google Forms and select the form whose responses you want to share.
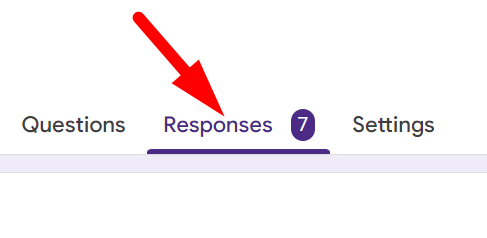
Step 2: Click on The Responses Tab Located at The Top
Once your form is open, click on the Responses tab located at the top of the page next to the Questions and Settings tabs.
Here, you can view all the submissions to your form.
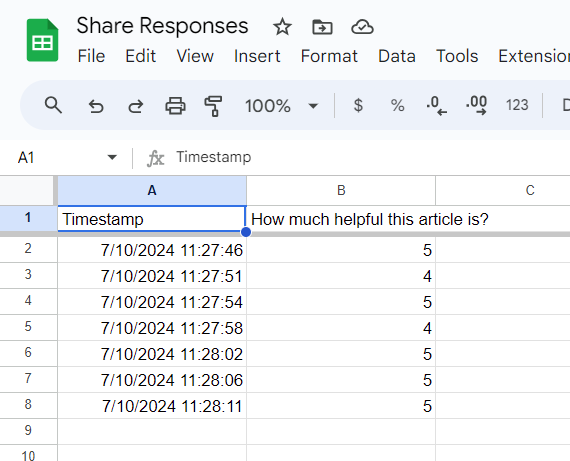
Step 3: Click on the Google Sheets Icon
In the Responses tab, click on the green Google Sheets icon in the top right.
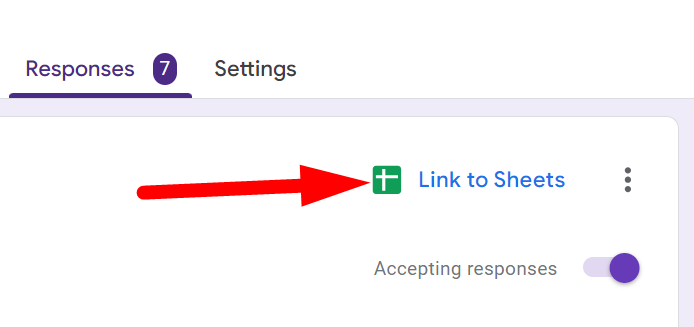
This will open a window where you can select where your responses will be stored.
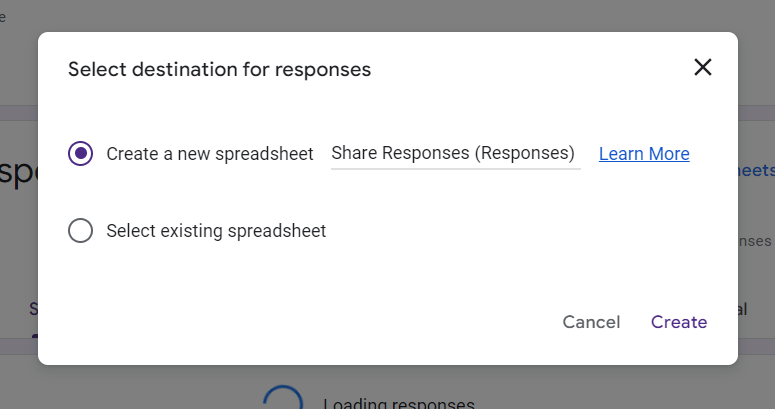
Step 4: Select Destination for Responses
You have two options:
Create a new spreadsheet: Select this option to create a new Google Sheets document for your responses. Name the spreadsheet and click Create.
Select existing spreadsheet: Choose this option if you want to store responses in an already existing spreadsheet. Select the spreadsheet and a new tab will be added to it.
After confirming your option click on ‘Create’.
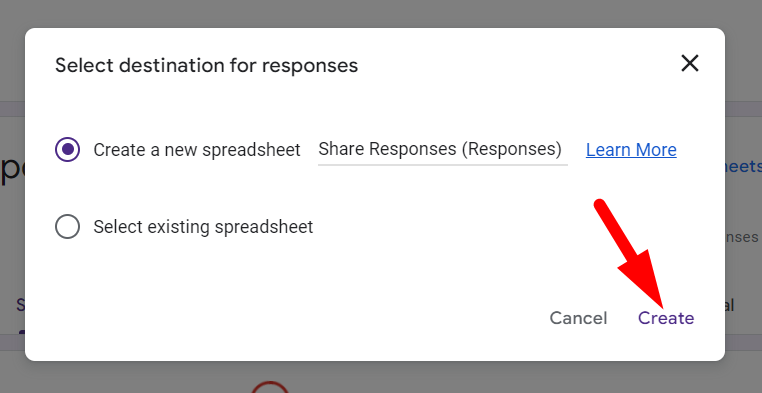
A google sheet will open in a new window.
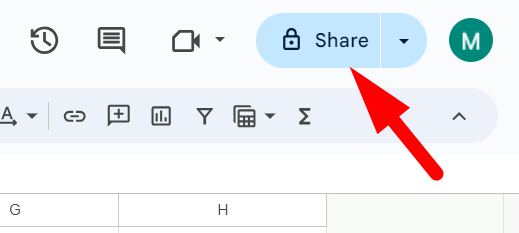
Step 5: Click on the Top Right Share Button to Share the Google Sheet
Once your responses are added to a spreadsheet, you can share it with others. Click on the Share button on the top-right corner of Google Sheets.
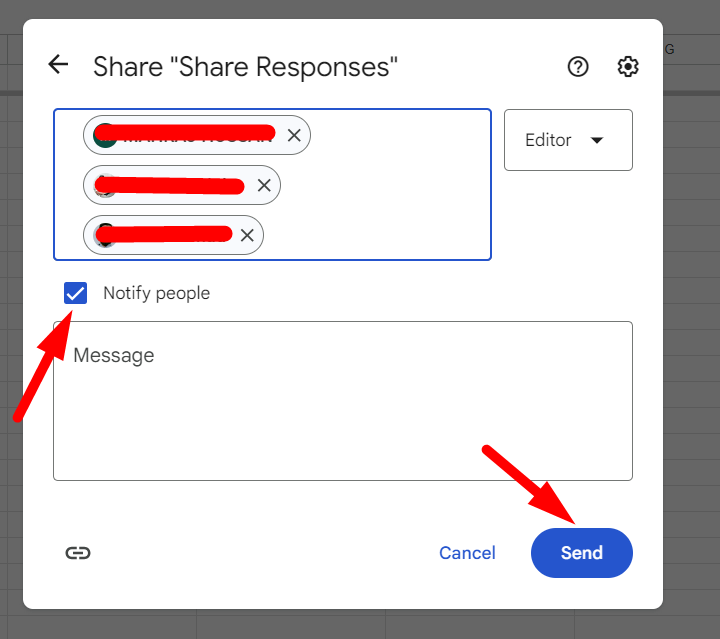
Step 6: Add People With Whom You Want to Share and Click ‘Send’
If you want to share with a specific person, add their email and click the send button. In this case, make sure that "Notify people" is checked.
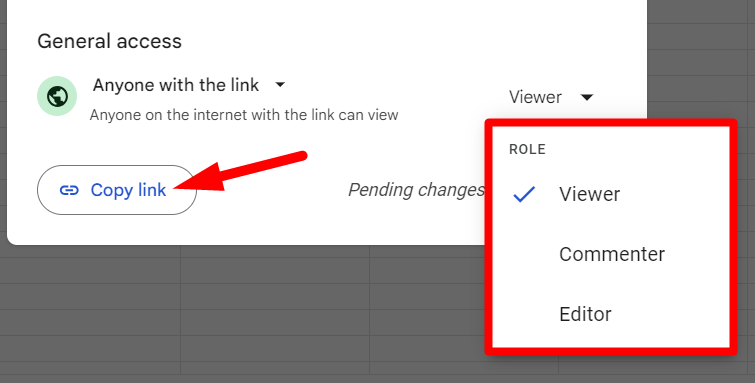
If you want to share with numerous people whose emails you don't have, in that case, turn on the "Anyone with the link" option.
Then, set the mode to view/comment/edit, depending on how you want to share the file.
Copy the link and share wherever you want. Anyone with the link will be able to access your sheet.
By following this guide, you can ensure that your Google Forms responses are easily accessible to your intended audience without compromising your data’s integrity.
FAQs
Q1. Can respondents see the results summary automatically?
Only if you enable “Responses → Summary charts and text” in the Settings panel or share the dedicated /viewanalytics URL. Otherwise, respondents see a blank confirmation page and can’t view other answers.
Q2. How do I stop sharing responses after I’ve already sent the link?
Turn off “Accepting responses” or disable the shared Sheet/summary link. For Sheets, open File → Share and switch the link setting from Viewer to Restricted (or remove collaborators entirely).
Q3. Will new answers update in real time for viewers?
Yes. Both the linked Google Sheet and the live summary link refresh automatically as each new submission arrives—there’s no need to resend the link or republish the Sheet.
Q4. Can I email a PDF of the responses summary?
You can. In the linked Sheet choose File → Download → PDF, or in the Summary view click Print and select Save as PDF. Attach the file to an email for recipients who prefer a static copy.
Q5. Why is the “Create Spreadsheet” button grayed out?
The form is already linked to a Sheet. Click Responses → View in Sheets to open it, or Unlink form under the three‑dot menu if you need to start a fresh spreadsheet.