How to Sign a Google Doc (2 Easy Methods)
Fast navigation
Don’t know how to sign a Google Doc?
Good news, you don’t need to print, scan, or use extra software.
In this guide, I’ll break down 2 simple ways to sign a Google Doc step-by-step. Whether you need a quick signature or something more official, you’ll find the right method here.
Let’s dive in.
Methods:
- Sign using the Drawing (Scribble) Tool
- Insert an Image of Your Signature
- Use Google Docs eSignature (Google Workspace)
Method 1: Sign Using the Drawing Tool (Scribble Method)
This is the quickest way to add your signature inside Google Docs.
It allows you to draw your signature using your mouse, trackpad, or touchscreen.
Step 1: Open Your Google Doc
Go to your document inside Google Docs.
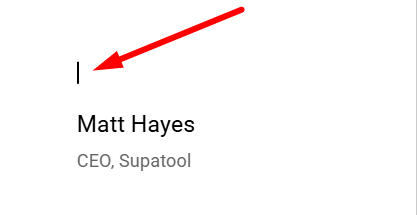
Place your cursor where you want the signature to appear.
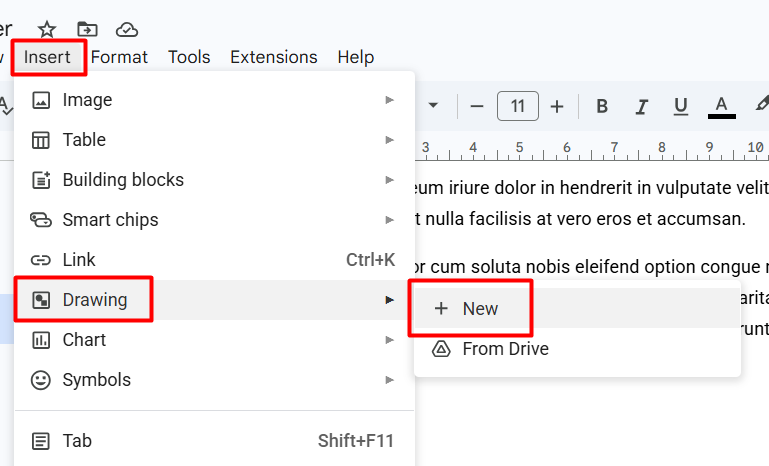
Step 2: Click on Insert → Drawing → + New
At the top menu:
Click Insert Hover over Drawing Click + New
This opens the built-in drawing canvas.
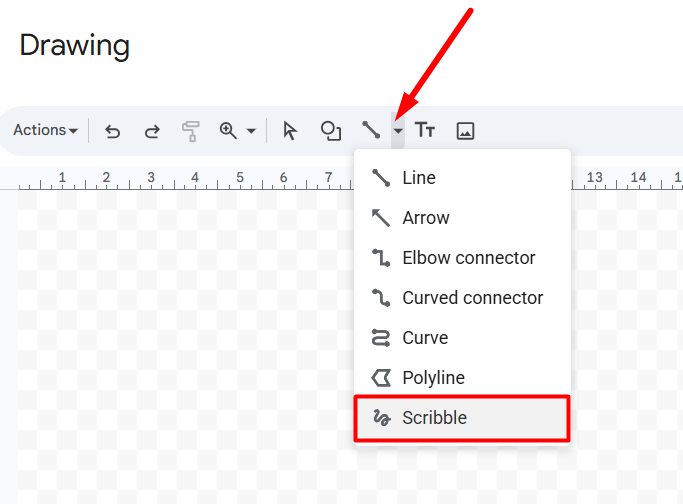
Step 3: Click on the Line Tool
Inside the Drawing window:
Click the Line icon.
From the dropdown, select Scribble.
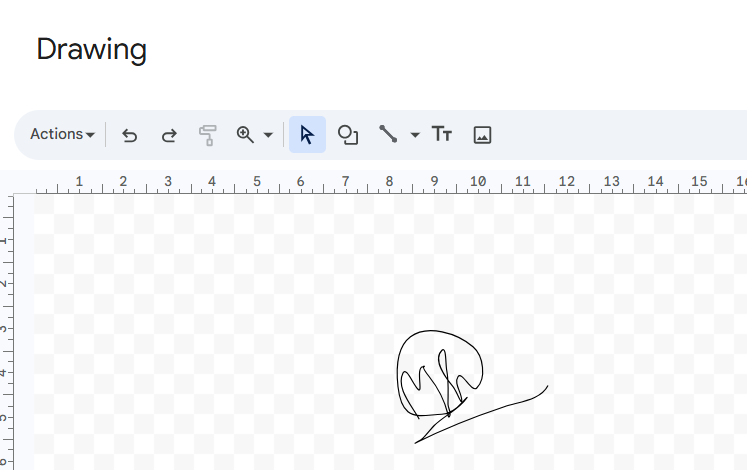
Step 4: Draw Your Signature
Now use your mouse or trackpad to draw your signature.
If you make a mistake, you can undo and redraw it.
Step 5: Click “Save and Close”
Once satisfied, click Save and Close.
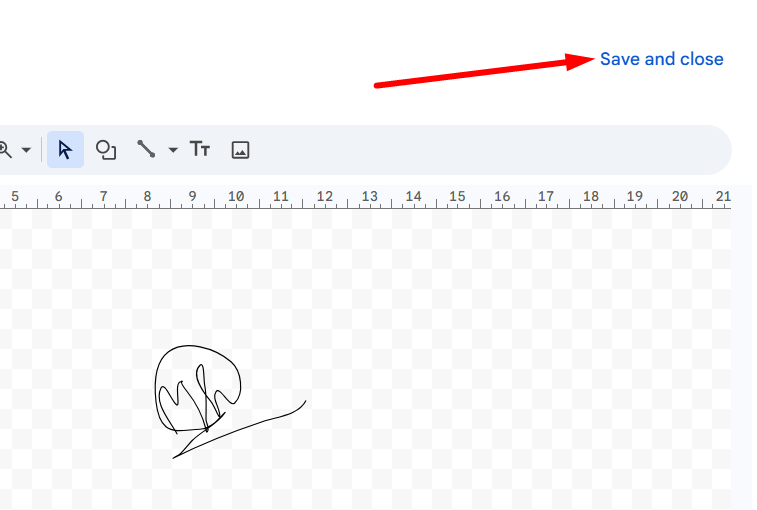
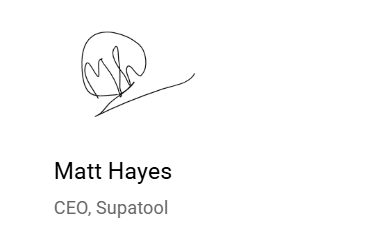
Your signature will now appear inside the document.
You can:
- Resize it
- Move it
- Adjust text wrapping
- Align it properly
That’s it, quick and simple.
Method 2: Insert an Image of Your Signature
If you want a cleaner and more professional look, this method works better.
You simply upload an image of your handwritten signature.
Step 1: Create Your Signature Image
You can:
- Sign on white paper and take a clear photo
- Scan your signature
- Create a PNG signature file
Make sure the background is clean for best results.
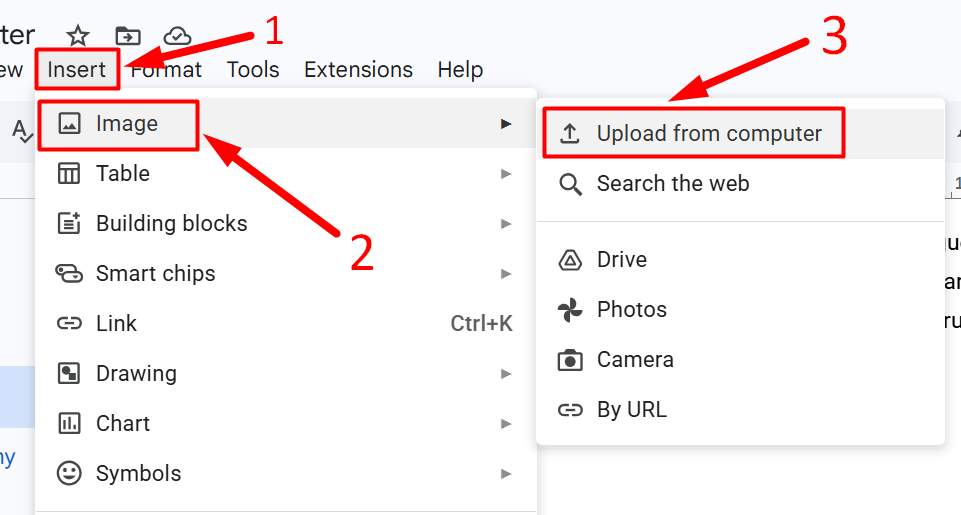
Step 2: Insert the Image
Inside your Google Doc:
Click Insert → Image → Upload from computer
Select your signature file and click on ‘Save’.
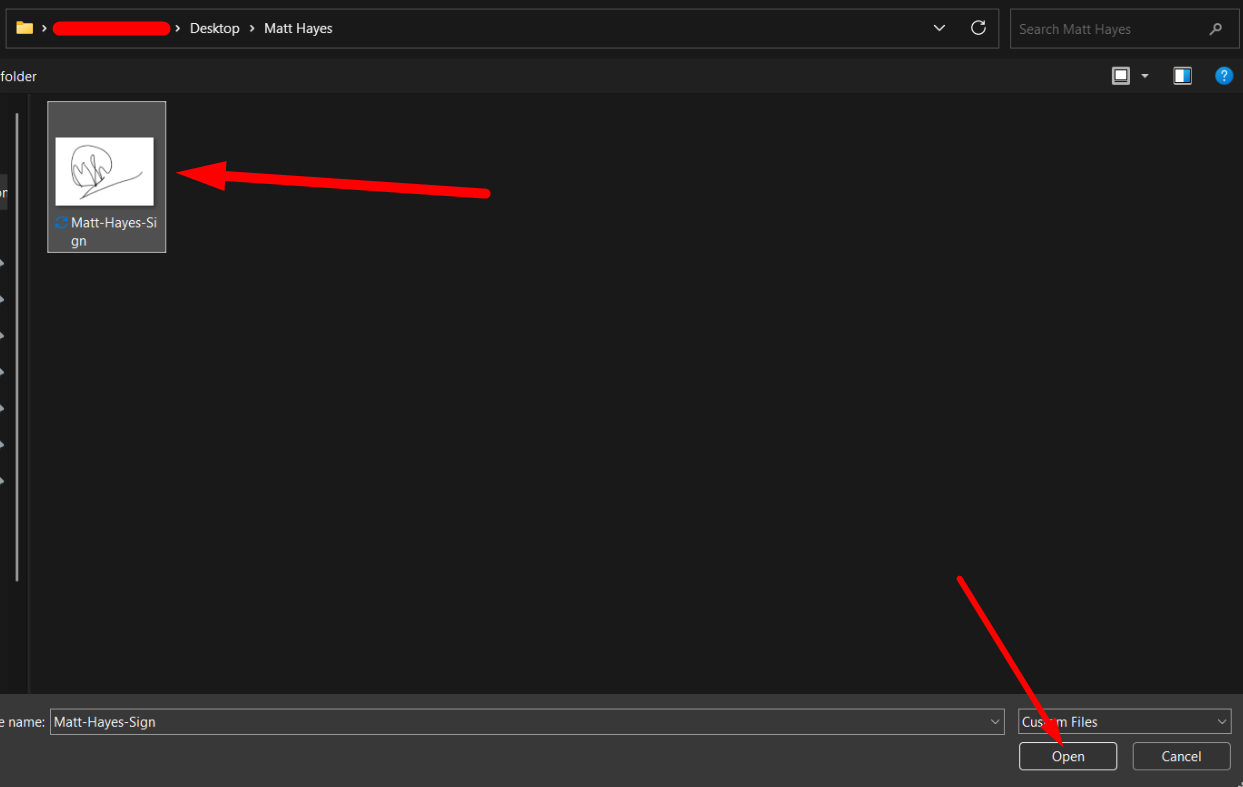
The signature will be added in the Google doc.
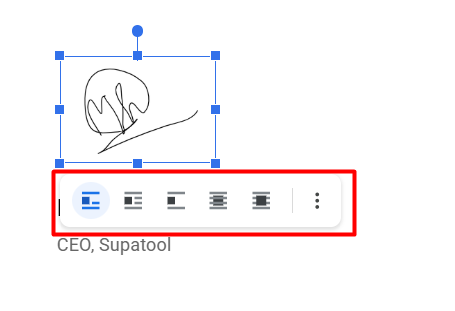
Step 3: Adjust the Signature
Click on the image.
You can:
- Resize using the corner handles
- Select “Behind text”
- Select “In front of text”
- Align it properly
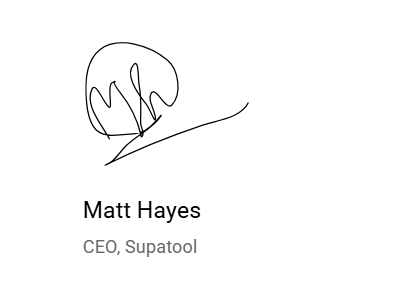
Your signature now looks neat and consistent.
You can reuse this image anytime in other documents.
Electronic Signature vs Digital Signature
Many people mix these up.
Electronic Signature
- Drawn signature
- Typed name
- Uploaded image
- Simple and quick
Digital Signature
- Includes authentication
- Tracks signing activity
- Provides higher security
For internal approvals or simple documents, drawing or uploading an image is usually enough.
For business agreements, the built-in Google Workspace eSignature is more appropriate.
Final Thoughts
Now you know exactly how to sign a Google Doc.
You can:
- Draw your signature
- Upload an image
Pick the method that fits your needs.
And that’s how you sign a Google Doc — step by step.