How to Scan a Document to Email (Step-by-Step Guide)
Fast navigation
Don’t know how to scan a document to email?
Good news — you don’t need complicated software or technical skills.
Whether you are using a printer, computer, iPhone, or Android, scanning and emailing a document takes only a few minutes.
In this guide, I’ll walk you through the exact steps so you can scan your document and send it through email quickly.
Let’s start.
Methods:
- Scan a Document to Email Using a Computer and Scanner
- Scan a Document to Email Using an Android/iphone
- Scan a Document to Email Using a Printer
Method 1: Scan a Document to Email Using a Computer and Scanner
Step 1: Place Your Document on the Scanner
First, place the document you want to scan on the scanner.
If you are using a printer scanner or multifunction printer, lift the scanner lid and place the document face-down on the glass surface.
Align the document with the guides on the scanner bed.
If your printer has an Automatic Document Feeder (ADF), you can insert multiple pages into the feeder instead.
Step 2: Open the Scan Function on Your Device
Next, open the scanning tool on your device.
If you are using Windows, search for Windows Scan in the search bar and open the app.
If you are using a Mac, open the Preview app, then click:
File → Import from Scanner
If you are scanning directly from your printer control panel, select the option that says:
Scan → Scan to Email
Step 3: Choose the File Format and Scan Settings
Before scanning, choose how the file should be saved.
Most scanners allow you to select a file type such as:
- JPEG
- PNG
For documents, PDF is usually the best option because it keeps everything organized and easy to share.
You may also see additional settings like:
- Color or black & white
- Resolution (DPI)
- Page size
Adjust them if necessary.
Step 4: Scan the Document
Once everything is ready, click the Scan button.
Your scanner will begin capturing the document.
If your document has multiple pages, repeat the scanning process until all pages are scanned.
Step 5: Save the Scanned File
After scanning, save the document to your computer.
Choose a location that is easy to find, such as:
- Desktop
- Documents folder
- Downloads folder
Give the file a clear name like:
Contract_Scan.pdf
This will make it easier to locate when attaching it to your email.
Step 6: Attach the File to an Email
Now open your email service.
You can use:
- Gmail
- Outlook
- Apple Mail
- Any other email provider
Click the Compose button to create a new email.
Then click the Attach File icon.
Select the scanned document you saved earlier.
The file will upload and appear as an attachment in the email.
Step 7: Send the Email
Finally, enter the recipient’s email address.
Add a subject and message if necessary.
For example:
Subject: Scanned Document
Message: Hi, Please find the scanned document attached. Thank you.
Once everything looks correct, click Send.
And that’s it.
You’ve successfully scanned a document and sent it through email.
Method 2: Scan a Document to Email Using an Android/iPhone
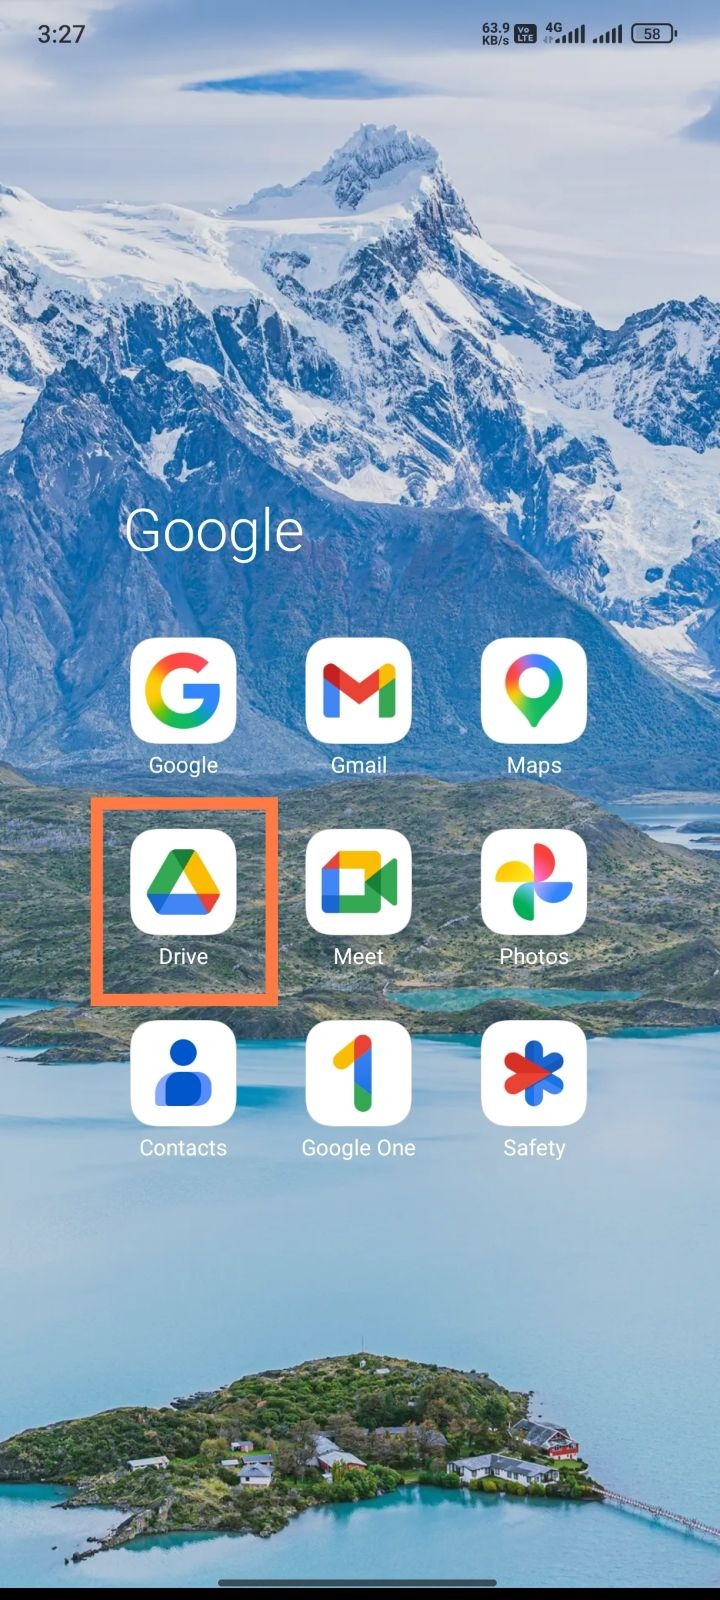
Step 1: Open Google Drive
Open the Google Drive app on your Android device. Open the Notes app on iPhone.
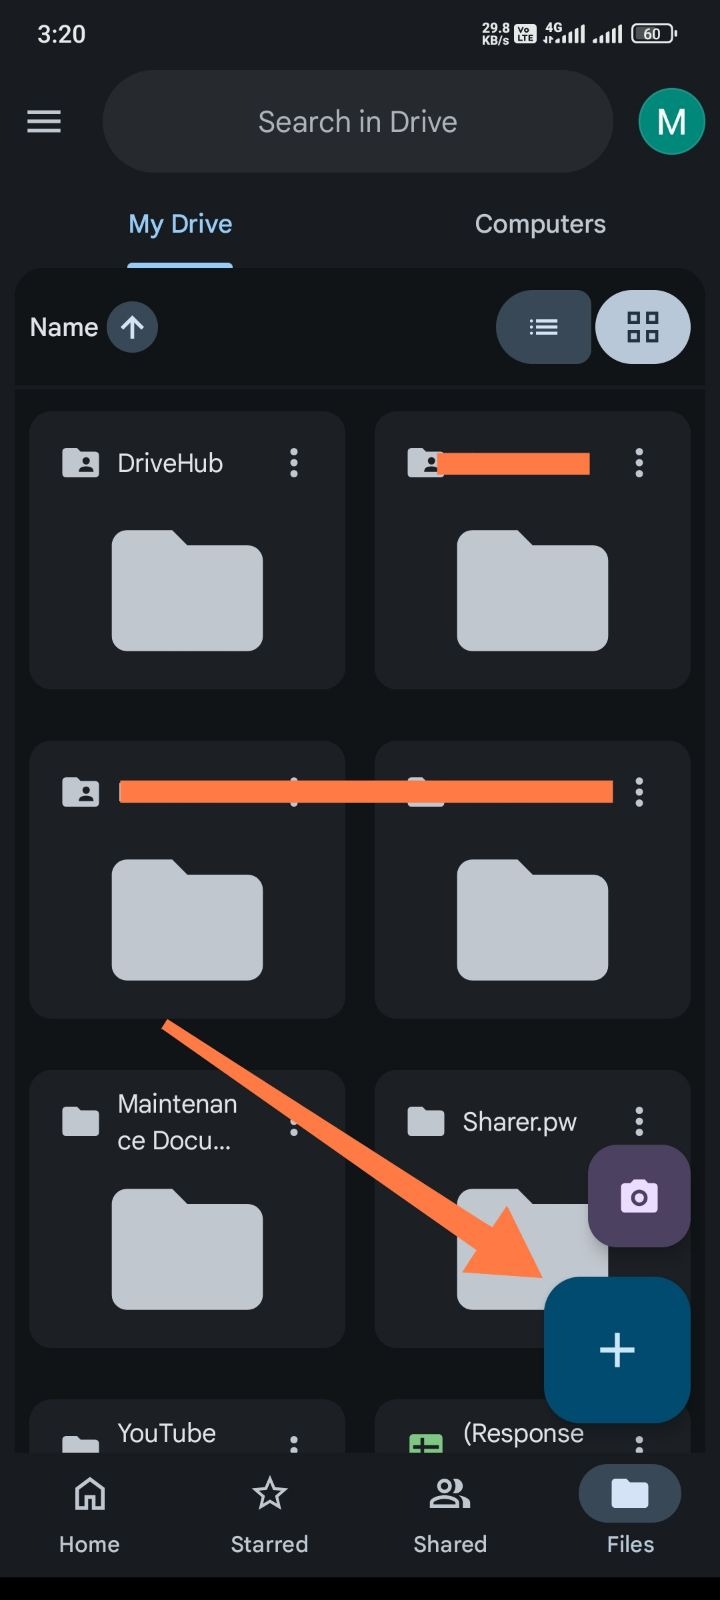
Step 2: Tap the + Button
Tap the + icon and choose Scan. And on iPhone, tap the camera icon inside the note and select Scan Documents.
Step 3: Capture the Document
Point your camera at the document and take a picture.
Adjust the edges if needed.
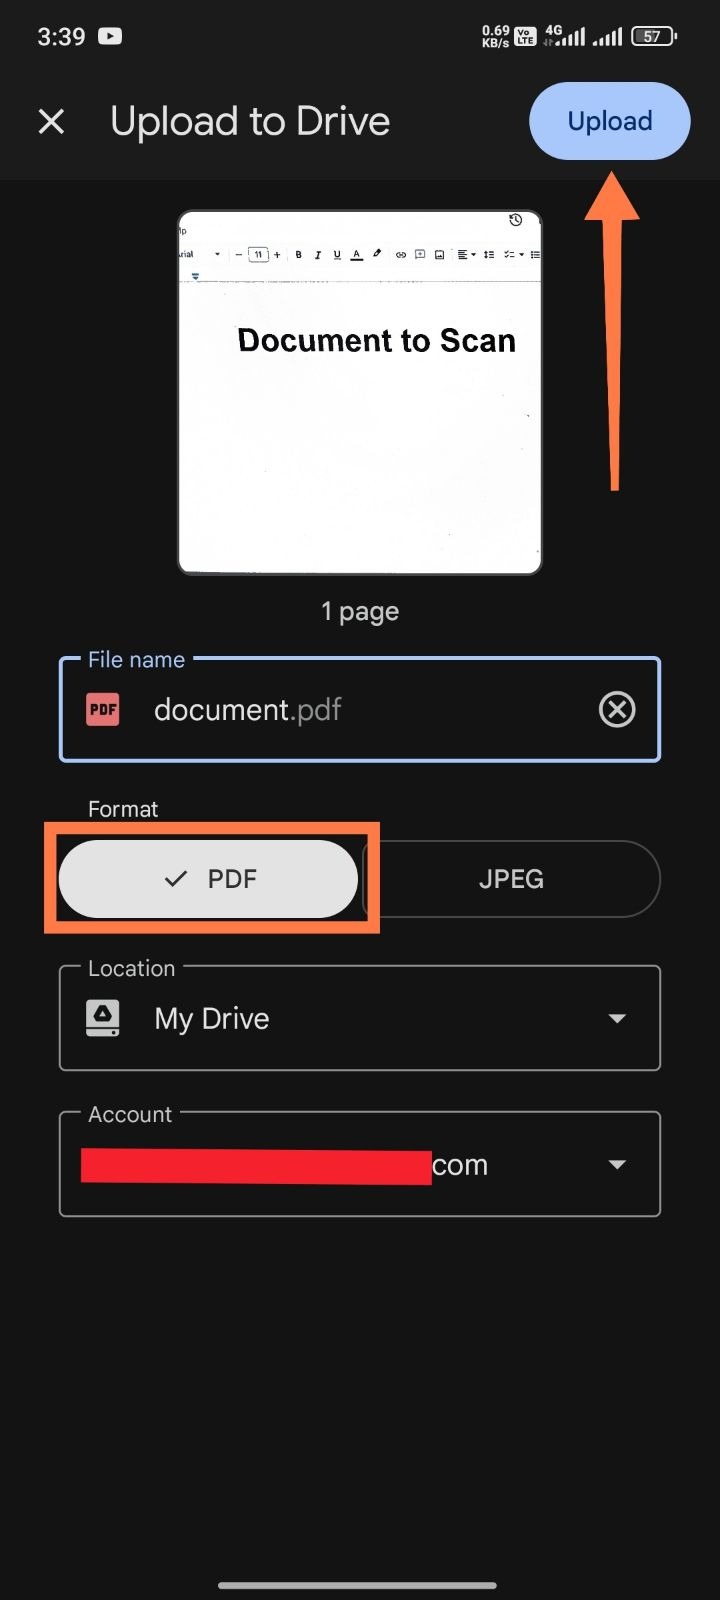
Step 4: Save the Scan
Save the scanned document as a PDF file.
Step 5: Email the Document
Tap the Share icon and select Email or Gmail.
Enter the recipient’s email address and send the file.
Method 3: Scan a Document to Email Using a Printer
Step 1: Place the Document on the Scanner
Lift the scanner lid and place the document face-down on the glass.
Step 2: Select Scan to Email
From the printer control panel, select the Scan to Email option.
Step 3: Enter the Recipient Email Address
Use the printer interface to type the email address where the scan should be sent.
Step 4: Press Scan or Send
Press Scan or Send.
The printer will scan the document and send it directly to the email address.
Common File Types for Scanned Documents
When scanning documents to email, you’ll usually see a few file format options.
Best for contracts, forms, and multi-page documents.
JPEG
Best for images or photos.
PNG
Useful when you need higher image quality.
Most people prefer PDF because it works on almost every device.
Tips for Sending Scanned Documents by Email
Here are a few quick tips that make the process smoother.
Use good lighting when scanning with a phone This improves the scan quality.
Check the file size Large scans may exceed email attachment limits.
Use PDF for multi-page documents It keeps all pages together in one file.
Rename your file clearly This helps the recipient understand what the attachment is.
Conclusion
Scanning a document to email is a simple task once you know the process.
You can do it using:
- A scanner and computer
- Your smartphone
- A multifunction printer
Just scan the document, save it, attach it to an email, and send it.
After doing it a few times, the whole process takes less than a minute.