How to Change Signature in Outlook (6 Steps)
Fast navigation
Don’t know how to change signature in Outlook?
In 6 simple steps, this guide will show you how to change your Outlook signature using the exact method inside Outlook.
Whether you want to update your name, job title, or fix your existing signature, this step-by-step guide will walk you through everything.
Let’s get started!
Steps:
- Click on “New Email”
- Click on “Signature”
- Click on “Signatures…”
- Select or Add a Signature
- Edit Your Signature
- Save Your Changes
How to Change Signature in Outlook
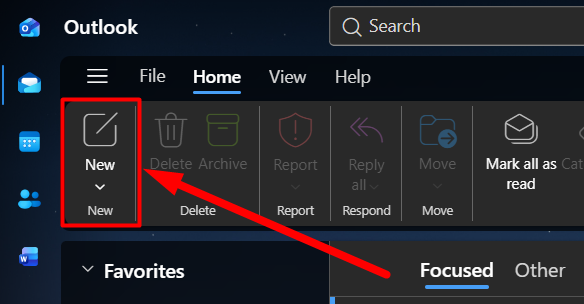
Step 1: Click on “New Email”
First, open Outlook.
Now click on the “New” (New Email) button from the top left corner.
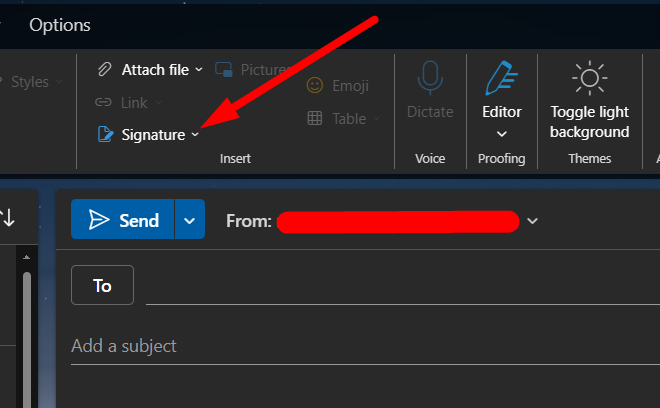
Step 2: Click on “Signature”
Once the email window opens, look at the top menu bar.
Click on the “Signature” option.
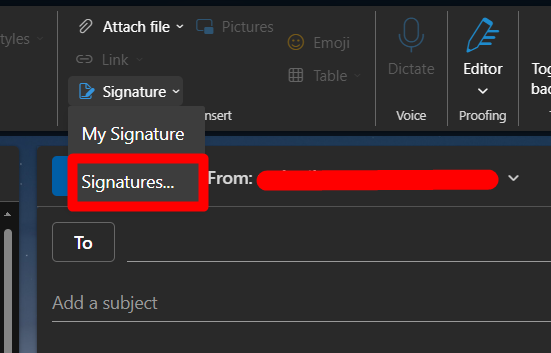
Step 3: Click on “Signatures…”
After clicking on “Signature”, a dropdown will appear.
Click on “Signatures…” to open the full signature settings.
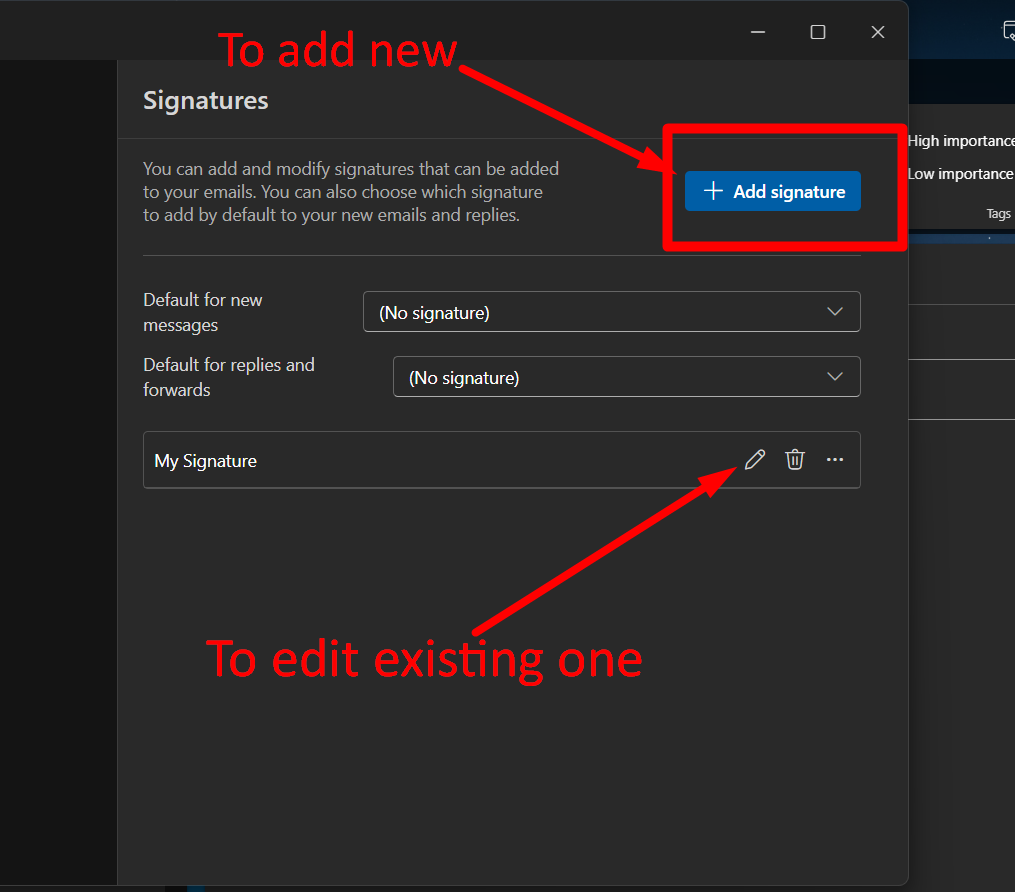
Step 4: Select or Add a Signature
Now you’ll be taken to the signature settings page.
Here you have two options:
- To create a new signature → click “+ Add signature”
- To edit an existing signature → click the edit (✏️) icon
Step 5: Edit Your Signature
Now you’ll see the signature editor.
Here you can update your signature content.
For example:
- Change your name
- Update your designation
- Modify text formatting
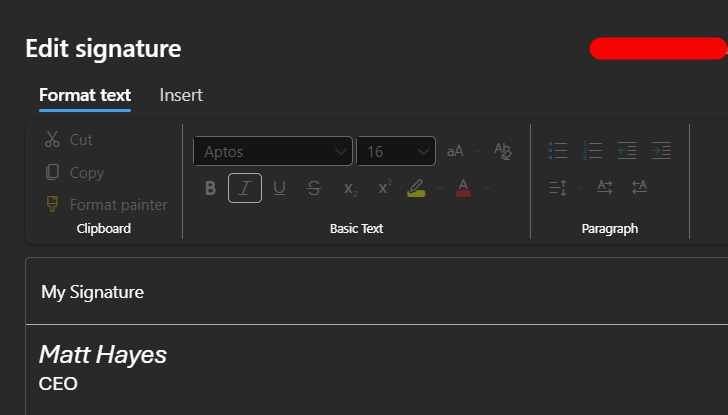 The editor works like a simple text editor, so you can easily customize your signature.
Step 6: Save Your Changes
Once you are done editing, click on the “Save” button.
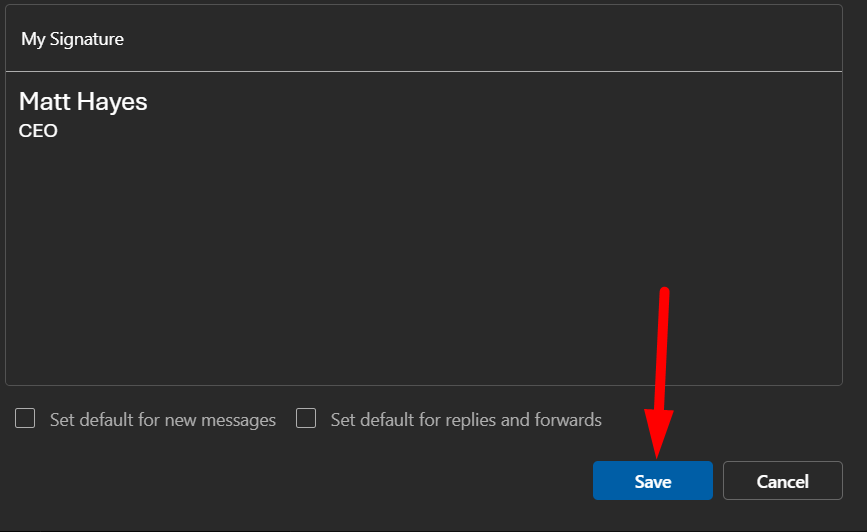 Your signature will now be updated successfully.
And that’s how to change the signature in Outlook.