
How to Sort Columns in Excel Without Mixing Data
Fast navigation
In 4 simple methods, this guide will show you how to sort columns in Excel without mixing data.
Organizing your data correctly is crucial for effective analysis and presentation, so let’s dive in and ensure your data remains intact and well-organized!
Methods:
- Sort Single Column
- Sort Multiple Columns
- Sorting by Color
- Sorting with the Filter Button
- Sorting by Custom List
Method 1: Sort Single Column
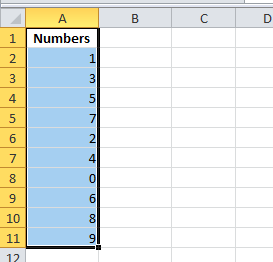
Step 1. Select Your Data Range
To begin, highlight the entire range of data you want to sort. Click and drag your mouse over the cells, or press Ctrl + A to select all the data in your worksheet.
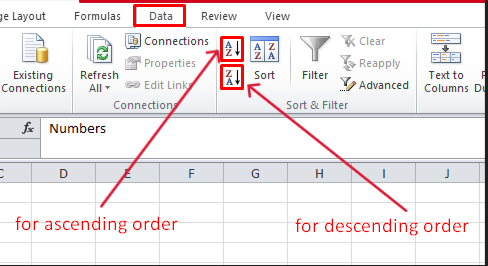
Step 2. Sort Your Data
Next, navigate to the ‘Data’ tab in the Excel menu bar. Click on the sorting order: either “A to Z” for ascending order or "Z to A" for descending order.
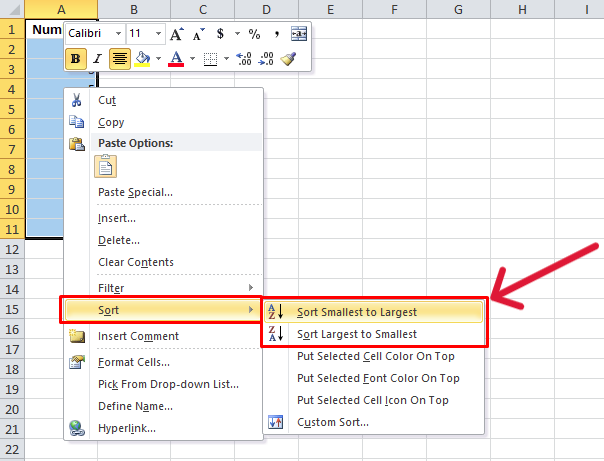
You can also right-click on the selected data, choose ‘Sort’, and then select your preferred sort option.
Method 2: Sort Multiple Columns
Step 1. Select Your Data Range
As before, highlight the entire range of data you want to sort.
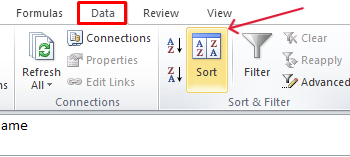
Step 2. Open the Sort Dialog Box
Next, navigate to the ‘Data’ tab in the Excel menu bar. Click on the ‘Sort’ button, which will open the Sort dialog box.
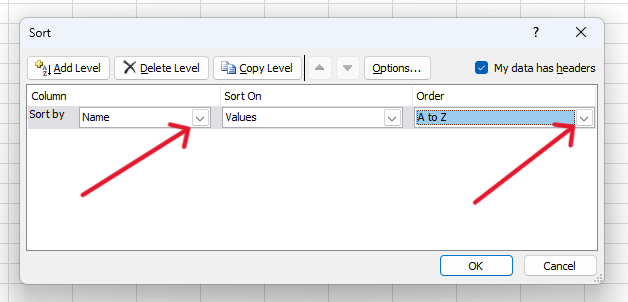
Step 3. Choose Your Primary Sorting Criteria
In the Sort dialog box, you will see a drop-down menu under the ‘Column’ heading. Select the primary column you want to sort by. Then, choose the sorting order: either "A to Z" for ascending order or "Z to A" for descending order.
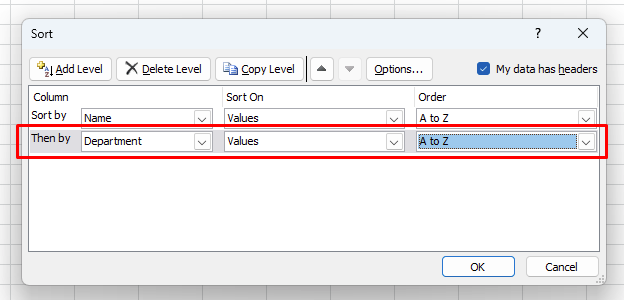
Step 4. Add Sorting Levels
Click the "Add Level" button to add another column to your sorting criteria. Select the next column you want to sort by and choose the sorting order. Repeat this step if needed to add more sorting levels.
Step 5. Finalize the Sort
Once you have set up your sorting criteria and levels, click the ‘OK’ button to apply the sort.
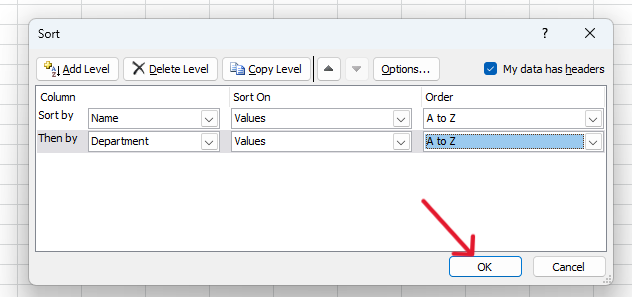
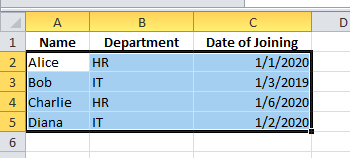
Excel will sort the data based on the criteria you specified, keeping the integrity of your data intact.
Method 3: Sorting by Color
Step 1. Select Your Data Range
Highlight the entire range of data you want to sort.
Step 2. Open the Sort Dialog Box
Next, go to the ‘Data’ tab in the Excel menu bar. Click on the ‘Sort’ button, which will open the Sort dialog box as before.
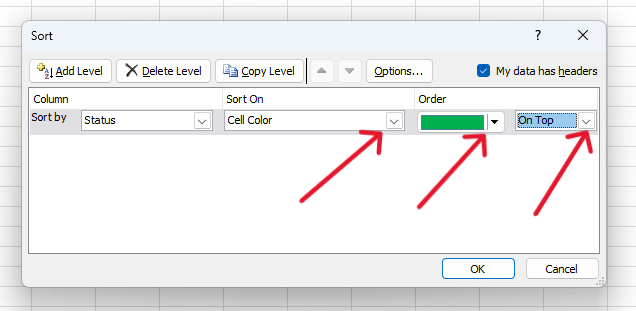
Step 3. Choose the Color Sorting Criteria
In the Sort dialog box, under the "Sort On" drop-down menu, choose "Cell Color”. Select the color you want to sort by and the sorting order (On Top or On Bottom).
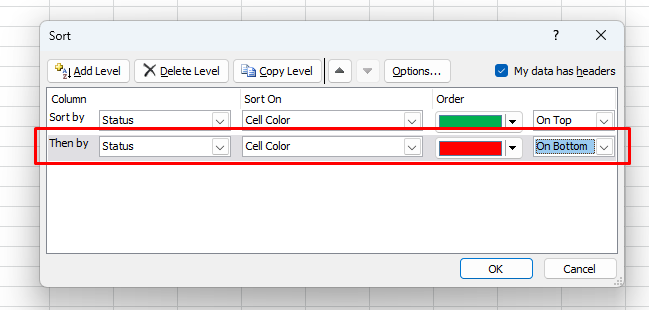
Step 4. Add Levels for Multiple Colors
If you need to sort by multiple colors, click the "Add Level" button in the Sort dialog box. Select the next color you want to sort by and choose the sorting order. Repeat this step if needed to add more sorting levels.
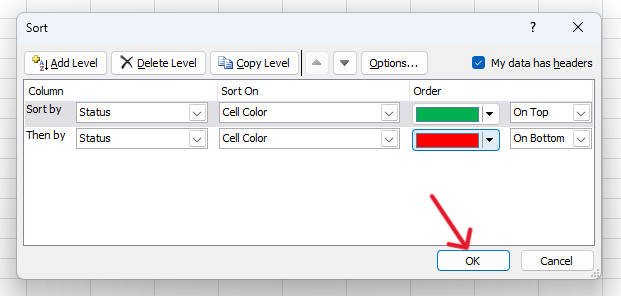
Step 5. Finalize the Sort
Once you have set up your color sorting criteria and levels, click the ‘OK’ button to apply the sort.
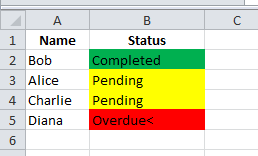
Excel will sort the data based on the color criteria you specified, keeping the integrity of your data intact.
Method 4: Sorting with the Filter Button
Step 1. Select Your Data Range
Highlight the entire table you want to sort, including the header row. Press Ctrl + A inside the table for a quick full-range selection. Selecting the complete range prevents rows from shifting out of alignment when the sort is applied.
Step 2. Enable the Filter Button
In the ribbon, click Data › Filter in the Sort & Filter group,
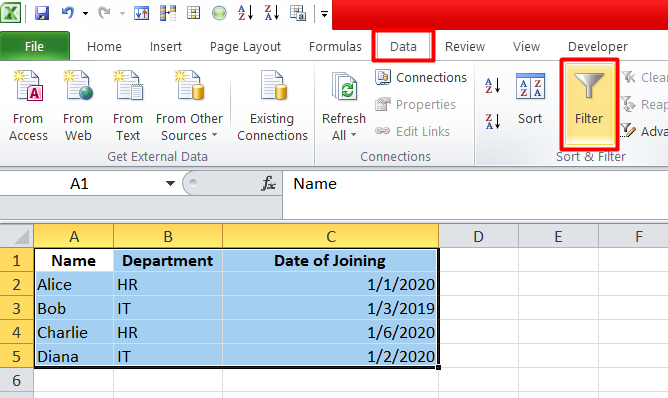
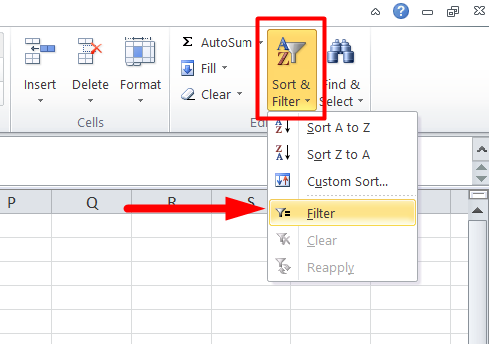
or choose Home › Editing › Filter. A small drop-down arrow appears next to every column header.
Step 3. Use Column Drop-downs to Sort
Click the drop-down arrow for the column you want to organize. Select Sort A to Z, Sort Z to A, or a custom option such as “Sort by Color.”
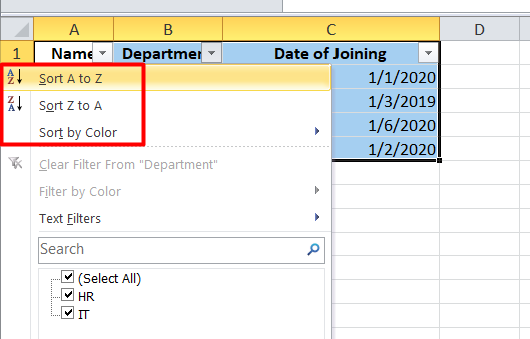
Excel instantly rearranges the rows while keeping each record intact.
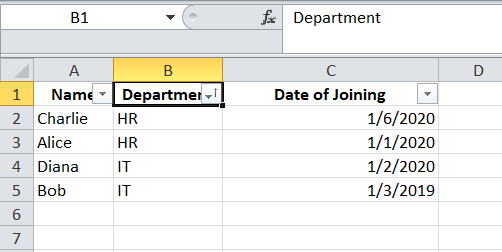
Tip: When you’re finished, press Ctrl + Shift + L (or click the Filter icon again) to remove the drop-downs and lock in the sorted order.
Method 5: Sorting by Custom List
Step 1. Select Your Data Range
Highlight the entire range of data you want to sort.
Step 2. Open the Sort Dialog Box
Open the ‘Data’ tab in the Excel menu bar. Click on the ‘Sort’ button, which will open the Sort dialog box as before.
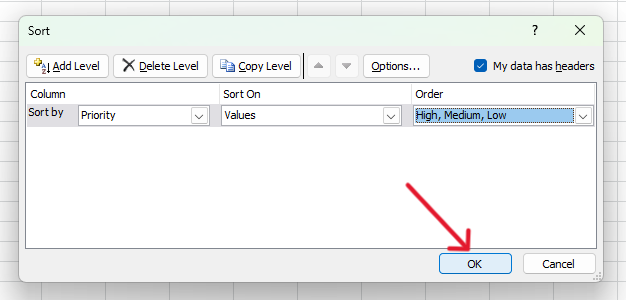
Step 3. Choose Custom List Sorting Criteria
In the Sort dialog box, under the ‘Order’ drop-down menu, choose "Custom List".
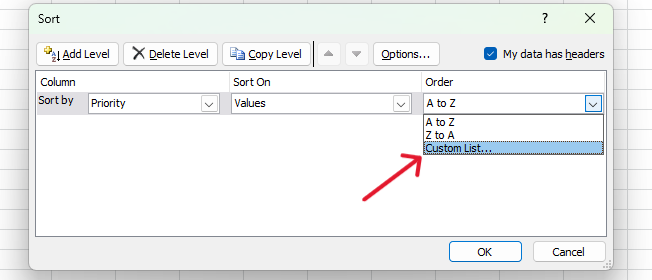
This will open the Custom Lists dialog box.
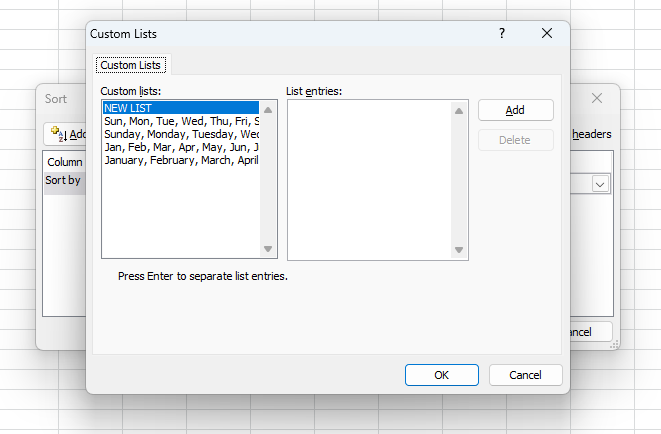
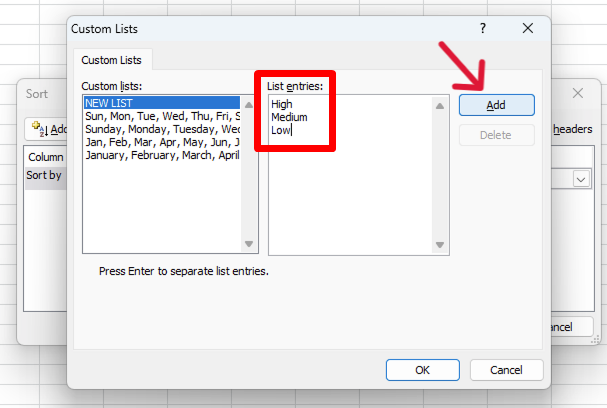
Step 4. Select or Create Your Custom List
Select a predefined custom list (such as days of the week or months of the year) or create your custom list by entering the items in the order you want. Click ‘Add’ to save the custom list.
Step 5. Apply the Custom List Sort
After selecting or creating your custom list, click ‘OK’ in the Custom Lists dialog box.
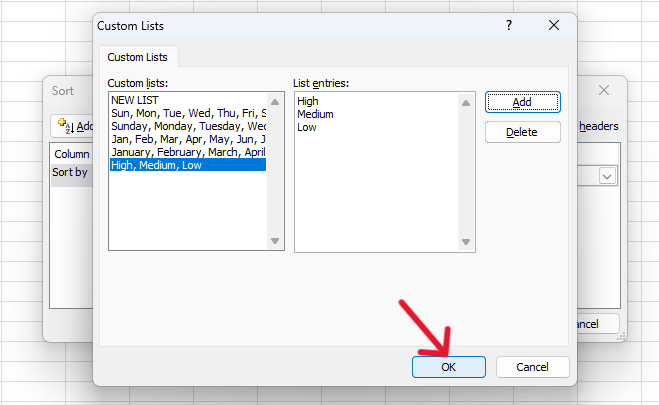
Then, click ‘OK’ again in the Sort dialog box to apply the custom list sort.
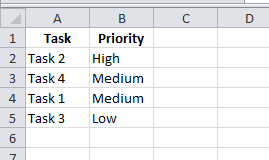
Excel will sort the data based on your custom list, keeping the integrity of your data intact.
The Importance of Sorting Data
Sorting is the first step toward turning raw spreadsheets into actionable insights. A well-ordered list lets you find specific records in seconds, reveal trends for accurate reporting, and provide a clean foundation for pivot tables, charts, and lookup formulas.
It also improves readability, so teammates can scan long worksheets without confusion, and reduces input errors by grouping related values together.
Whether you’re preparing a monthly sales report or cleaning thousands of customer entries, sorting ensures the information you rely on is organized, consistent, and ready for deeper analysis.
Ensuring Data Integrity
To ensure your data remains intact while sorting:
1. Always select the entire data range, including headers, before sorting.
2. Use the "Expand the selection" option in the Sort dialog box.
3. Double-check your data after sorting to ensure everything is in the correct order.
Conclusion
Sorting columns in Excel without mixing data is essential for maintaining data integrity and clarity.
By following these steps, you can confidently sort your data without worrying about losing or mixing up important information.
Whether you're sorting by a single column, multiple columns, by color, or using a custom list, Excel's powerful sorting features make data management a breeze.