
How to Remove Duplicates in Excel But Keep First Instance - Supatool
Fast navigation
In 6 very easy steps, this guide will show you how to remove duplicates in Excel but keep the first instance.
Dealing with duplicates is easy when you know how to retain the original entries while cleaning your data.
So let’s dive in and remove duplicates, but keep the first instance in excel.
Steps:
1. Open Your Excel File
2. Select Your Data Range
3. Access the Remove Duplicates Feature
4. Configure the Remove Duplicates Dialog Box
5. Remove Duplicates by Specific Columns
6. Review the Results
Step 1: Open Your Excel File
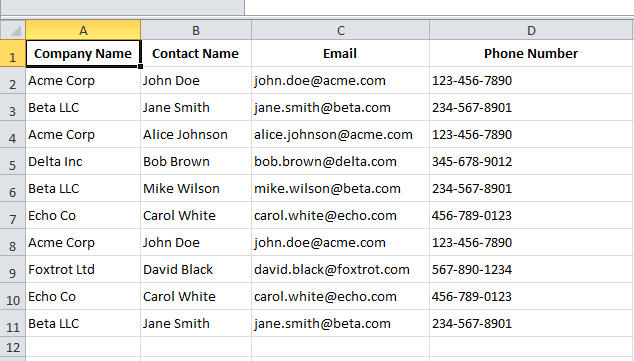
First, open the Excel file that contains the data you want to clean up. For this tutorial, we'll use an example dataset with some duplicate entries.
Step 2: Select Your Data Range
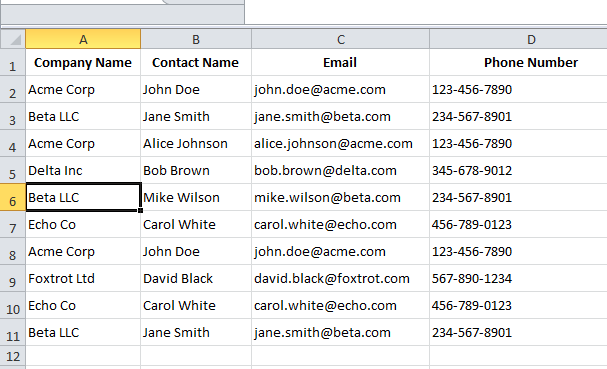
Click anywhere within the data range you want to work with. You don't need to select the entire dataset manually; Excel will automatically detect the range for you. For example, in the image below I selected A6.
Step 3: Access the Remove Duplicates Feature
Navigate to the Data tab on the Excel ribbon. In the Data Tools group, click on the Remove Duplicates button.

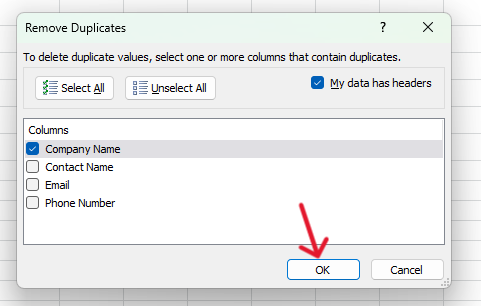
Step 4: Configure the Remove Duplicates Dialog Box
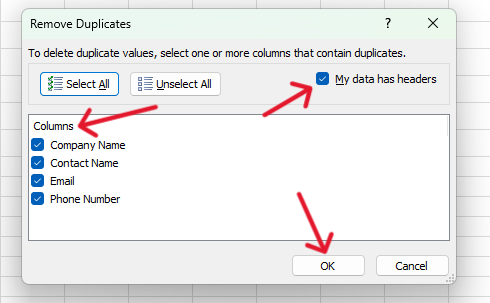
In the Remove Duplicates dialog box, you will see several options:
My data has headers: Check this box if your data range includes headers.
Columns: Select the columns you want to check for duplicates. By default, all columns are selected.
For now, keep all columns selected and click OK.
Step 5: Remove Duplicates by Specific Columns
If you only want to keep unique entries based on a specific column, such as "Company Name", uncheck all columns and then select only the relevant column.
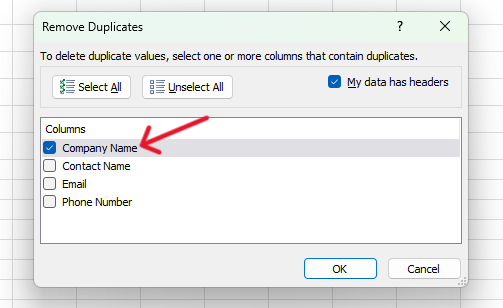
Click OK. Excel will remove duplicates based on the selected column while keeping the first instance of each unique entry.
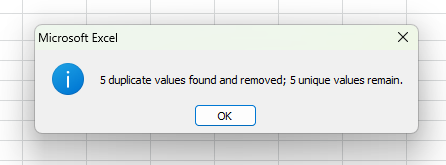
Step 6: Review the Results
After clicking OK, a summary message will appear, telling you how many duplicate values were found and removed, and how many unique values remain.
You can now see that duplicates have been removed while the first instance of each unique entry is retained.
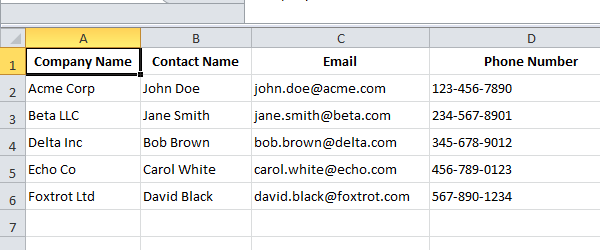
And that's how you remove duplicates while keeping the first instance in Excel!
This straightforward method helps keep your data clean and organized, saving you time and effort.
For more complex data management needs, explore Excel's advanced features and formulas.