
How to Lock Cells in Excel (3 Methods)
Fast navigation
In 3 simple methods, this guide will show you how to lock cells in Excel to protect your data from accidental edits.
Whether you need to lock all cells, specific cells, or just formula cells, you’ll learn how to secure your spreadsheet in just a few minutes.
Let’s dive in!
Methods:
1. Lock All Cells in Your Worksheet 2. Lock Specific Cells in Excel 3. Lock Formula Cells in Excel
Method 1: Lock All Cells in Your Excel Worksheet
By default, Excel has all cells set to ‘locked’. However, this setting only works after you protect the sheet. Follow these steps to lock all cells at once:
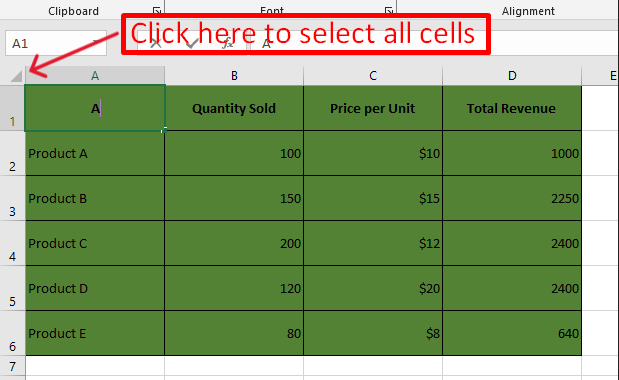
Step 1: Select All Cells
Press CTRL + A to select all the cells in the worksheet. Alternatively, you can click the small triangle in the top-left corner of the sheet (between the row and column headers).
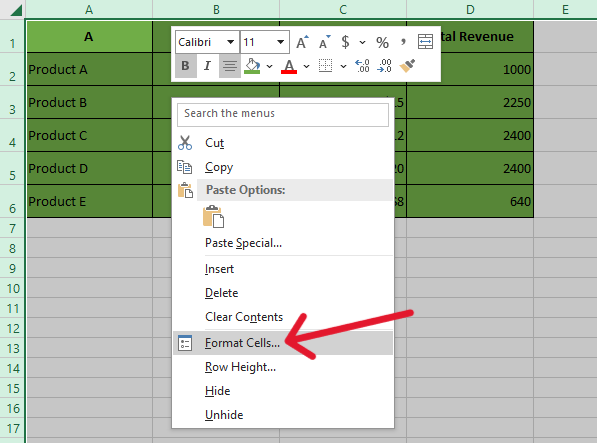
Step 2: Open the Format Cells Menu
Right-click anywhere inside the selected cells.
From the dropdown menu, select Format Cells. You can also press CTRL + 1 to open this menu directly.
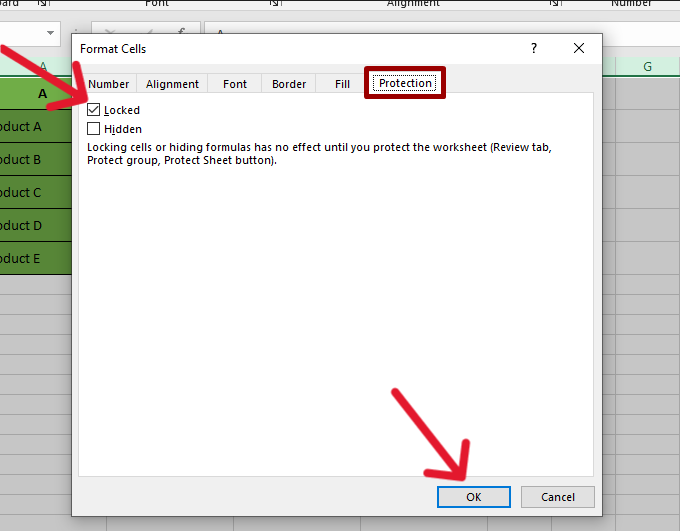
Step 3: Check if All Cells Are Locked
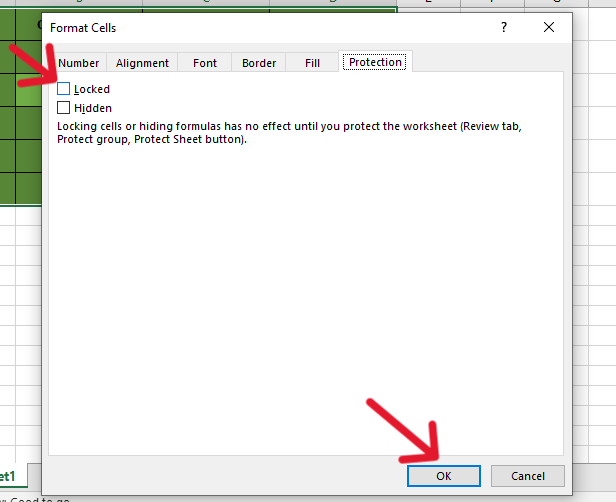
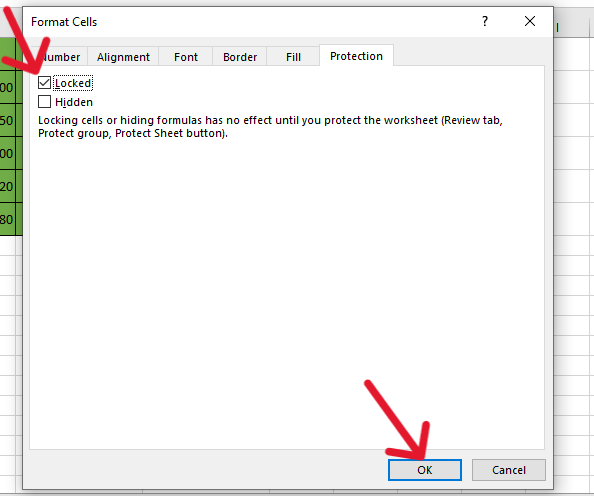
In the Format Cells window, go to the Protection tab.
You'll see that the ‘Locked’ checkbox is already ticked by default. Just click OK to confirm this.
Step 4: Protect the Worksheet
Now, go to the Review tab on the top ribbon of Excel.
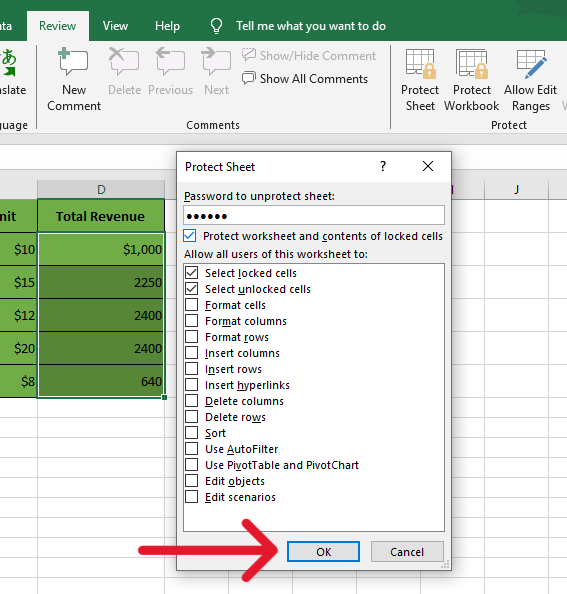
Click Protect Sheet.
A pop-up will appear. You can set a password here if you want extra security. Enter a password (optional) and click OK.

Now, your entire worksheet is locked, preventing any edits until you unprotect the sheet.
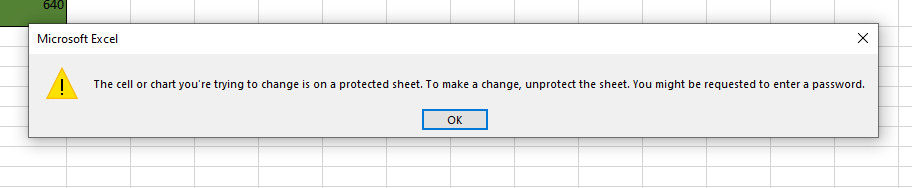

To make changes again, simply go to Review → Unprotect Sheet and enter the password if you set one.
Method 2: Lock Specific Cells in Excel
If you want to lock only certain cells while keeping others editable, follow these steps:
Step 1: Unlock All Cells First
Press CTRL + A to select all the cells in your worksheet.
Right-click and choose Format Cells (or press CTRL + 1).

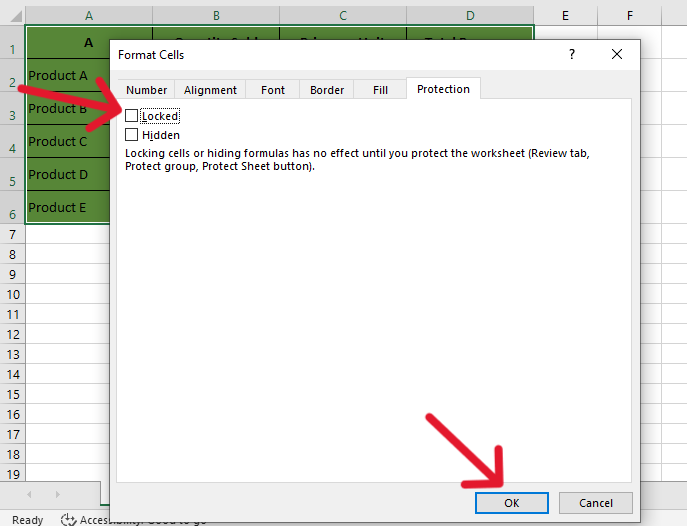
In the Protection tab, uncheck the ‘Locked’ checkbox. Then, click OK. This will unlock all cells in the sheet.
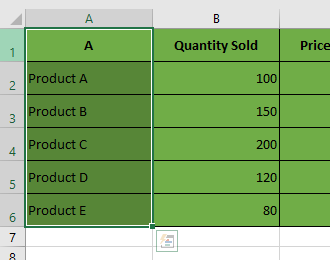
Step 2: Select the Cells You Want to Lock
Now, click and drag to select the cells you want to lock. You can also hold down CTRL while clicking to select non-adjacent cells.
Step 3: Lock the Selected Cells
Right-click on your selection, and again choose Format Cells.
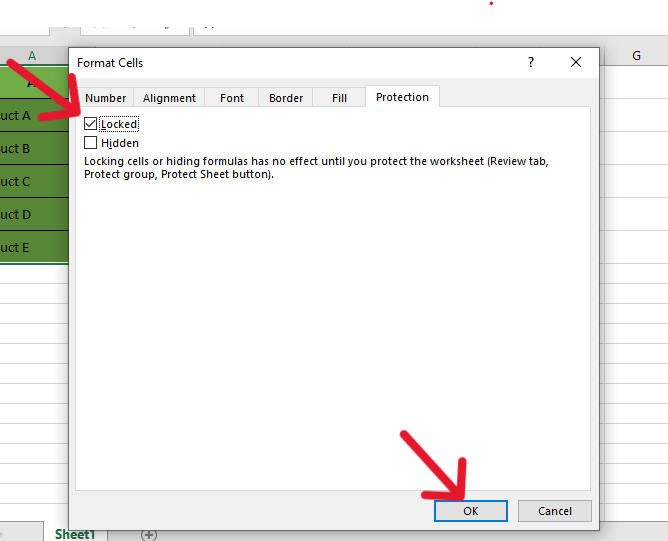
Go to the Protection tab, and this time check the ‘Locked’ checkbox.
Then, click OK.
Step 4: Protect the Worksheet
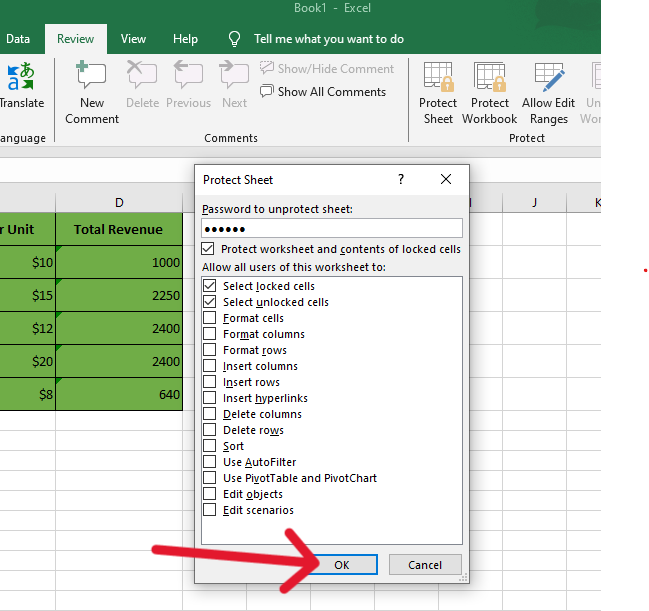
Finally, to activate the locking, go to Review → Protect Sheet.
If you want, you can add a password here (optional).
Click OK.
Now, only the specific cells you selected are locked. The rest of the worksheet remains editable.
Method 3: Lock Formula Cells in Excel
Locking cells that contain formulas can protect your calculations from accidental changes. Follow these steps to lock only the formula cells:
Step 1: Unlock All Cells First
Press CTRL + A to select all cells.
Right-click and choose Format Cells (or press CTRL + 1).
In the Protection tab, uncheck the ‘Locked’ box. Then click OK.
Step 2: Select Formula Cells Automatically
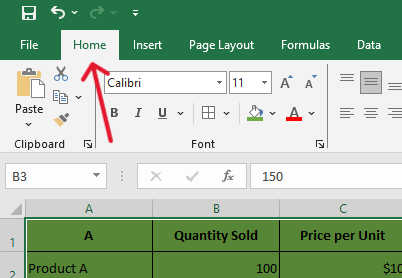
Go to the Home tab on the top ribbon.
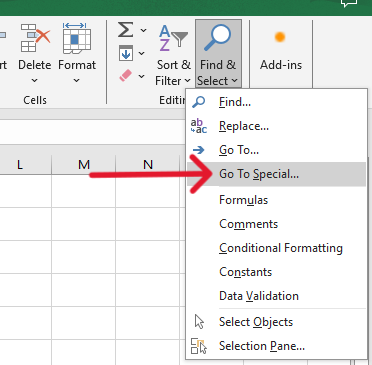
On the far right, click Find & Select, then choose Go To Special from the dropdown menu.
In the Go To Special dialog box, select Formulas and click OK.
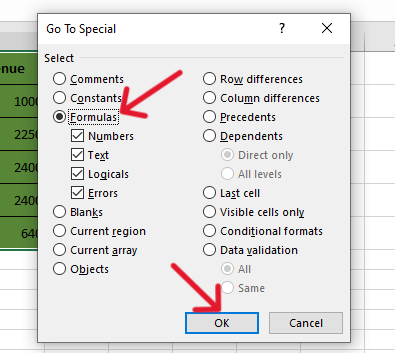
Excel will now highlight all the cells that contain formulas.
Step 3: Lock the Formula Cells
With the formula cells selected, right-click and choose Format Cells.
In the Protection tab, check the ‘Locked’ box and click OK.
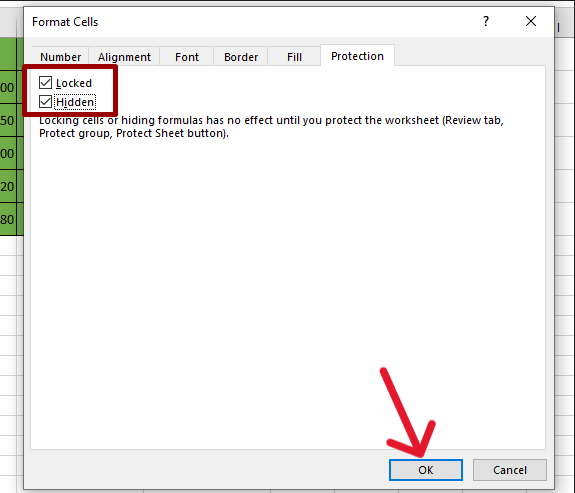
Step 4: (Optional) Hide the Formulas
If you also want to hide the formulas (so users can’t see them in the formula bar), check both the ‘Locked’ and ‘Hidden’ boxes in the Protection tab.
Step 5: Protect the Worksheet
To finish, go to Review → Protect Sheet.
Set a password if needed, then click OK.
Now, your formula cells are locked and protected. If you choose the hidden option, the formulas won’t even show up in the formula bar.
Frequently Asked Questions
What if I forget the password?
If you forget the password, you can't unprotect the sheet. Use a backup copy or specialized third-party tools to recover it. Be cautious with third-party software for security reasons.
Can I lock only certain parts?
Yes, follow the steps to lock specific cells and protect the sheet.
Are charts protected too?
Yes, protecting a worksheet generally includes charts. Adjust protection settings in the Protect Sheet dialog to customize permissions.