
How to Autofit Column Widths in Google Sheets
Fast navigation
In 3 simple methods, this guide will show you how to autofit column widths in Google Sheets.
Autofitting column widths enhances the readability and organization of your data.
So let’s dive in and learn how to autofit columns in Google Sheets!
Methods:
1. Using the Double-Click Method for a Single Column
2. Autofitting Multiple Columns
3. Setting Specific Column Widths
Method 1: Using the Double-Click Method to Autofit a Single Column
The double-click method is the easiest way to autofit a single column in Google Sheets. Follow these steps:
Step 1: Hover Over the Column Edge
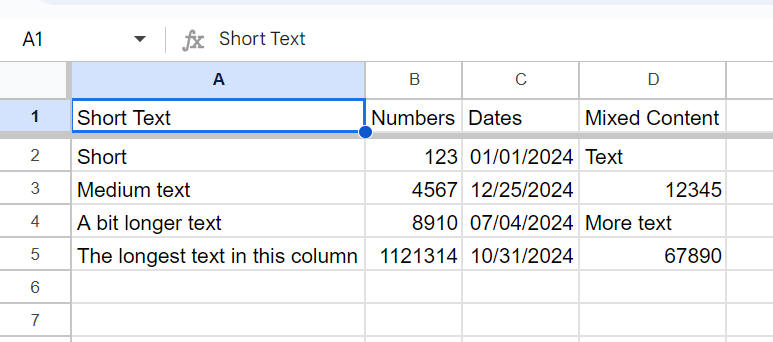
Move your mouse cursor to the right edge of the column until it changes to a double-headed arrow (↔).
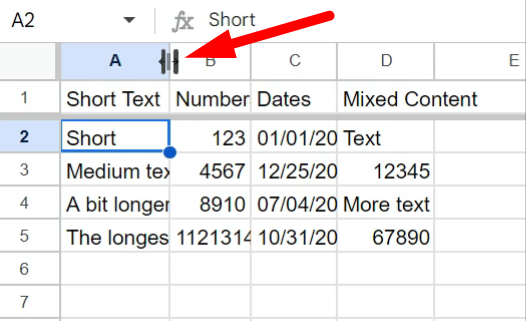
Step 2: Double-click on the right edge of the column letter
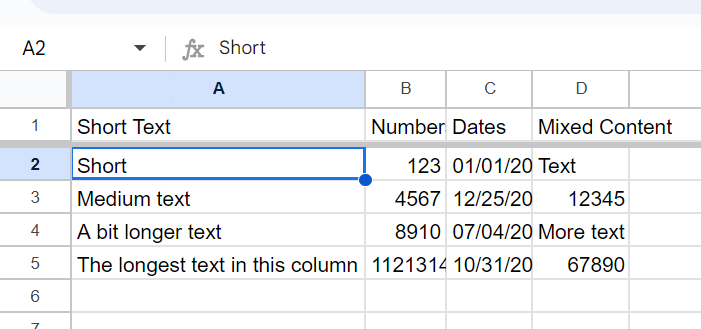
Double-click the right edge of the column letter and the column width will automatically adjust to fit the content of the cells in that column.
Method 2: Autofitting Multiple Columns
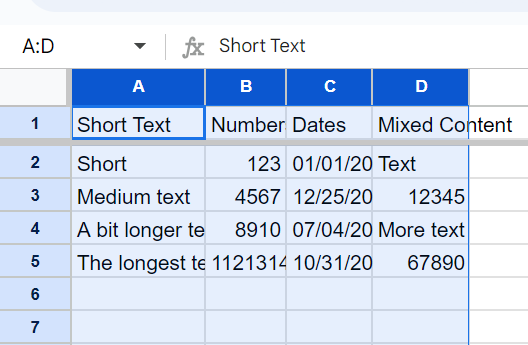
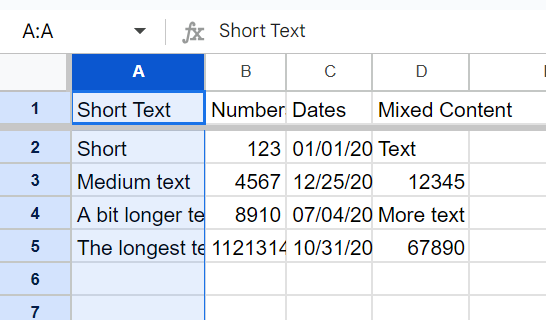
Step 1: Select the Columns
Click and drag across the column letters to select the columns you want to adjust. If the columns are not adjacent, hold down the Ctrl (Cmd on Mac) key and click each column letter.
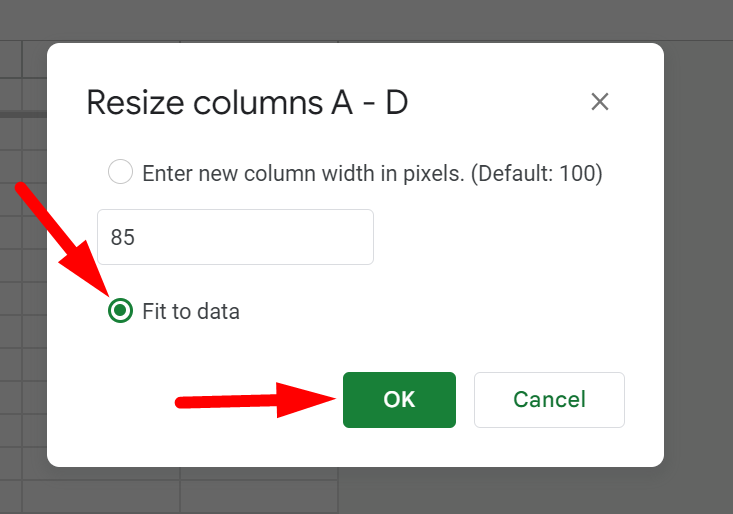
Step 2: Right-Click and Choose "Resize columns"
Right-click on one of the selected columns and choose "Resize columns" from the drop-down menu.

Step 3: Select "Fit to data" and click ‘OK’
In the "Resize columns" dialog box, select "Fit to data" and click ‘OK’. This will adjust the width of each selected column to fit the contents of the cells.
Then every column you have selected will be autofit to data.
Method 3: Setting Specific Column Widths to Autofit
Sometimes, you may want to set a specific width for your columns to maintain a consistent look. Here’s how to do it:
Step 1: Select the Columns
Select the columns you want to resize.
Step 2: Right-Click and Choose Resize
Right-click on the selected columns and choose "Resize columns" from the menu.

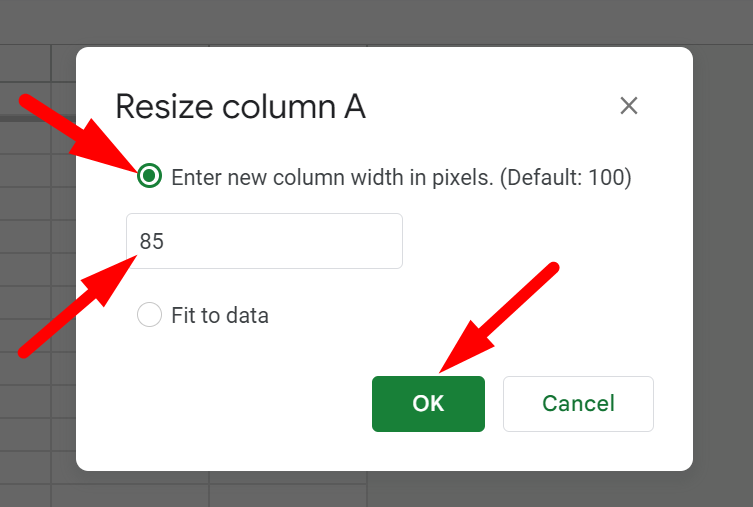
Step 3: Set Custom Width:
In the "Resize column" dialog box, select the "Enter new column width in pixels" option. Enter the desired width value and click ‘OK’.
This is how you set specific width for Google Sheet columns.
Mastering the autofit column widths in Google Sheets can significantly improve the appearance and functionality of your spreadsheets.
Whether you’re autofitting single or multiple columns, setting custom widths, these techniques will help you present your data clearly and professionally.
By following this guide, you’ll ensure your data is always displayed in the best possible way.