How to Make T-Shirt Order Form on Google Forms
Fast navigation
Google Forms can be used for multiple purposes. You can create a wide range of forms for various needs. This guide will show you how to create a T-shirt order form on Google Forms. You can create an order form for a variety of merchandise. Follow the steps outlined below.
Create a T-Shirt Order Form on Google Forms
Google Forms gives you an easy way to create an order form and allows you to collect and manage responses effectively, export them to Google Spreadsheet and share them with your team.
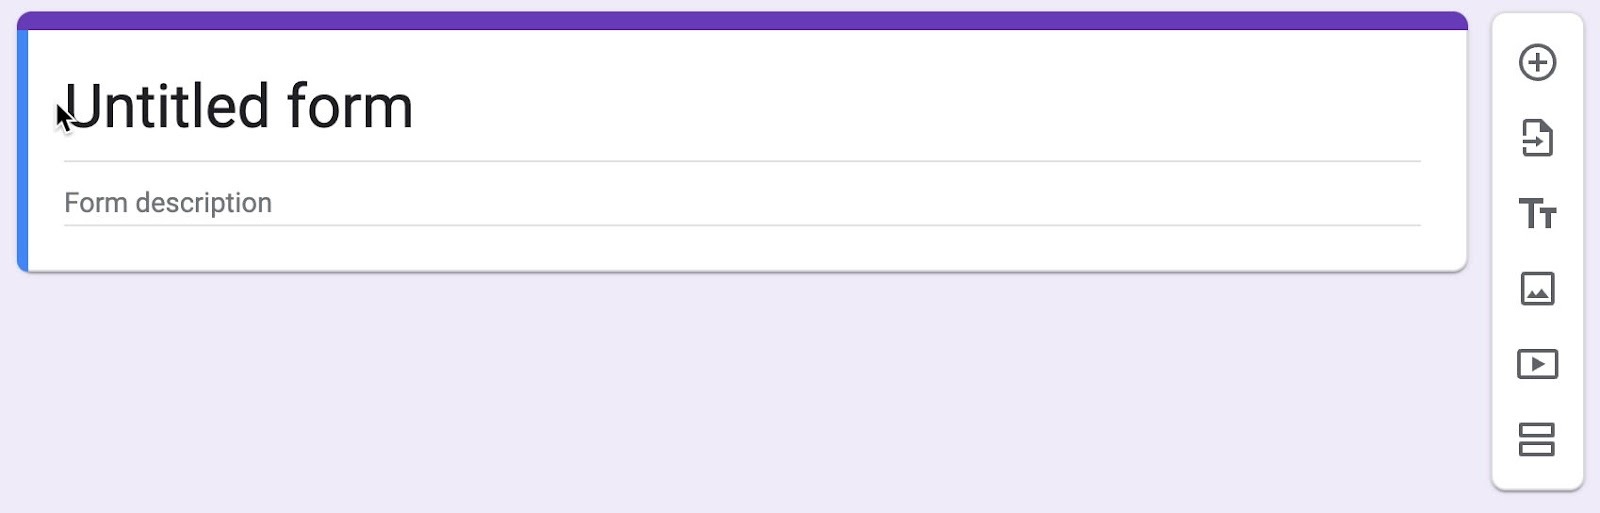
1 – Create a New Form
Go to https://forms.new. A new form will be created.
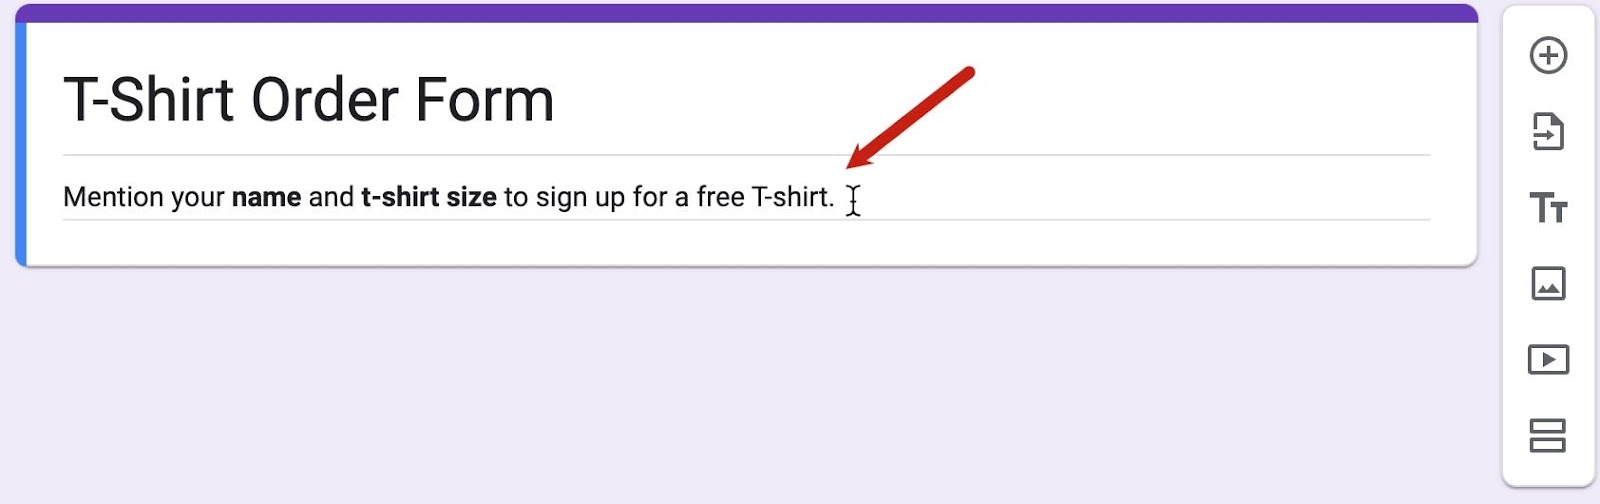
2 – Write The Name Of The Form And A Short Description
Click the untitled form to write the name of the form. Enter a brief description by clicking the ‘Form Description’ underneath the Form title, such as ‘ Mention your name and t-shirt size to sign up for a free T-shirt.’
3 – Create Questions For Your Order Form
Add questions to the form by clicking the ‘+’ sign at the top of the floating navigation bar on the right.
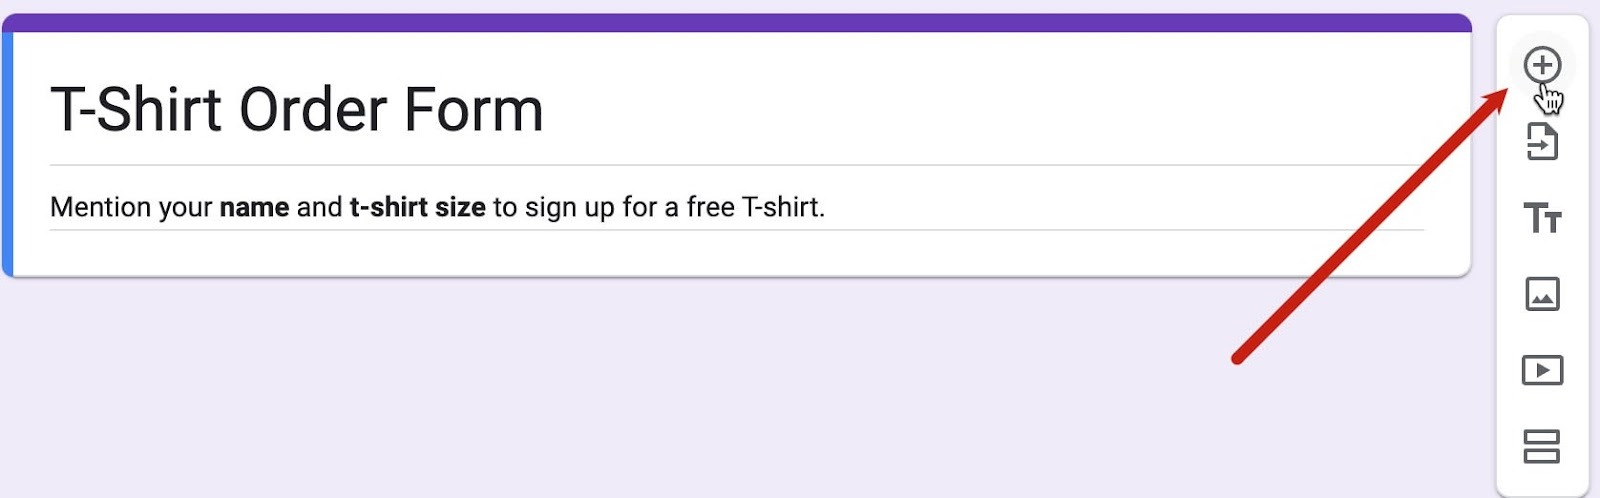
Write a question like asking a name or the size and colour of the t-shirt.
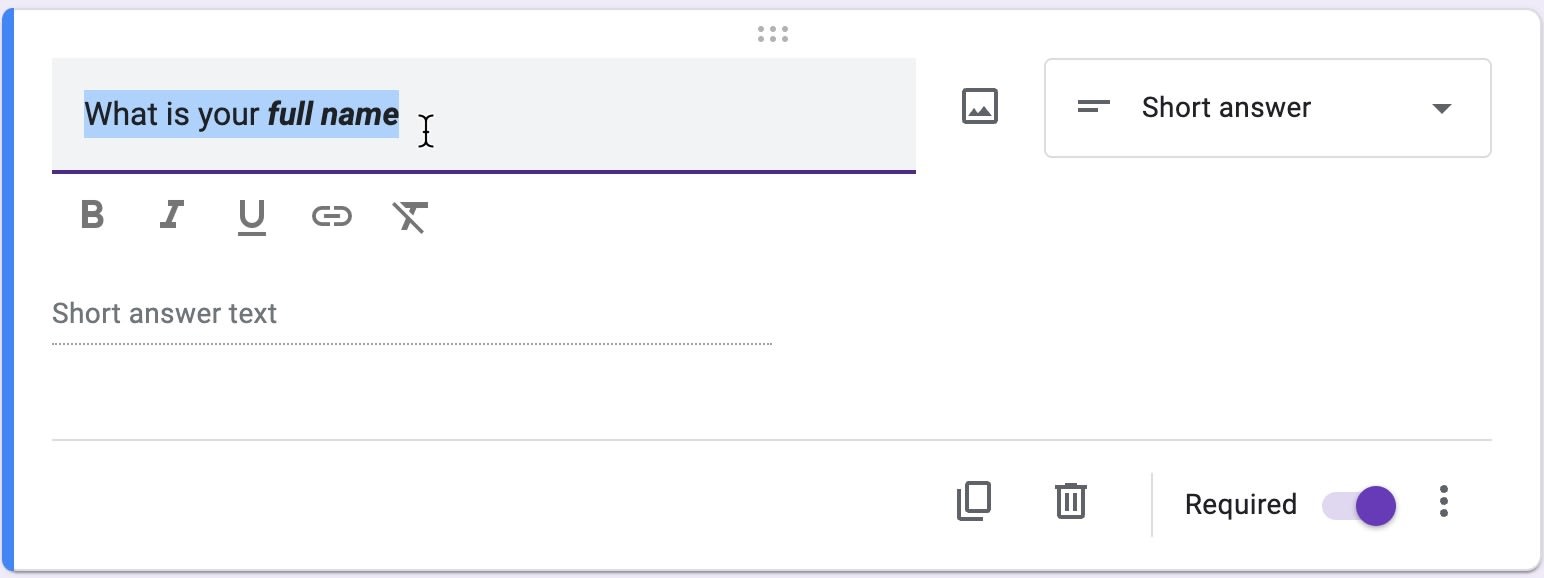
4 – Select The Appropriate Question Type
Selecting the right question type helps you customise the answer field. For example, the question asking your name requires a short answer. So, select short answer as the question type. Google will do most of the work by automatically selecting the right question type for you. Select the correct question type in the drop-down menu adjacent to the question input field.

For T-shirt sizes, creating a multiple-choice question allows respondents to tell you the preferred size of the t-shirt.
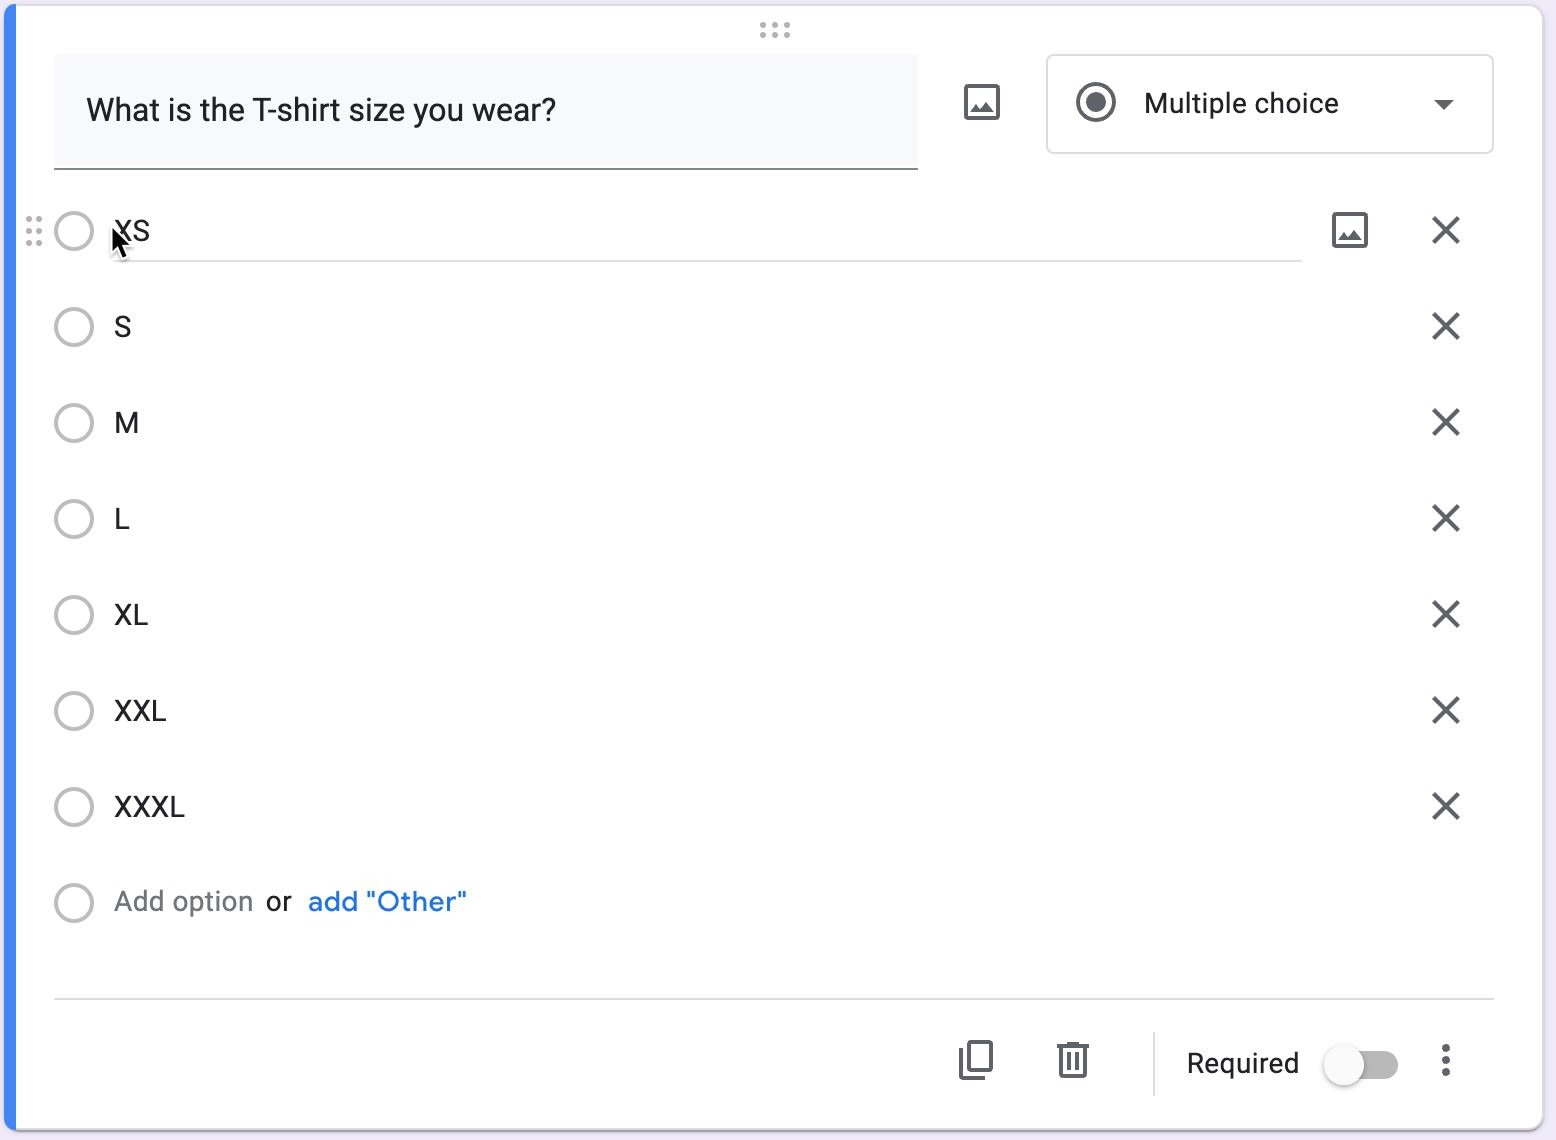
To mark a question that is required or mandatory to answer, toggle the required switch at the bottom right corner of a question input box. Please note that you have to do this with each question individually.

5 – Personalize The Appearance Of Your Form To Make It Looking Appealing
You can personalise the appearance of your form using the fonts and colours of your choice. Click the colour palette icon at the top-right corner of the Google Form page.

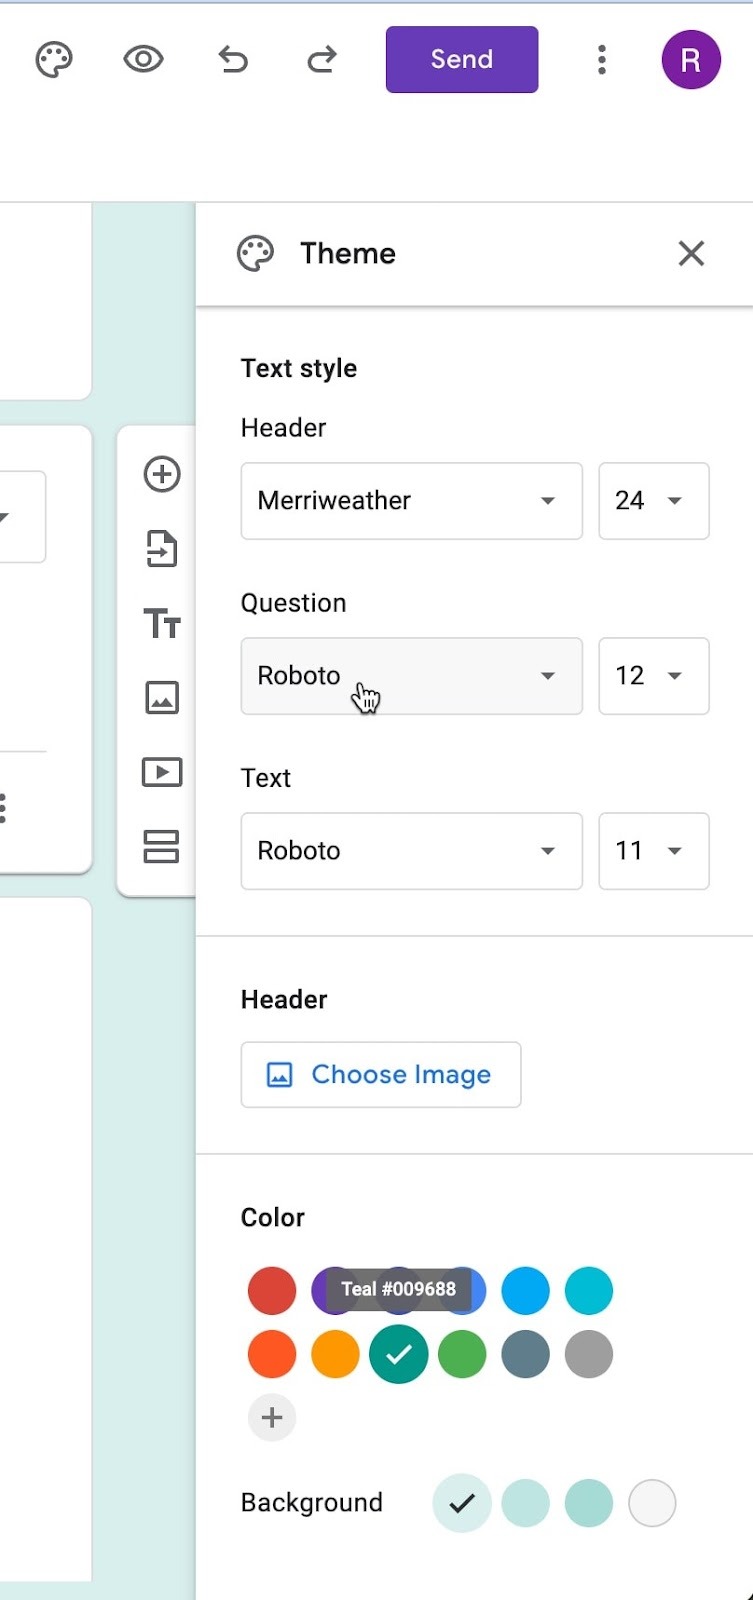
There is a host of options you can choose to customise your form. You can choose an image for the header, pick the desired colour or change the text style. No need to save the changes because Google saves them automatically.
6 - Share Your T-Shirt Order Form To Get Responses
Of course, there is no reason to create a form when you don’t share it with others. Click the ‘Send’ button at the top right corner of the page and select the email addresses to send the form.

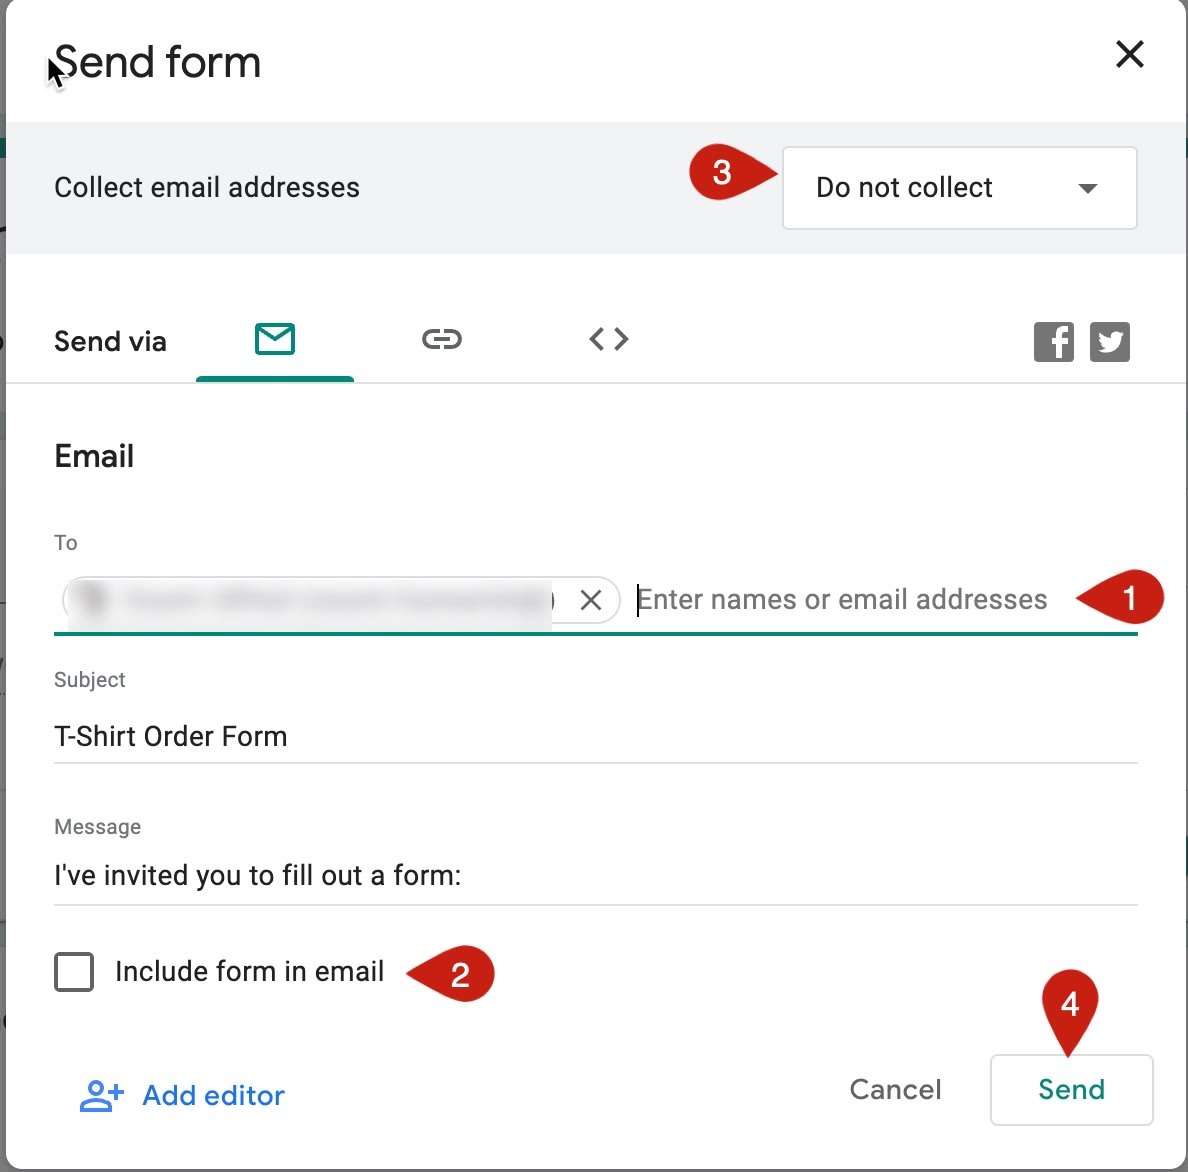
After clicking the ‘Send’ button,
- Type the email addresses you want to send the form to.
- Check this box if you want to embed the form in the email body to make it easy for respondents to answer the questions and submit the form.
- If you want to collect emails, change the setting in this drop-down menu. Otherwise, Google will not collect the emails
- Click ‘Send’ to send the form to the specified email addresses.
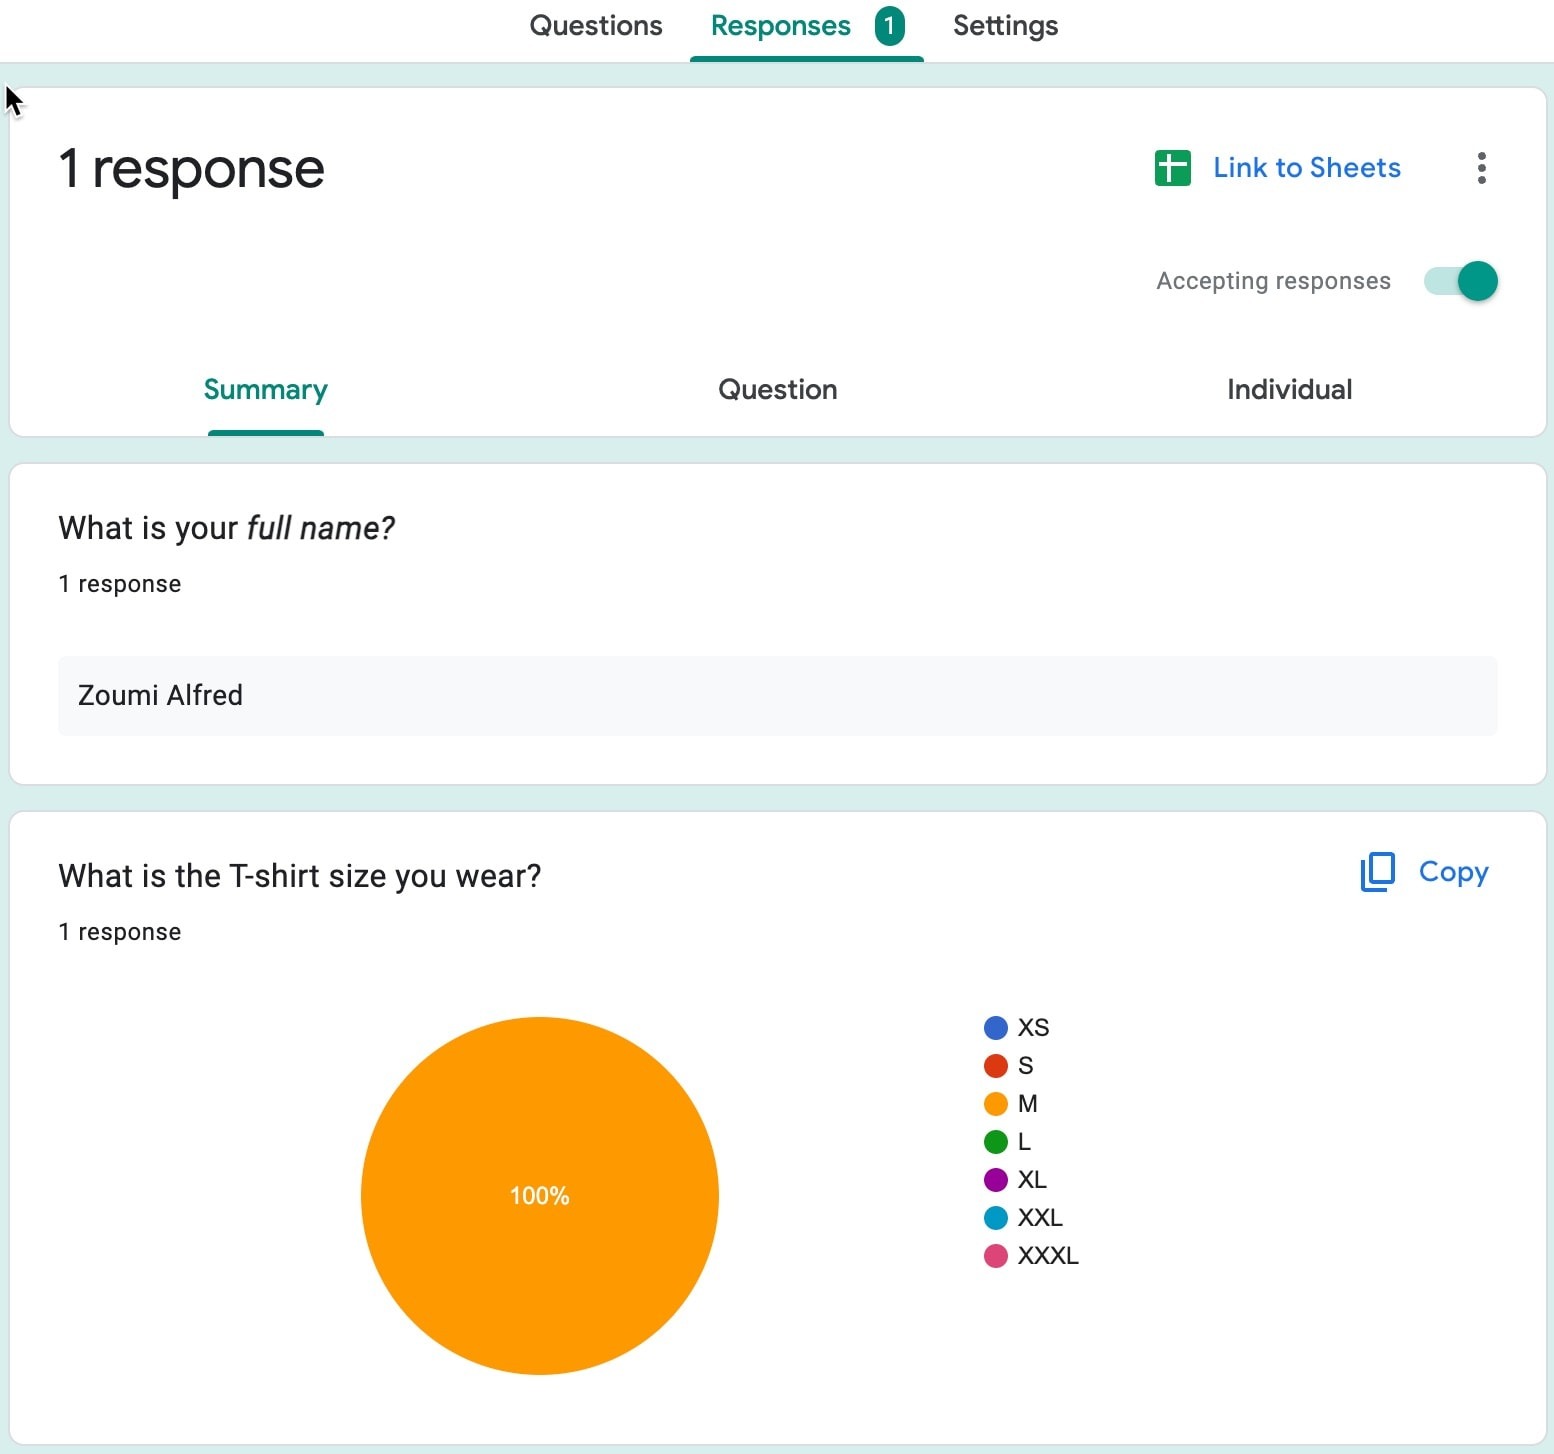
7 – View And Manage The Responses
View and manage the responses by clicking the responses tab at the top of the Forms page.

You can manage or save the responses in an external spreadsheet using the ‘Link to sheet’ feature.
Google Form Template
This is a template for a google form. You can use this to copy the results from the tutorial.
Click here to create a copy