
How to Create a Sample Intake Form with Google Forms
Fast navigation
Want to know how to create an intake form using Google Forms?
This guide walks you through the process step by step so you can easily set up a professional intake form to gather client, patient, or customer details. Whether you’re in healthcare, education, consulting, or any service industry, intake forms help you onboard smoothly, collect the right information, and save time.
Let’s break it down into six simple steps.
Steps:
- Create a New Google Form
- Add Personal Information Fields
- Collect Background & Service-Specific Details
- Add Marketing or Referral Questions
- Customize Your Form Appearance
- Share and Export Your Intake Form
Step 1: Create a New Google Form
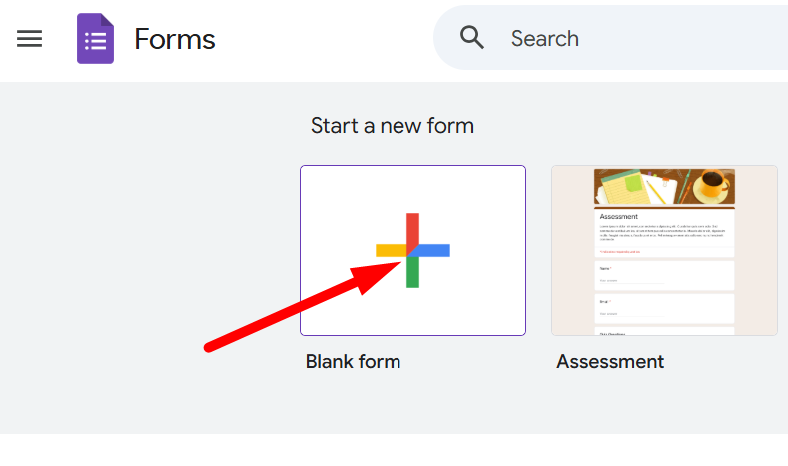
- Go to Google Forms.
- Click the Blank form option to start fresh.
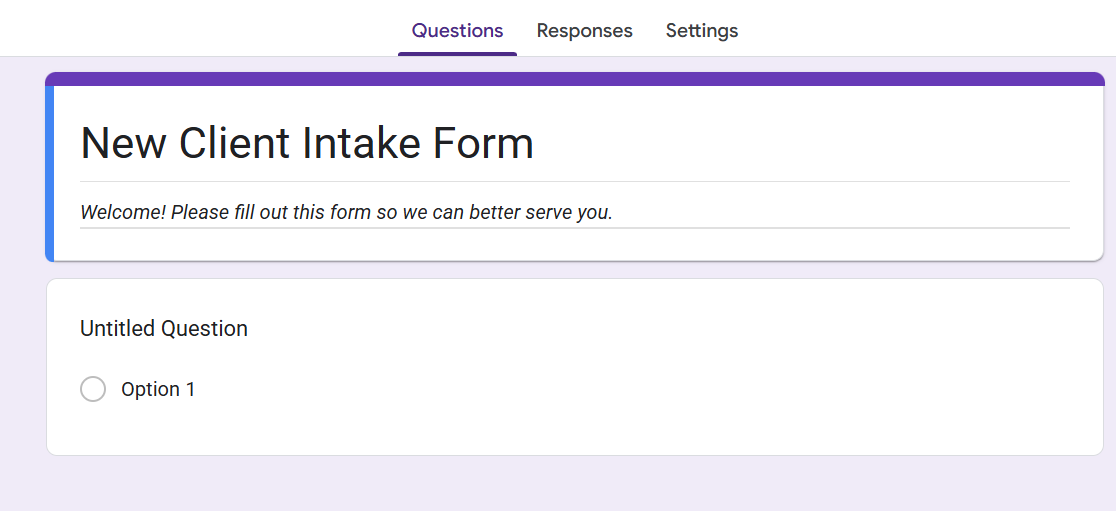
- Give your form a title like “New Client Intake Form” and add a short description, for example:
“Welcome! Please fill out this form so we can better serve you.”
Step 2: Add Personal Information Fields
Start with basic details so you can identify and contact your client later.
- Full Name
- Date of Birth
- Gender
- Address
- Phone Number
- Preferred Language
To do this:
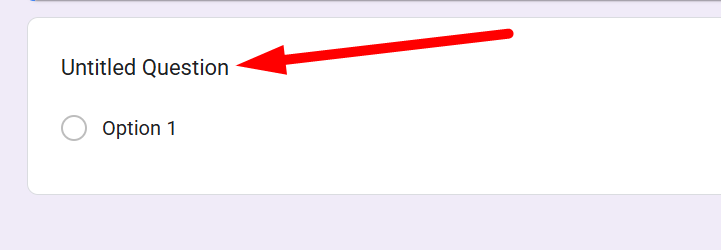
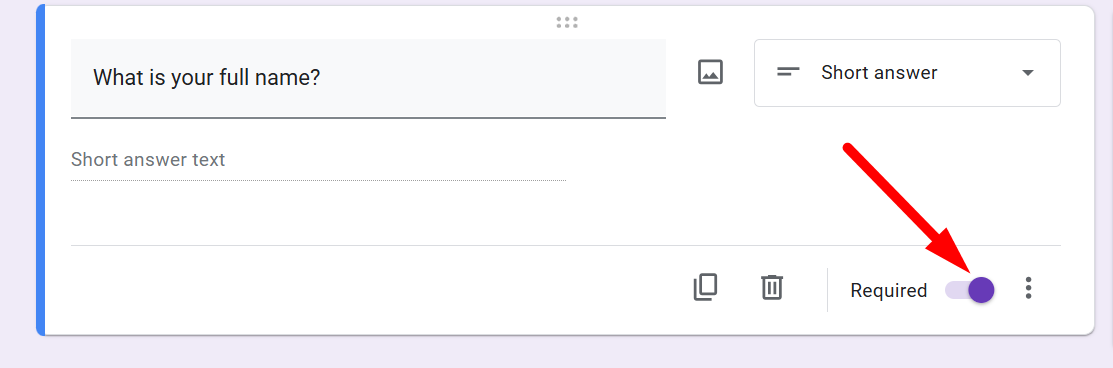
- Click into the first question field and type something like “What is your full name?”
- Change the question type to Short answer.
- Toggle Required so the client can’t skip it.
Repeat for each personal detail you want to collect.
Step 3: Collect Background & Service-Specific Details
This is where your intake form becomes tailored to your industry. Depending on your field, add the most relevant questions:
- Healthcare: Past medical history, allergies, medications, family health conditions.
- Consulting/Business: Company name, number of employees, biggest challenges, budget range.
- Legal: Type of case, prior representation, reason for seeking help.
- Coaching/Personal Services: Goals, previous experience, availability.
Keep in mind:
- Only ask for information that’s relevant to your service.
- Be mindful of privacy and sensitivity.
- Add any compliance-required fields (like consent or legal disclaimers).
Step 4: Add Marketing or Referral Questions
It’s always smart to know where your clients found you. Add a multiple-choice question like:
“How did you hear about us?”
Options could include:
- Google Search
- Referral from a Friend
- Social Media
- Advertisement
- Other
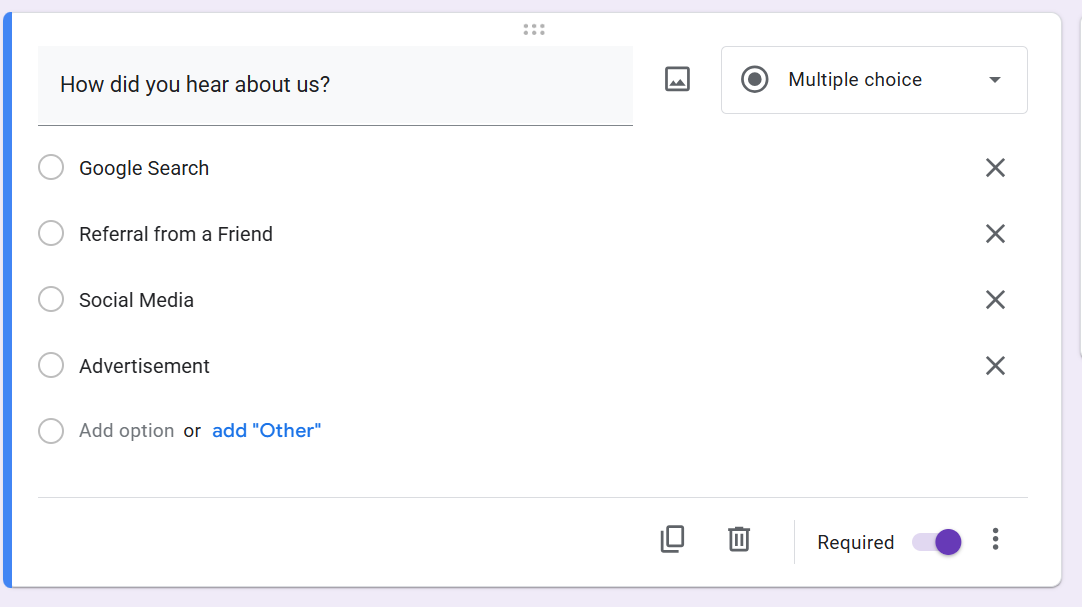
This insight helps you measure your marketing performance and see which channels bring in the most clients.
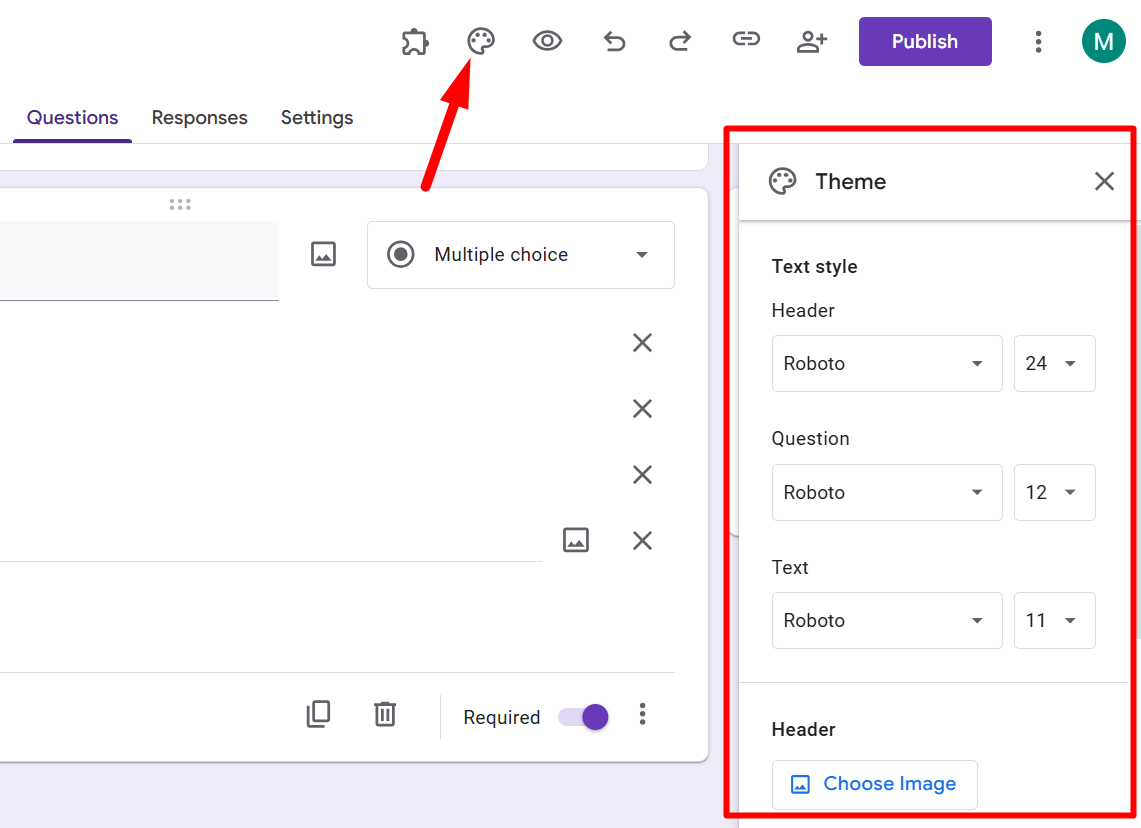
Step 5: Customize Your Form Appearance
A plain form works, but a branded form looks more professional. To customize:
- Click the paint palette icon at the top right.
- Upload a header image (like your logo or brand banner).
- Adjust form colors and background colors to match your brand.
- Choose font styles that look clean and easy to read.
Step 6: Share and Export Your Intake Form
Once your form is ready, click the Publish button at the top right.
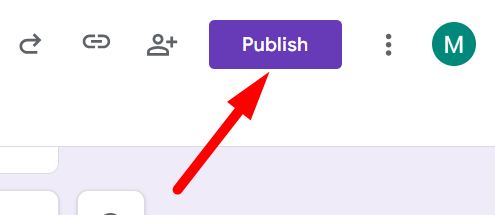
If you want to give editing access to any other person, then click on ‘Manage’. If not, then directly click on ‘Publish’ in the pop-up. Your form will publish automatically.

FAQs
Q1. What is the purpose of an intake form?
An intake form collects essential client or patient details upfront, helping you understand their needs, tailor your service, and save time during onboarding.
Q2. Can I make my Google intake form HIPAA compliant?
Not directly. Google Forms isn’t HIPAA compliant by default. To handle medical data, you’d need a Business Associate Agreement (BAA) with Google Workspace and proper security measures.
Q3. Can I limit who fills out my intake form?
Yes. Under Settings → Responses, you can restrict the form to specific email addresses (e.g., within your organization) or require sign-in.
Q4. How do I analyze intake form responses?
You can view responses directly in the Responses tab of Google Forms or link them to Google Sheets for deeper analysis and tracking.
Q5. Can I edit my intake form after sharing it?
Yes. You can update questions, add new ones, or tweak settings anytime. Changes apply instantly to the live form.